

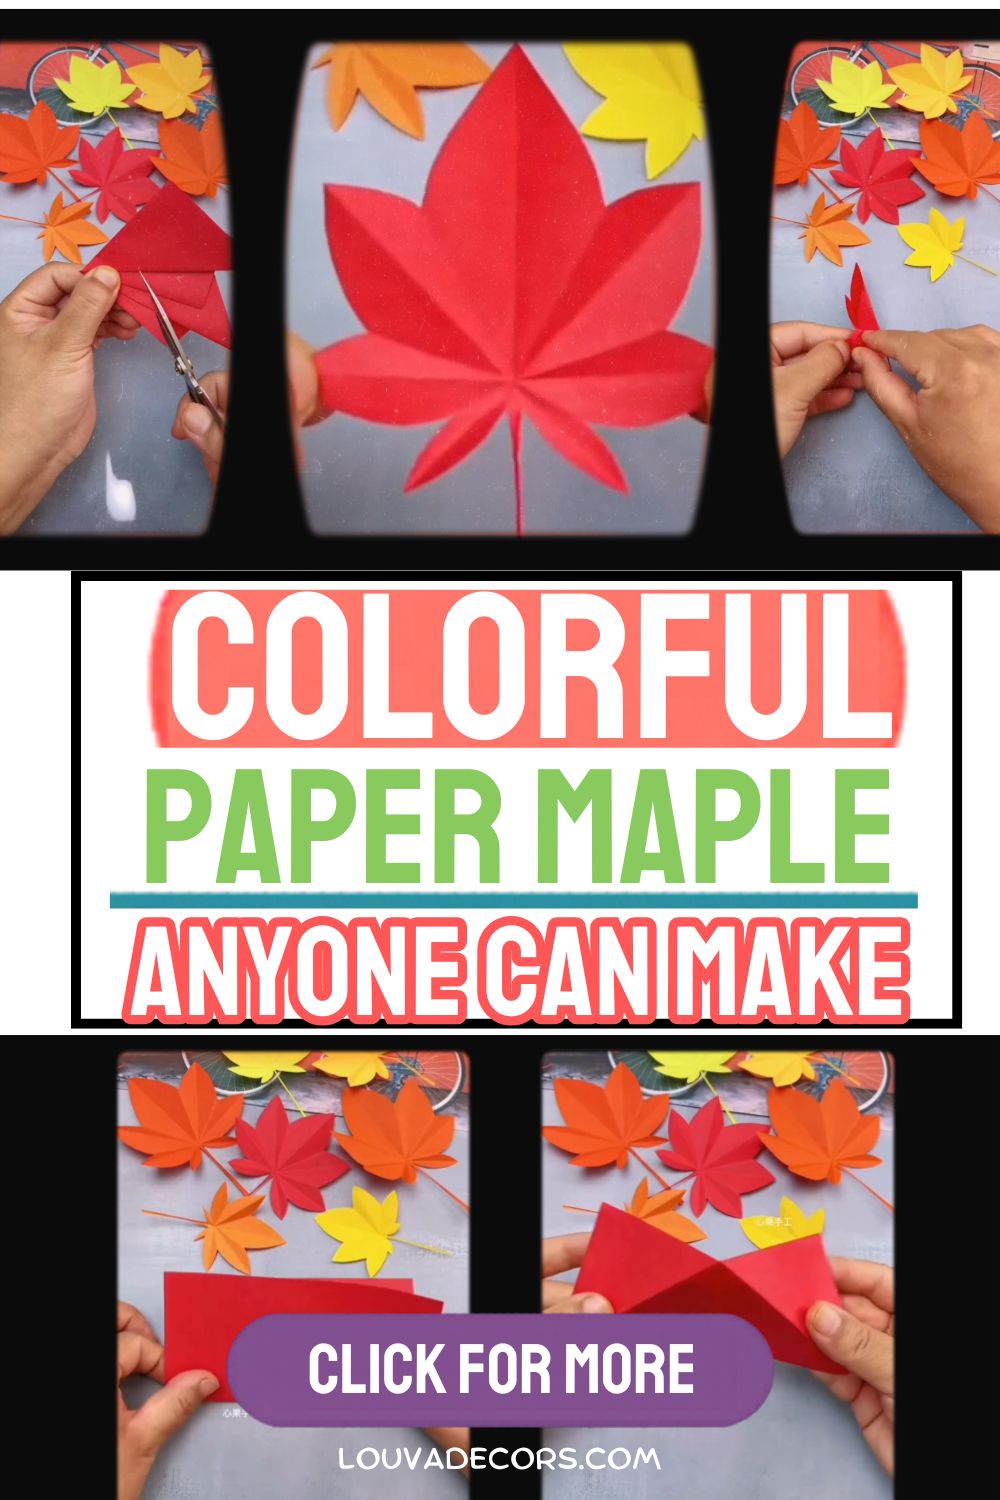
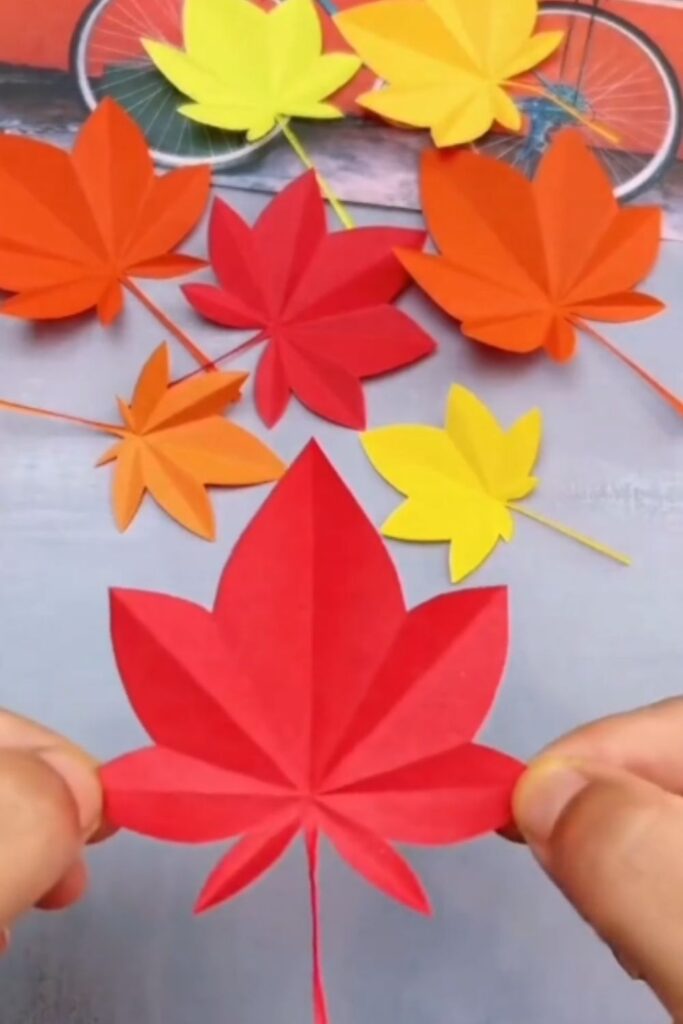
Bring the cozy warmth of autumn inside your home with these vibrant paper maple leaves. Creating your own seasonal decorations adds a personal touch to your living space that store-bought items cannot match. This project transforms a flat sheet of colorful paper into a dimensional, multi-pointed leaf that captures the crisp beauty of fall foliage.
You do not need any experience with complex folding techniques to achieve beautiful results. Many beginners feel intimidated by paper folding, but this tutorial breaks every motion down into clear, manageable actions. Take your time with each crease, and remember that slight variations give your finished foliage a natural, unique character.
Gather your favorite autumn-colored papers and a pair of scissors to complete this project in under ten minutes. Crafting these beautiful accents offers a wonderful introduction to budget-friendly home decor. Let us begin folding our autumn decorations together.
WHY YOU WILL LOVE THIS PROJECT
This beautiful project delivers a high-end look using incredibly low-cost materials. You can create a whole forest of colorful foliage for a fraction of the price of store-bought autumn garlands. It serves as a relaxing, repetitive crafting session that helps you unwind while creating gorgeous decorations for your fall home styling.
WHAT YOU WILL NEED
- Square Craft Paper (Red, Orange, or Yellow) — [Construction paper cut into an exact square]
- Craft Scissors — [Standard household scissors]
- Glue Stick — [Liquid school glue applied sparingly with a brush]
All materials can be found at your local craft store or ordered online.
VIDEO TUTORIAL
Watch the full tutorial above before reading the written steps. The steps below match the video exactly.
How to Make Beautiful Paper Maple Leaves
Step 1: Create the Diagonal Crease
Fold your square sheet of paper diagonally in half to form a large triangle. Press firmly along the folded edge to establish a crisp line, then unfold the sheet completely back into a square shape. This initial crease provides a central guide line for the subsequent folding steps.
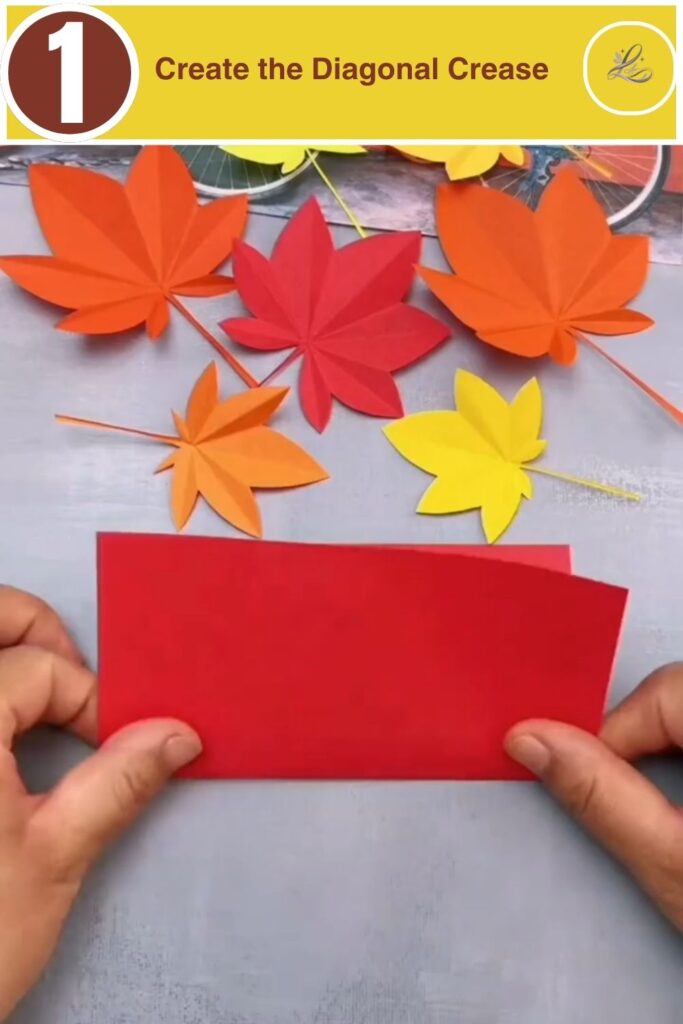
Pro Tip: Align the opposing corners exactly before pressing down on the paper to keep your leaf symmetrical.
Step 2: Form the Base Diamond
Fold the lower left and right edges inward to meet along the central diagonal crease. This action shapes the bottom of your paper into a sharp point, creating a kite-like diamond appearance. Rub your fingernail over the new edges to secure the folds in place.
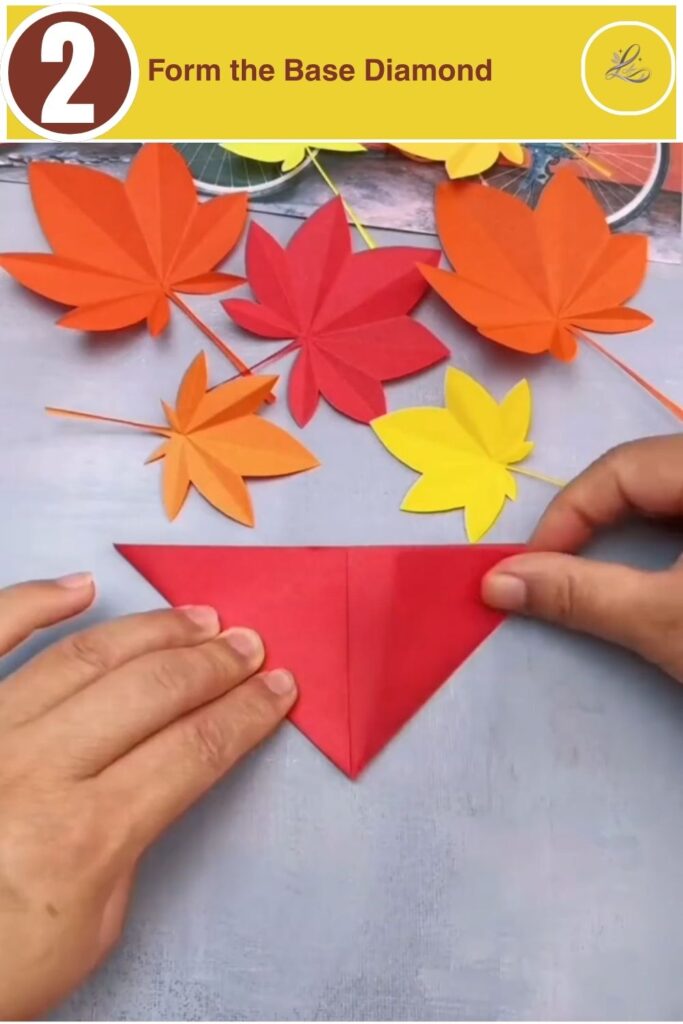
Pro Tip: Keep the edges tight against the center line without overlapping them to prevent bulkiness in later steps.
Step 3: Accordion Fold the Paper
Create sequential accordion folds across the width of the paper structure. Alternate folding the paper forward and backward at equal intervals, progressing from one end to the other. This accordion technique creates the distinctive ridges and valleys found on natural foliage.
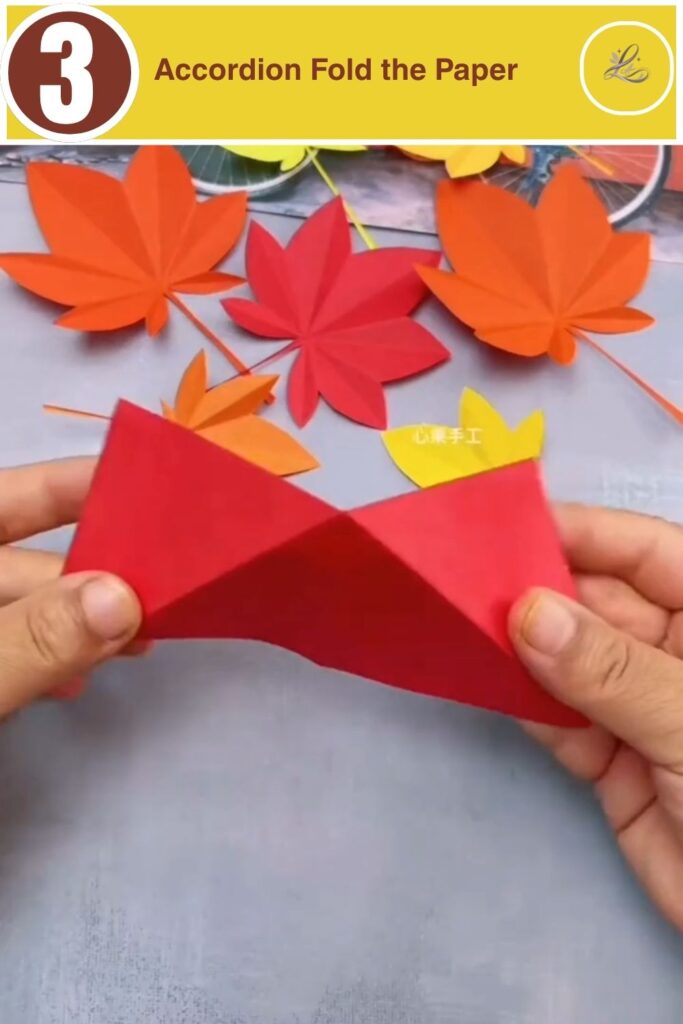
Pro Tip: Maintain consistent spacing for each accordion pleat to ensure the leaf segments turn out uniform in size.
Step 4: Cut the Angled Leaf Points
Hold the pleated paper firmly together and cut an angled line across the top layers. Position your scissors at a sharp diagonal angle relative to the pleats to trim away the excess paper points. This single cut determines the final shape and tapering of your individual leaf tips.
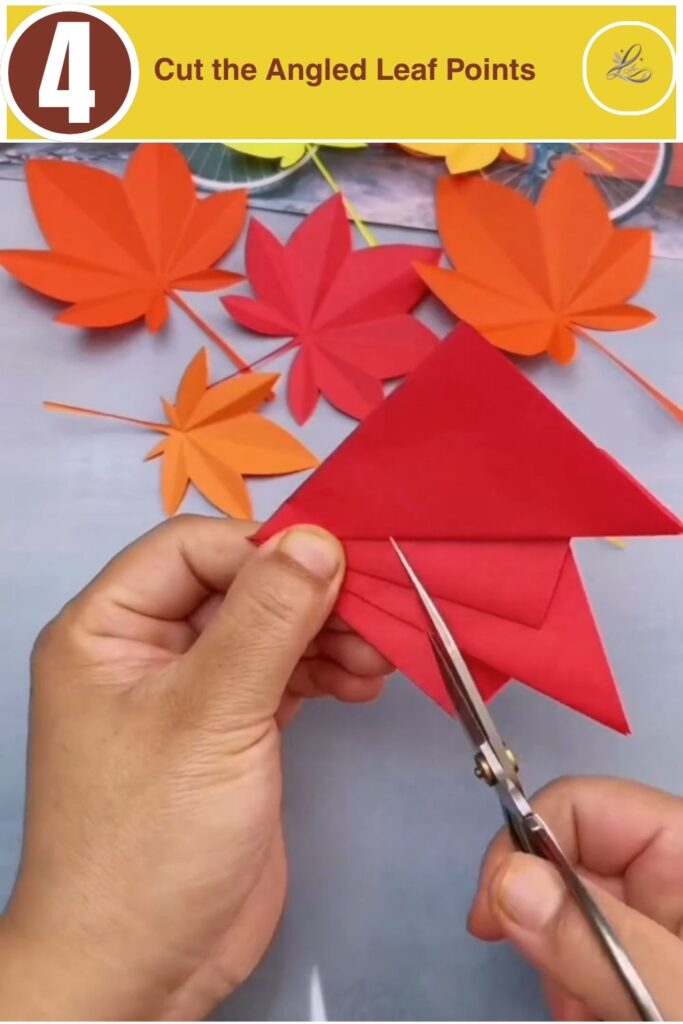
Pro Tip: Use sharp scissors to cut through multiple layers of paper smoothly without tearing the edges.
Step 5: Unfold and Shape
Gently open the pleats to reveal the multi-pointed leaf shape. Fan out the left and right sections carefully, ensuring you do not flatten out the structural accordion ridges you created earlier. The paper now mimics the characteristic broad shape of a natural maple leaf.
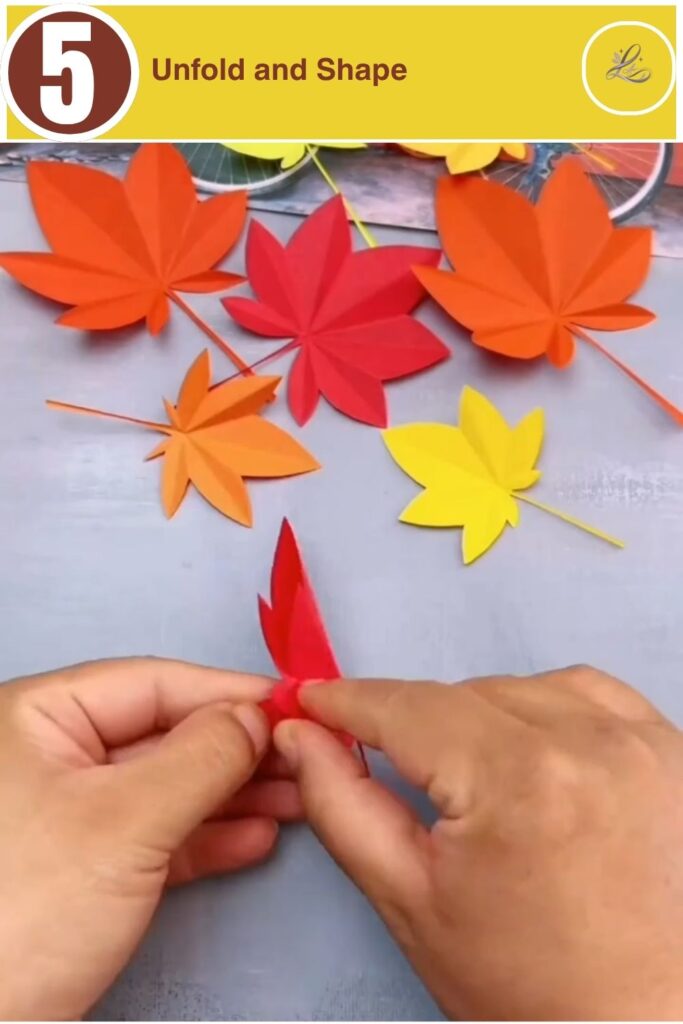
Pro Tip: If some pleats lose their definition during cutting, gently pinch them back into place with your fingertips.
TIPS & TRICKS
- If your paper feels too stiff to fold cleanly, switch to a lighter weight origami paper or standard copy paper rather than heavy cardstock.
- To fix a crooked cut on the leaf points, fold the accordion back together and trim a tiny sliver off the edge to balance the shape.
- Work on a hard, flat surface like a clean table or cutting mat to ensure your creases remain completely flat and precise.
- Create a varied, natural look by cutting slightly different angles on each leaf to change the sharpness of the points.
WAYS TO USE THIS CRAFT
These beautiful paper accents offer wonderful versatility for seasonal styling. String several finished pieces along a length of twine to create a rustic autumn mantle garland. Scatter them across your dining table alongside miniature pumpkins for an elegant thanksgiving centerpiece. You can also glue a leaf onto a blank card to create a beautiful, handmade greeting card for a friend.
FREQUENTLY ASKED QUESTIONS
-
How long does this project take to complete?
This project takes approximately five minutes per leaf once you understand the basic folding sequence. It serves as an excellent quick craft session for busy afternoons.
-
Can I use regular printer paper for this project?
You can absolutely use standard printer paper for these shapes. Coloring white paper with crayons or markers before folding creates a beautiful, custom autumn design.
-
How do you make paper leaves look more realistic?
Gently blending a slightly darker ink or colored pencil around the edges of the paper before folding adds beautiful depth. This shading mimics the natural color transitions seen on real autumn foliage.
CLOSING
You completed your beautiful seasonal project. It is wonderful to see how simple folding actions transform a basic square of paper into a dimensional piece of home decor. Display your colorful creations proudly around your living space this season.
Ready for your next project? Pretty Paper Daisy Flower Craft for Kids next!
Happy crafting! — LOUVADECORES
Follow us on: Pinterest
