

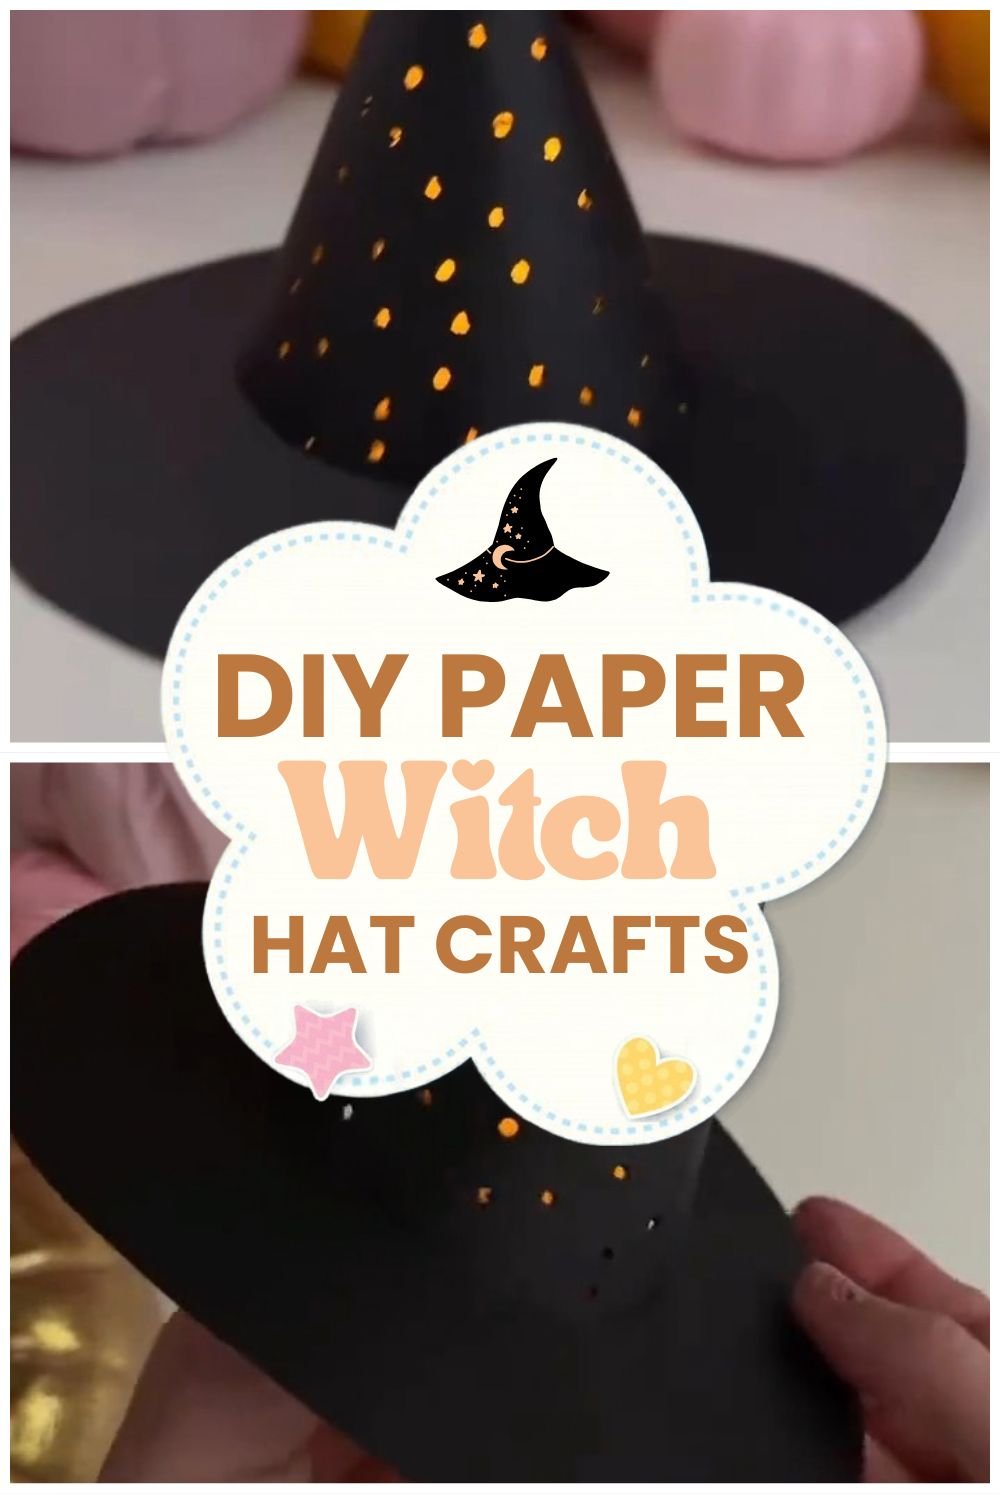
Picture a tiny black witch hat glowing on your entry table as a piece of Halloween table decor, its surface scattered with pinprick holes that look like stars once the sun goes down. This DIY witch hat luminary starts as one flat sheet of black cardstock and ends the night glowing from the inside out. It belongs to a growing style of paper craft light feature projects that beginners can finish in one sitting. The matte black paper also works as everyday black cardstock decor once Halloween has come and gone. Every poked hole makes this a true star-punched Halloween craft, and no two hats glow exactly alike.
You do not need any experience to make this DIY witch hat. Take your time with the cutting and poking steps, and remember that a slightly wobbly line still glows beautifully once the light goes on.
This project uses one sheet of black cardstock, a plate for tracing, scissors, a poking tool, and a small battery tea light, all pulled together in under thirty minutes of hands-on time. It is a small addition to your fall home decor with a big glow-up payoff.
Why You Will Love This DIY Witch Hat
This little witch hat looks like a boutique find, but it comes from a single sheet of cardstock and a few basic tools. It is beginner-friendly from start to finish, with no sewing, no hot glue gun, and no advanced cutting skills required. Because it uses supplies most crafters already have, it works well for last-minute Halloween decorating when you want a high-impact piece without a big shopping trip. Once it is glowing on your table, no one will guess how little it cost to make.
What You Will Need for Your DIY Witch Hat
- Black cardstock (2 sheets)
- Small plate or bowl, about 6 to 7 inches wide, for tracing
- Scissors
- Pencil
- Poking tool, such as a thumbtack, sewing needle, or bamboo skewer
- Craft glue or double-sided tape
- 1 battery-operated tea light
All materials can be found at your local craft store or ordered online.
Video Tutorial
Watch the full tutorial above before reading the written steps. The steps below match the video exactly.
Step-by-Step DIY Witch Hat Instructions
Step 1: Trace Your Circle
Grab a small plate or bowl and set it face-down on your sheet of black cardstock. Trace around the edge with a pencil to create a clean circle guide. Keep the plate steady with one hand while you trace with the other, so the line stays even.
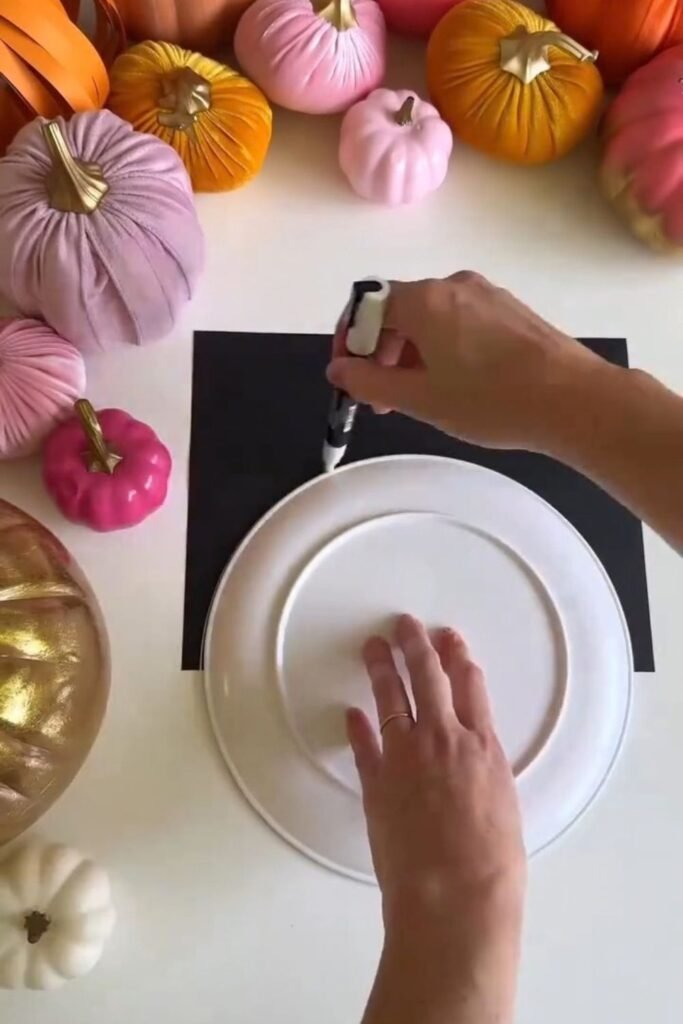
Pro Tip: A dinner plate makes the hat too large for a tabletop display, so reach for something closer to 6 or 7 inches wide.
Step 2: Cut Out the Circle
Cut carefully along your traced line to free the circle from the rest of the cardstock. Turn the paper as you cut rather than twisting the scissors, since that keeps the edge smooth. Set the scrap piece aside. You can use it for a second hat later.
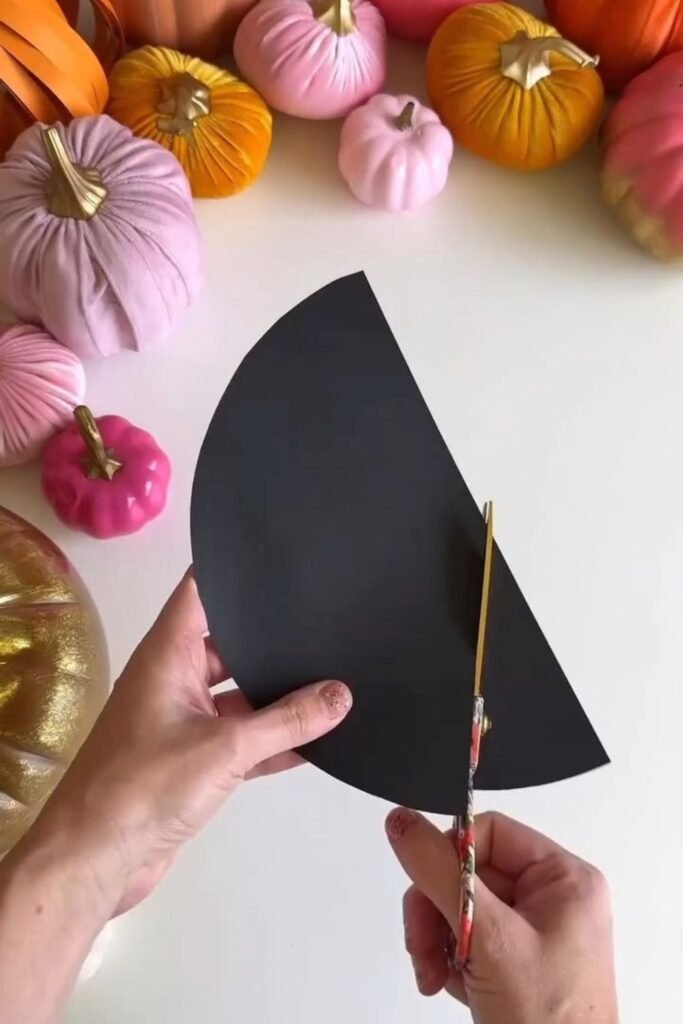
Pro Tip: Cardstock is thicker than regular paper, so short, controlled snips give a cleaner edge than long sweeping cuts.
Step 3: Cut the Circle Into a Cone Shape
Cut one wedge-shaped slice out of the circle, similar to removing a slice of pie. This missing wedge lets the flat paper curl into a cone shape later. Aim for a slice that spans roughly a quarter of the circle.
Pro Tip: Cut slightly less than you think you need. You can always remove more paper, but you cannot add it back once it is cut.
Step 4: Mark and Poke Your Star Pattern
Use your pencil to scatter small dots across the wedge in a loose, uneven pattern. Uneven spacing looks more like a night sky than a perfectly gridded pattern. Once your dots are marked, poke through each one with your chosen poking tool, pressing straight through the cardstock into a cutting mat or piece of cardboard underneath.
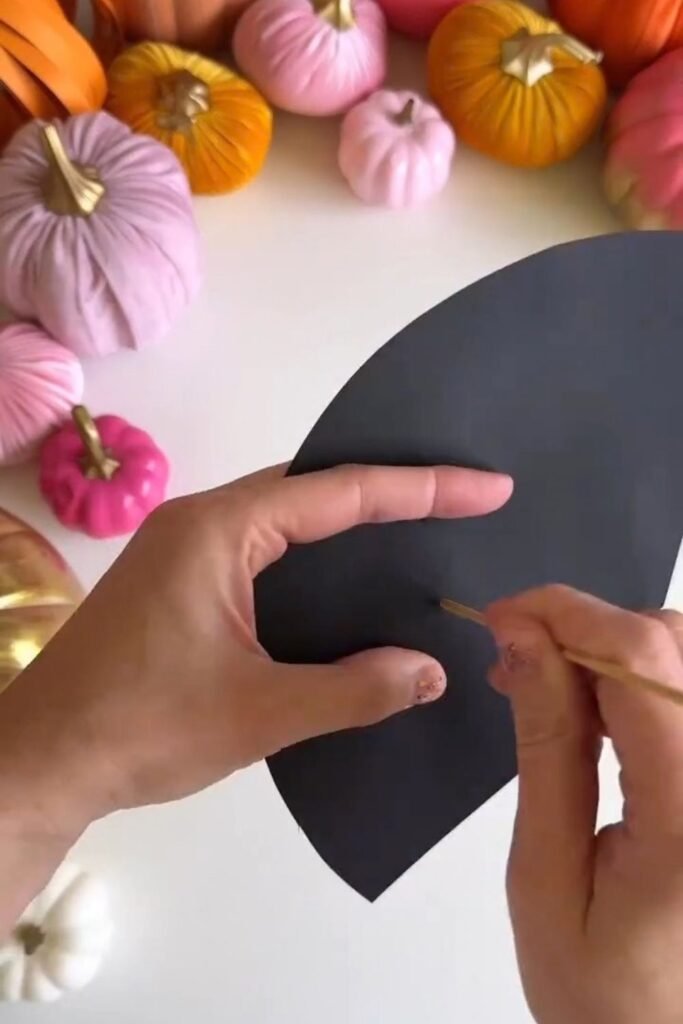
Pro Tip: Group a few dots closer together in one or two spots to mimic a cluster of stars. It makes the glow pattern feel more natural once the light is on.
Step 5: Snip the Base Tabs
Along the wide, curved edge of your wedge, cut small, evenly spaced snips about half an inch deep. These little tabs let the base of the cone fold outward once it is rolled. Stop cutting well before you reach the pencil line so the tabs stay intact.
Pro Tip: Keep every snip roughly the same length. Uneven tabs make the base sit crooked once it is glued to the brim.
Step 6: Roll and Secure the Cone
Bring the two straight edges of the wedge together and roll the paper into a cone shape. Overlap the edges slightly until the cone holds a pointed tip and a rounded, open base. Run a thin line of craft glue or a strip of double-sided tape along the overlapped seam to hold the shape in place.
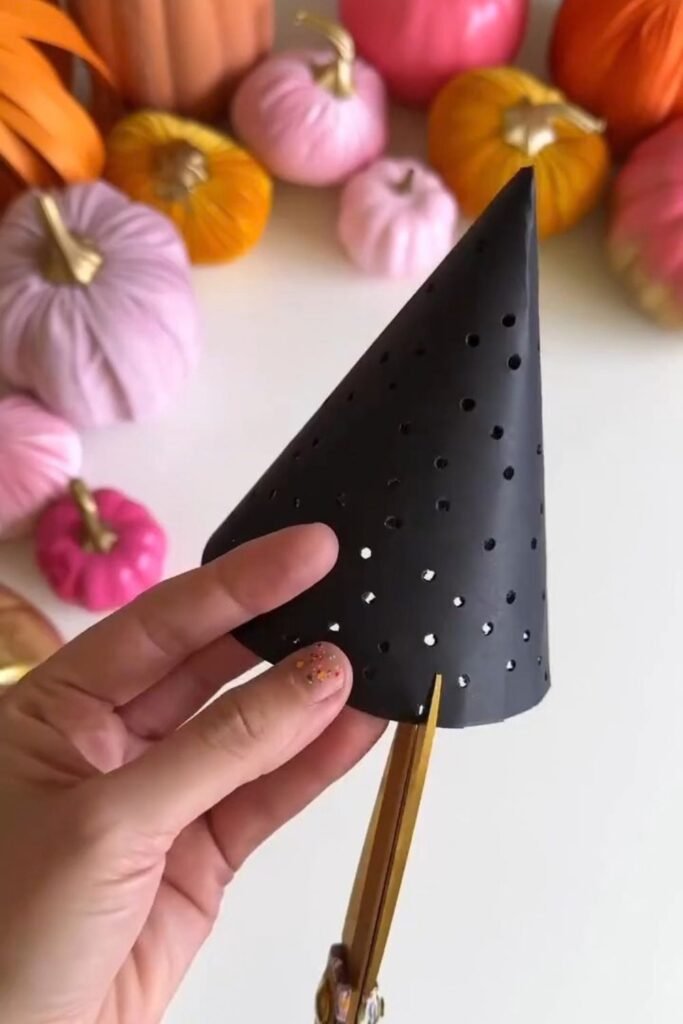
Pro Tip: Hold the seam closed with a binder clip or clothespin for a minute while the glue sets. It keeps the point from popping back open.
Step 7: Cut and Attach the Brim
Trace and cut a second, larger oval from black cardstock, then cut a small circle out of its center. This oval becomes the brim of the witch hat. Slide the pointed cone through the center hole from underneath, fan out the base tabs against the underside of the brim, and glue each tab flat.
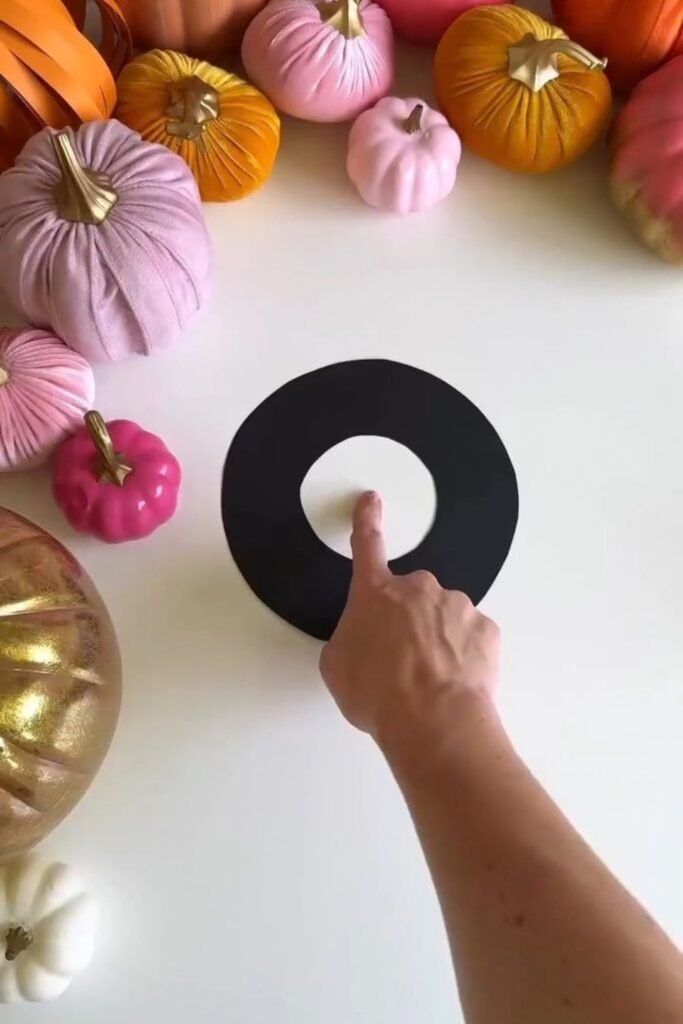
Pro Tip: Glue the tabs a few at a time rather than all at once, so the brim has a chance to lie flat before the glue sets.
Step 8: Add Your Light and Style the Hat
Once the glue has fully dried, slide a battery-operated tea light up inside the open base of the cone. Turn the light on and watch the poked star pattern glow across the surface of the hat. Set the finished piece on a table or shelf, styled alongside your other Halloween decor for the full effect.
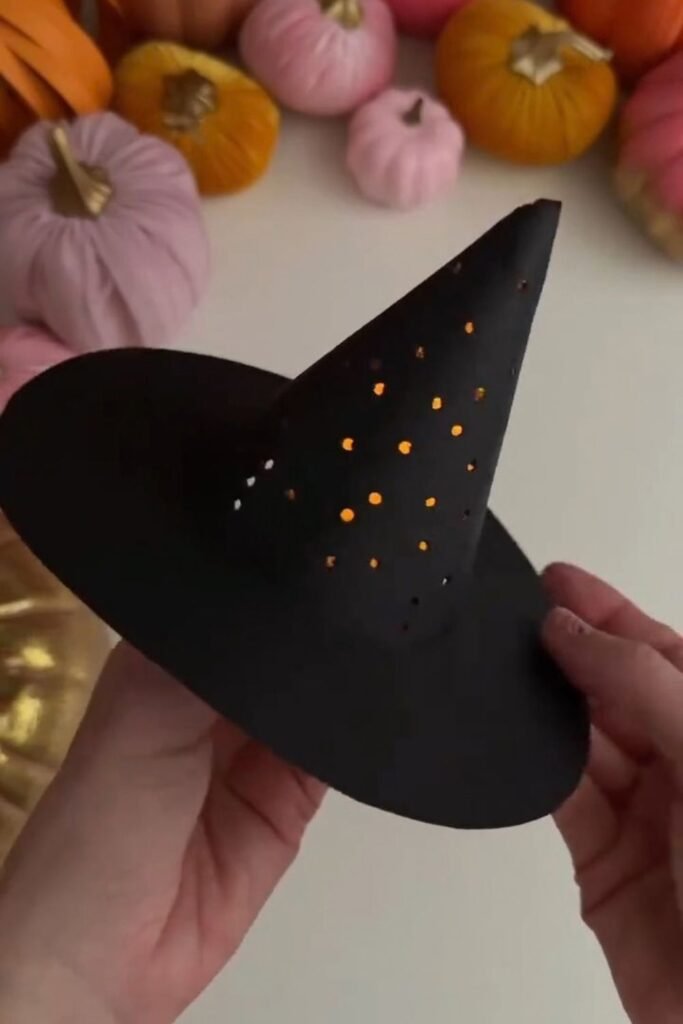
Pro Tip: Battery tea lights with a warm, flickering setting create the most convincing candlelit glow through the paper holes.
Tips & Tricks
- If your cone will not hold its point, add a second small dab of glue at the very tip on the inside, then hold it closed for an extra thirty seconds.
- If the paper starts to tear while you are poking holes, work over a cutting mat instead of a hard table. The slight give protects the cardstock.
- If your brim looks lopsided after gluing, weigh it down with a few coins or a small book while the glue fully cures.
- If you want a stronger glow, poke a few extra holes near the base of the cone, where the light source sits closest to the paper.
- If you are making several hats for a party table, cut all of your circles and wedges first, then move through the poking and assembly steps in batches.
Ways to Use This DIY Witch Hat (and More Halloween DIY Ideas)
This little witch hat fits into far more than a single night of trick-or-treating. Cluster three or four together for a striking Halloween table decor centerpiece, or set a single hat beside a card for a handmade Halloween gift. Once autumn ends, the same cone-and-brim technique can be resized into gift toppers or wrapped as a stocking stuffer during the winter holidays. For more seasonal projects, check out Adorable Halloween Paper Hat Craft for Beginners for another beginner paper craft, or browse Paper Crafts for more Halloween DIY ideas built from simple materials.
Frequently Asked Questions
How long does this project take to complete?
Most crafters finish this witch hat in under thirty minutes once the cardstock is cut and the glue has time to set. The hands-on cutting and poking work takes closer to fifteen minutes, and drying time for the glue adds the rest.
What if I make a mistake, can I fix it?
Paper is forgiving here. A crooked cut on the brim can be trimmed straighter, and a poke that lands in the wrong spot blends right into the star pattern. Take your time, and remember that a slightly imperfect hat still glows beautifully once the light is on.
Where can I buy the materials for this project?
Black cardstock, craft glue, and battery tea lights are widely available at craft stores like Michaels or Joann, and all three also show up in most big-box craft aisles. If you already have a plate, scissors, and a pencil at home, your only real shopping trip is for the cardstock and the light.
You turned a single sheet of black cardstock into a glowing little witch hat, and that is worth celebrating. Set it on your entry table, cluster a few together down the center of a dinner table, or give one away as a handmade Halloween gift. Every wobbly cut and hand-poked star only adds character once the light goes on.
Happy crafting! – LOUVADECORES
