

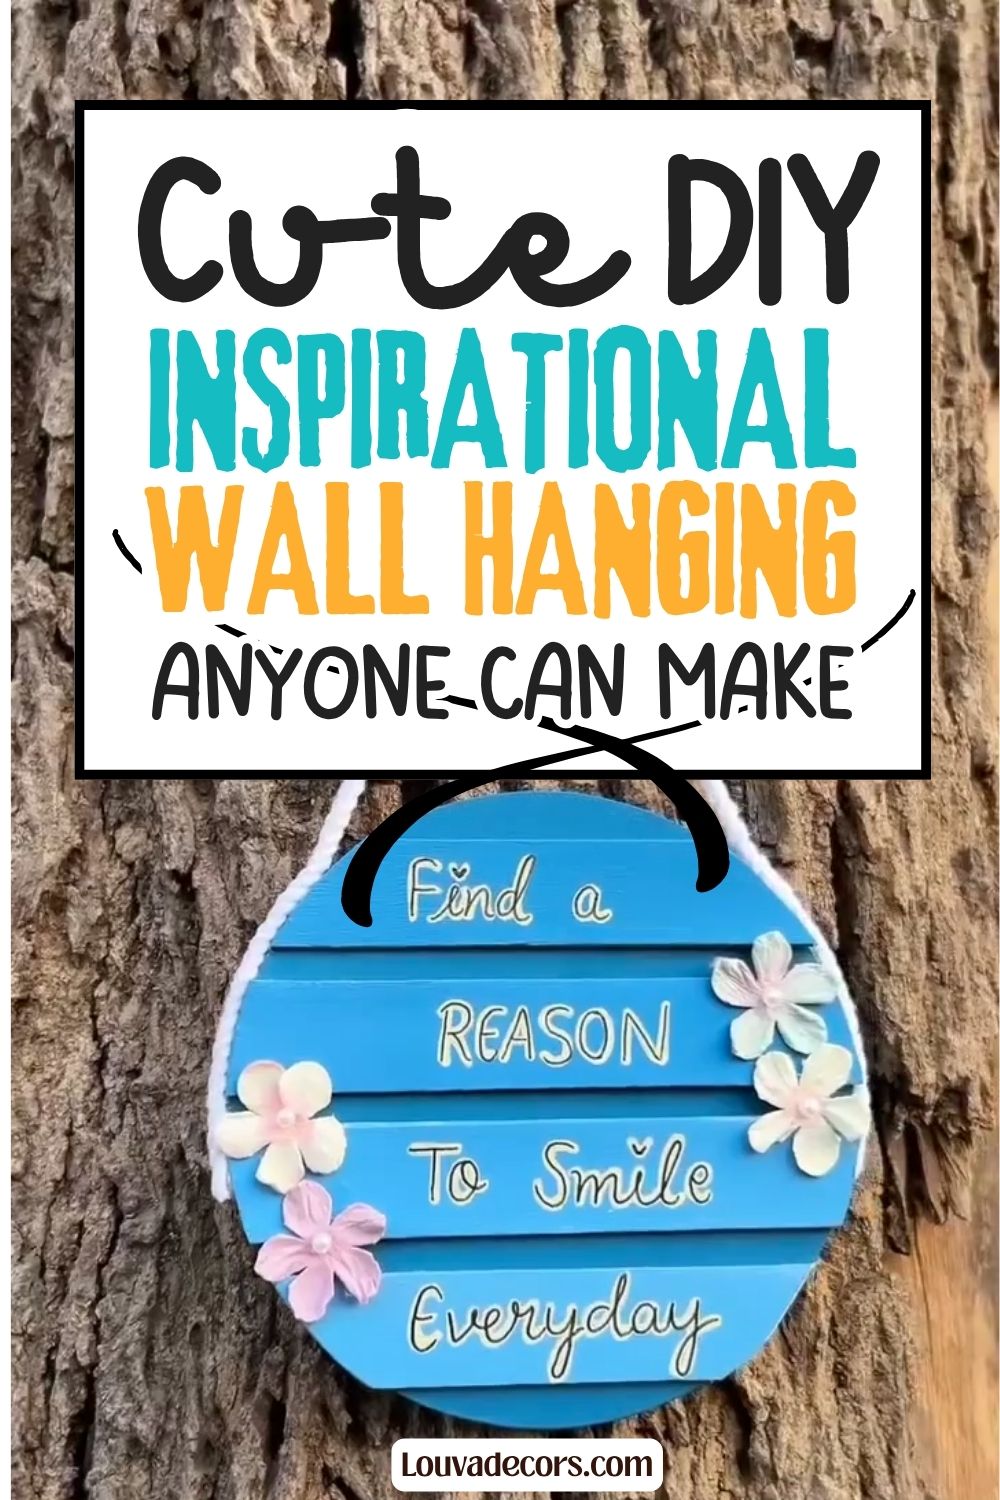
Imagine waking up every morning, looking at your bedroom wall, and seeing a gorgeous, hand-painted reminder to stay positive. This beautiful wooden quote plaque blends calming ocean gradients with delicate floral accents to elevate your room aesthetics completely. Gathering your own supplies to create this project allows you to customize the colors to match your bedroom perfectly.
You do not need any experience with woodworking or advanced painting techniques to complete this project successfully. Crafting can sometimes feel intimidating if you do not consider yourself an artist, but this method breaks everything down into foolproof segments. Take your time during each stage, embrace the process, and remember that slight variations give your piece its unique, handmade charm.
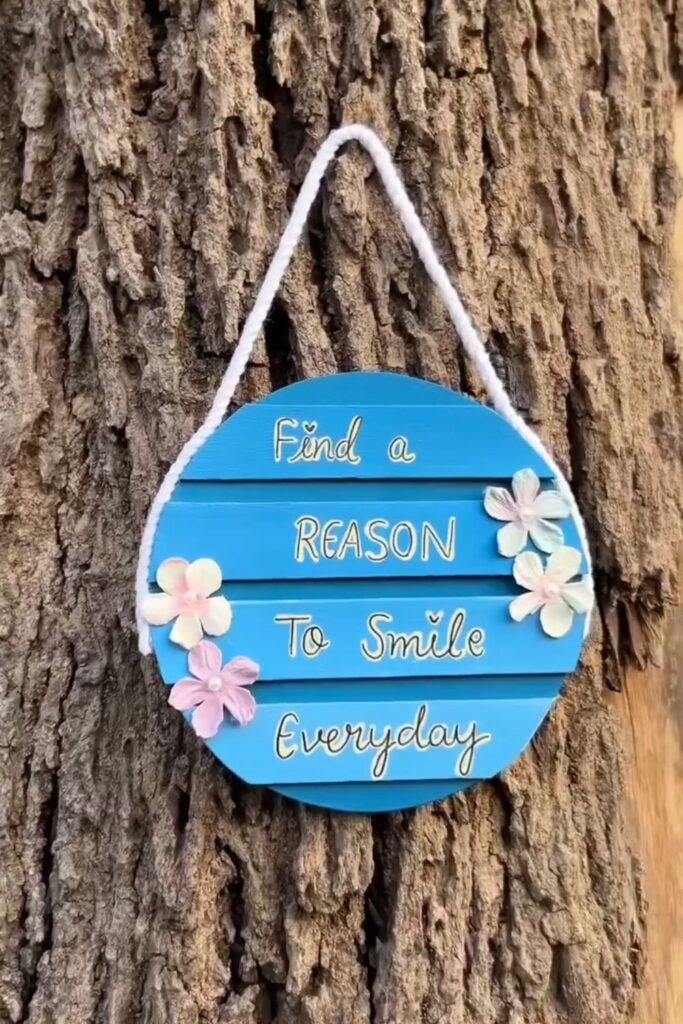
With a handful of basic crafting supplies and under an hour of your time, you will create a stunning piece of budget-friendly home decor. This project offers an ideal introduction to wood-based crafting without the need for expensive tools or machinery. Let’s gather our materials and begin creating your brand new favorite room accent.
WHY YOU WILL LOVE THIS PROJECT
This beautiful project delivers a high-end, boutique appearance using incredibly low-cost materials from your local discount store. It provides a wonderful opportunity to practice color blending and basic hand-lettering in a stress-free environment. Additionally, the finished sign serves as a thoughtful, customized gift that shows your loved ones how much you care.
WHAT YOU WILL NEED
- Round MDF plaque or wooden coaster base — [Thick cardboard circle cut from a shipping box]
- 6-8 Wooden popsicle sticks — [Recycled clean ice cream sticks]
- Craft glue or multi-surface adhesive — [School glue, allow extra drying time]
- White gesso or primer paint — [White acrylic paint applied in two coats]
- Acrylic paint in dark blue, medium blue, and light blue — [Mix blue with varying amounts of white paint]
- Fine-tip paintbrush and medium flat paintbrush — [Any basic synthetic craft brushes]
- Black fine-liner pen — [Fine-point permanent marker]
- White cotton macrame rope — [Thick white yarn or braided twine]
- Small paper or fabric craft flowers — [Handmade paper cutouts or felt shapes]
All materials can be found at your local craft store or ordered online.
STEP-BY-STEP INSTRUCTIONS
Step 1: Arrange the Wooden Base Plaque
Gather your circular wooden base and line up your wooden popsicle sticks horizontally across the surface. Lay the sticks tightly side-by-side to determine how many you need to completely cover the round plaque. Mark the edges where the sticks overhang so you know where they sit securely.
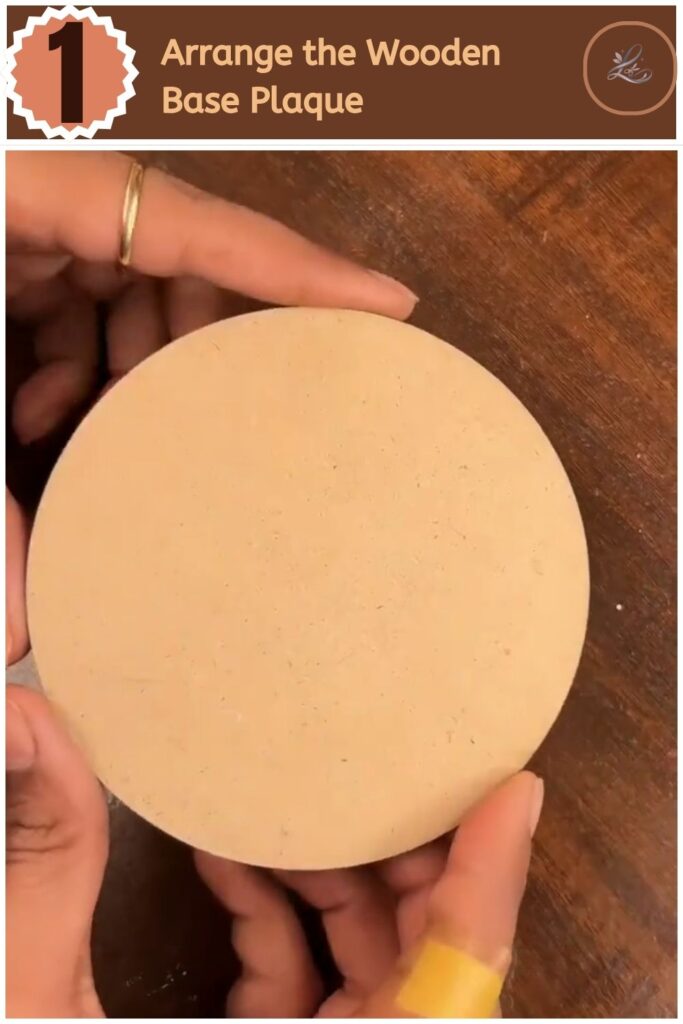
Pro Tip: Select the flattest, smoothest popsicle sticks from your pack to prevent any uneven gaps when you apply the paint later.
Step 2: Apply the Base Primer
Coat the attached wooden sticks with a smooth layer of white gesso or white acrylic paint. Use a medium flat paintbrush to spread the paint evenly across the entire surface, making sure to work the bristles into the small grooves between each stick. Allow this layer to dry completely before moving forward.
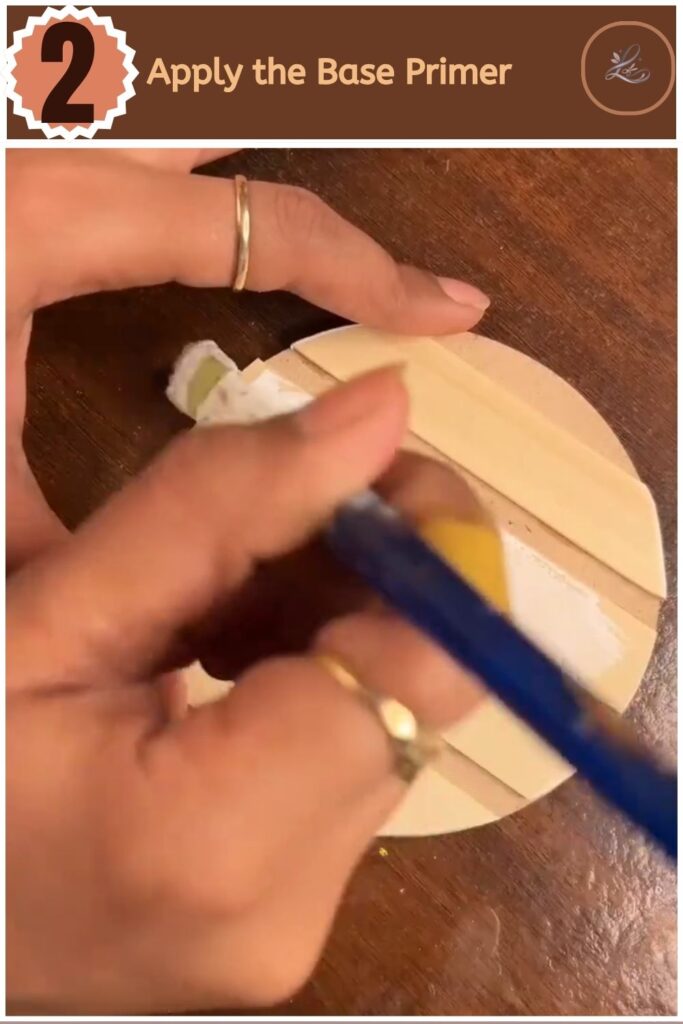
Pro Tip: Pull your brush strokes in one single direction along the grain of the sticks to achieve a flawless, smooth canvas for your coloured paint.
Step 3: Paint the Gradient Sections
Apply your different shades of blue acrylic paint to the individual popsicle stick panels to create an ombre effect. Paint the top strip in dark blue, transition to medium blue in the center, and use your lightest blue shade for the bottom panels. Keep your lines clean by using the natural separations of the sticks as your guide.
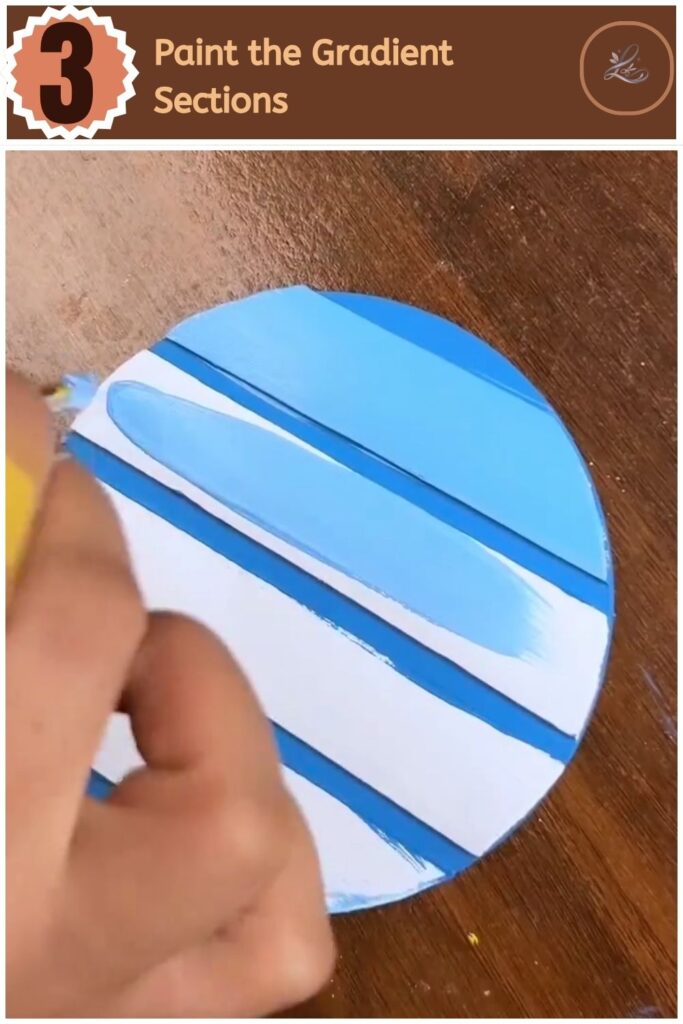
Pro Tip: Wipe your brush completely clean on a paper towel between each colour change to avoid accidentally muddying your distinct shades of blue.
- Easy DIY 3D Origami Christmas Tree (Cute Folded Holiday Decor)
- Easy DIY Origami Cruise Ship (5-Minute Paper Boat Tutorial)
- Easy DIY 3D Paper Heart Hot Air Balloon (5-Minute Kids Craft & Gift Card)
- Easy DIY 3D Pop-Up Flower Card (Exploding Floral Bouquet Tutorial)
- Easy DIY Paper Sunflower Card (With Surprise Flip Message!)
Step 4: Write the Motivational Quote
Use a fine-tip paintbrush and white paint to carefully letter your positive phrase across the center panels. Write slowly, sketching out words like “Find a REASON To Smile Everyday” with gentle, controlled pressure. No rush during this step; let each letter form completely before moving to the next.
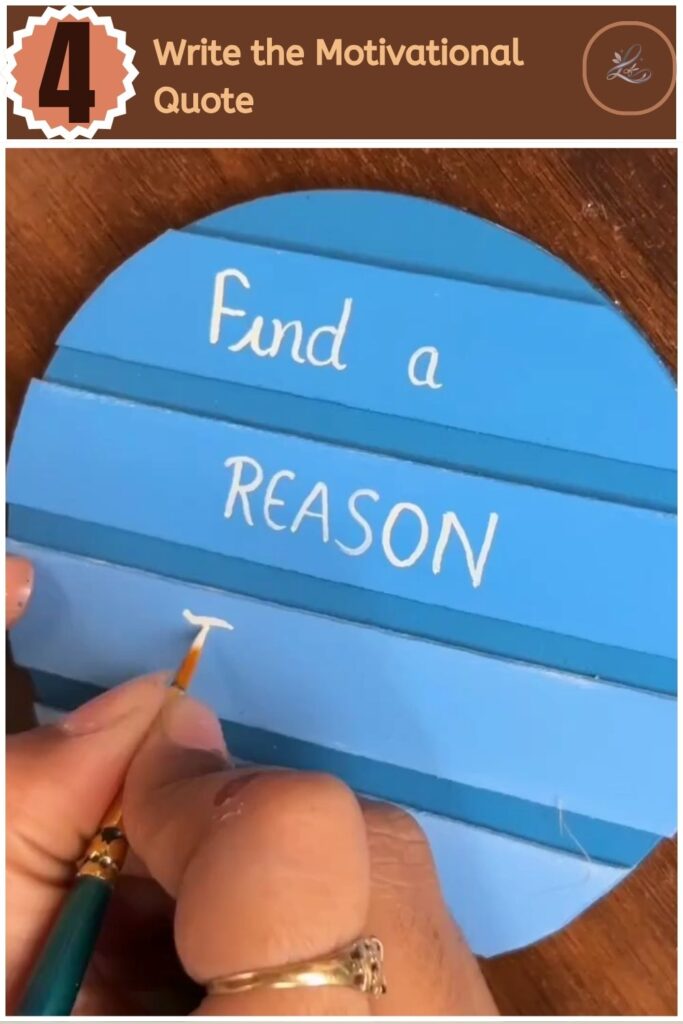
Pro Tip: If you feel nervous about freehand lettering, lightly trace your words with a pencil first before tracing over them with your paint.
Step 5: Attach the Border and Hanger
Run a line of strong craft glue along the outer edge of the plaque and press your white cotton rope firmly into place. Leave a generous loop of rope extended at the top of the circle to act as your hanging mechanism. Hold the rope firmly for a few moments to ensure the adhesive grips securely.
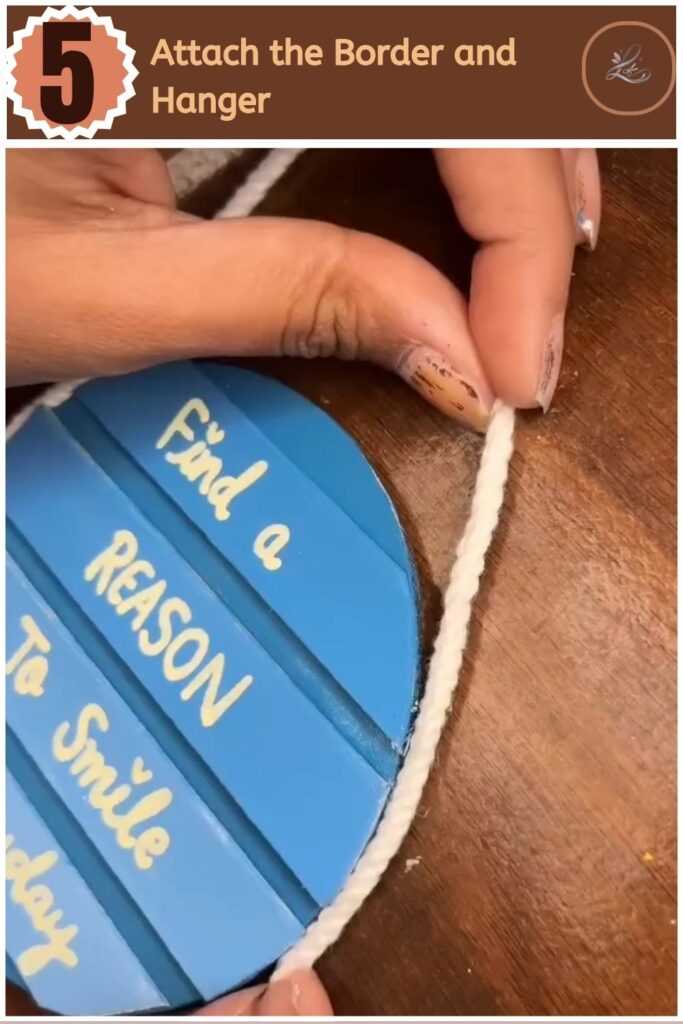
Pro Tip: Press down on the rope firmly section by section, giving the glue a moment to tacky up so the rope doesn’t shift out of its circular shape.
Step 6: Add Details and Embellishments
Glue your small decorative craft flowers to the sides of the sign and outline your white text with a black fine-liner pen. The black border makes the white letters pop vividly against the blue background. Once your final decorative details are attached, your gorgeous art piece is ready to display.
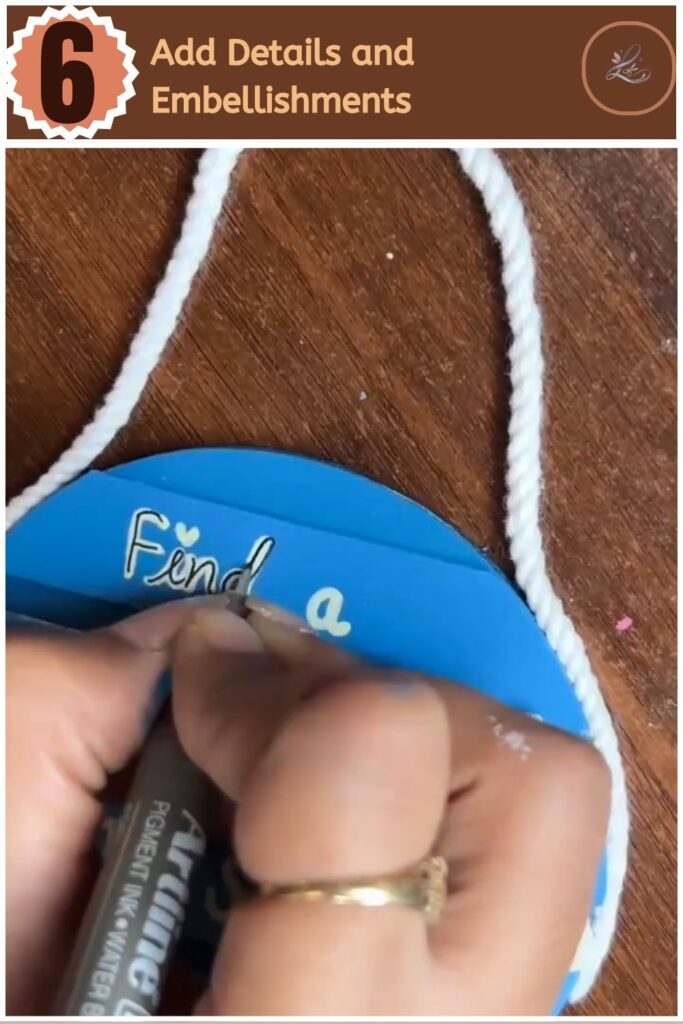
Pro Tip: Use the very tip of your fine-liner pen for the lettering outlines to keep the accent lines delicate and sharp.
TIPS & TRICKS
- If your popsicle sticks warp slightly when you apply the liquid craft glue, place a heavy book over them for ten minutes while they dry to keep them perfectly flat.
- If you run your white paint pen or brush off course while writing, quickly wipe it away with a damp cotton swab before the acrylic paint cures.
- If the white rope ends begin to fray when you trim them, wrap a tiny piece of clear tape around the tips or seal them with a tiny drop of glue.
- Want to change up the style? Swap out the blue gradient for soft pastel pinks, warm sunset oranges, or earthy sage greens to match your room theme.
WAYS TO USE THIS CRAFT
This versatile wooden plaque fits beautifully into various corners of your home. Hang it up on a bedroom gallery wall or place it prominently on an entryway shelf to welcome guests with a burst of positivity. It also shines as a beautiful, heartfelt present; check out our curated guide on DIY Paper Star Christmas Ornament (Kids Craft Ideas) for more wonderful ideas.
FREQUENTLY ASKED QUESTIONS
-
How long does this project take to complete?
This project requires roughly 30 to 45 minutes from start to finish. A significant portion of this time involves waiting for your paint layers to dry properly between steps. You can speed up the drying process by using a hair dryer set to a low, cool setting.
-
How do you paint a smooth ombre gradient on wood?
To paint a smooth ombre gradient, start by laying your colors down from darkest to lightest while the paint is still wet. Use a damp, soft brush to gently blend the borders where the colors meet. Working quickly helps the pigments blend seamlessly together before they dry.
-
What marker can you use to outline acrylic paint?
A water-based pigment fine-liner or a permanent acrylic paint pen works best over dried acrylic paint. Avoid standard water-based school markers, as they will bead up or smear on top of the acrylic surface. Always ensure your underlying paint layer is completely dry to the touch before outlining.
CLOSING
You have created something truly beautiful out of simple, everyday craft items! Display your gorgeous new piece proudly or package it up safely to bring a huge smile to a loved one’s face. Creating art by hand brings so much joy, and you proved that you do not need expensive boutique supplies to make something spectacular. Ready for your next project? Try our Pretty Paper Daisy Flower Craft for Kids next!
Happy crafting! — LOUVADECORES
Follow us on: Pinterest
