

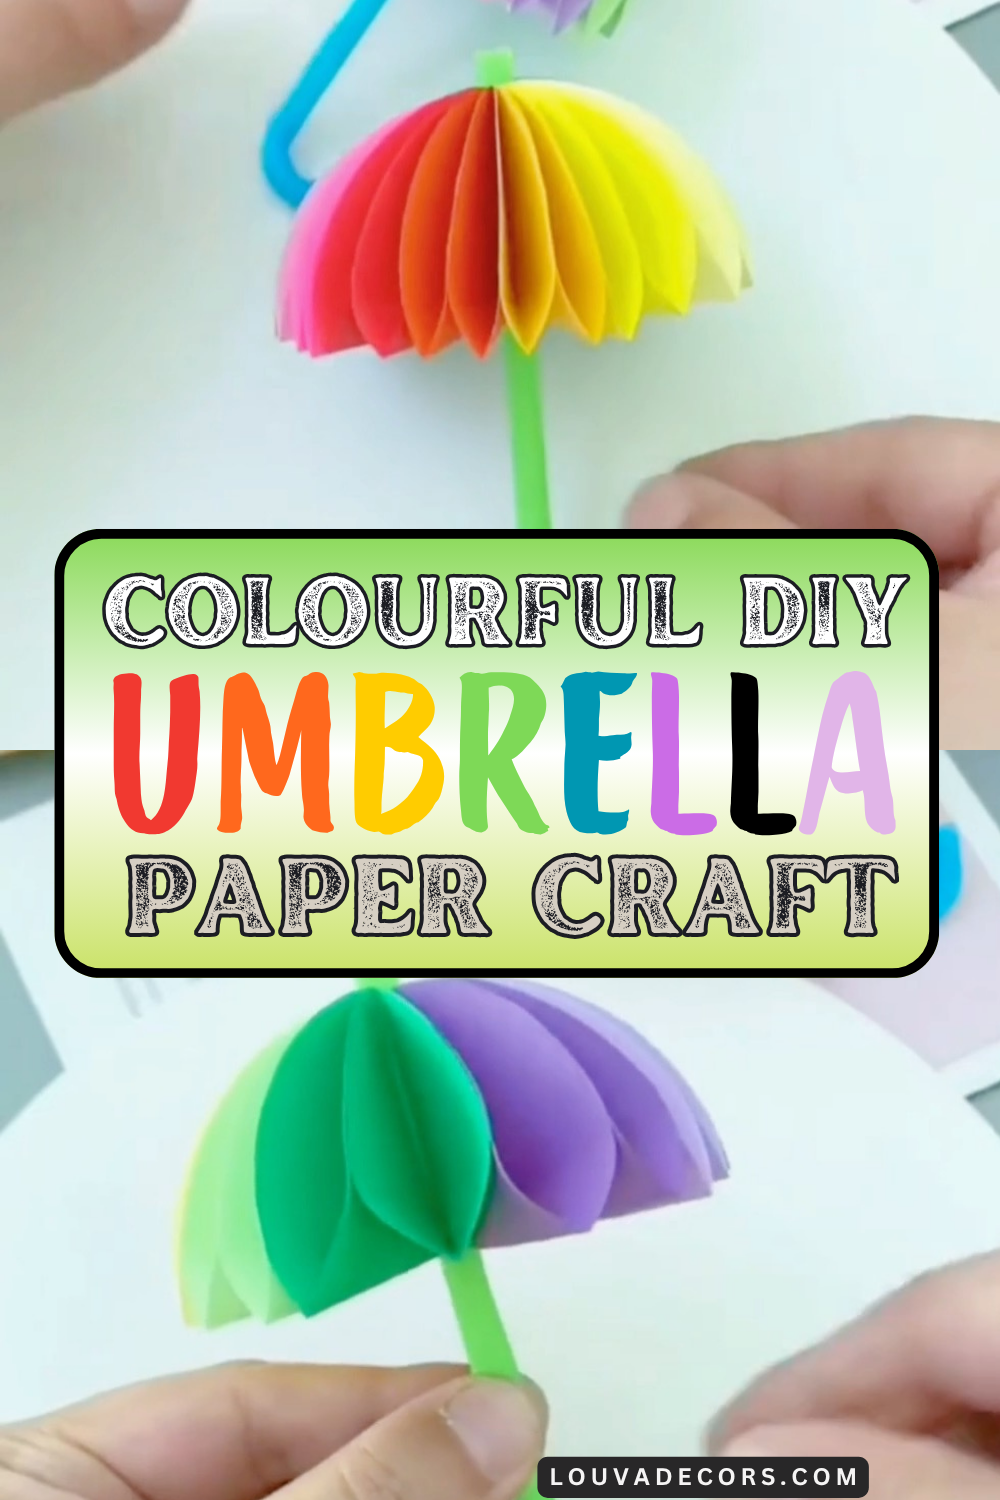
Picture a vibrant, colourful canopy resting on your shelf or topping off a festive drink. You can create these beautiful miniature paper crafts right at home with supplies you already own. Finding engaging rainy day craft ideas keeps everyone entertained and creative. Exploring new origami umbrella step by step tutorials gives you a wonderful creative outlet. Adding handmade party decorations brings a cheerful, personal touch to any celebration.
You do not need any experience to tackle this project. Take your time with the folds and cuts. It is absolutely okay if your first attempt looks a little uneven.
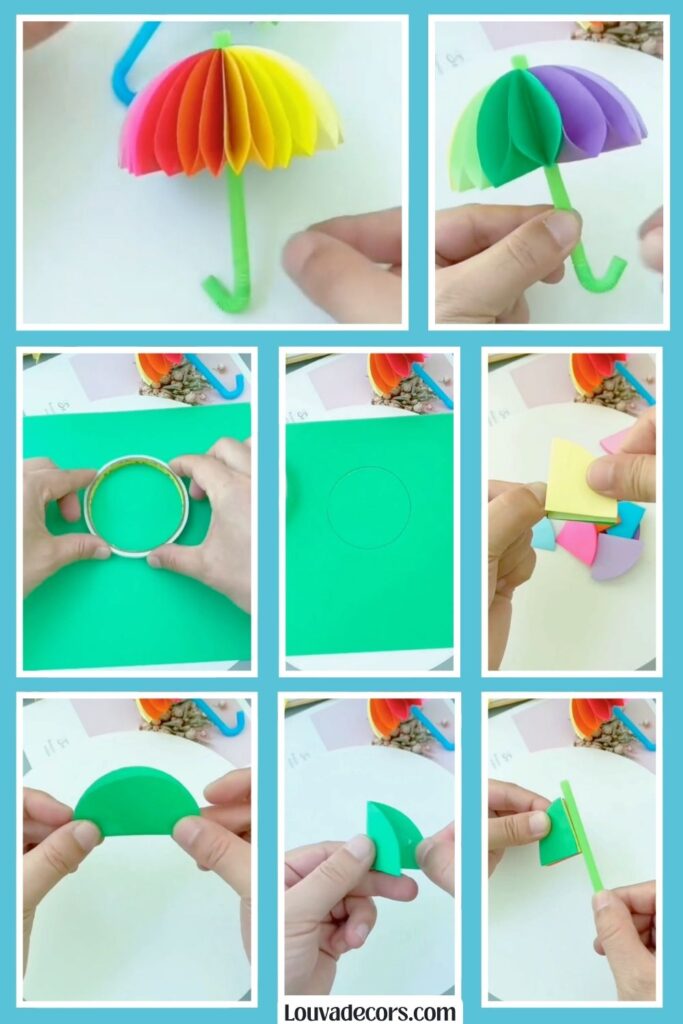
We will use standard paper and clear tape to assemble this piece. Gather your scissors, colored paper, and a plastic straw. This fun home decor project takes about 15 minutes to complete.
WHY YOU WILL LOVE THIS PROJECT
This craft transforms inexpensive, everyday materials into something visually striking. You will love how beginner-friendly the folding process is. It makes an excellent addition to your seasonal home decor without requiring a large budget.
WHAT YOU WILL NEED
- Colored Paper or Cardstock — [Scrap paper or magazine pages]
- Roll of Tape (for tracing) — [Any round object like a cup]
- Pen or Marker — [Pencil]
- Small Scissors — [Craft knife]
- Double-Sided Tape — [Glue stick]
- Plastic Straw with a bendable neck — [Wooden skewer or rolled paper tube]
All materials can be found at your local craft store or ordered online.
VIDEO TUTORIAL
Watch the full tutorial above before reading the written steps. The steps below match the video exactly.
STEP-BY-STEP INSTRUCTIONS
Step 1: Trace Your Circles
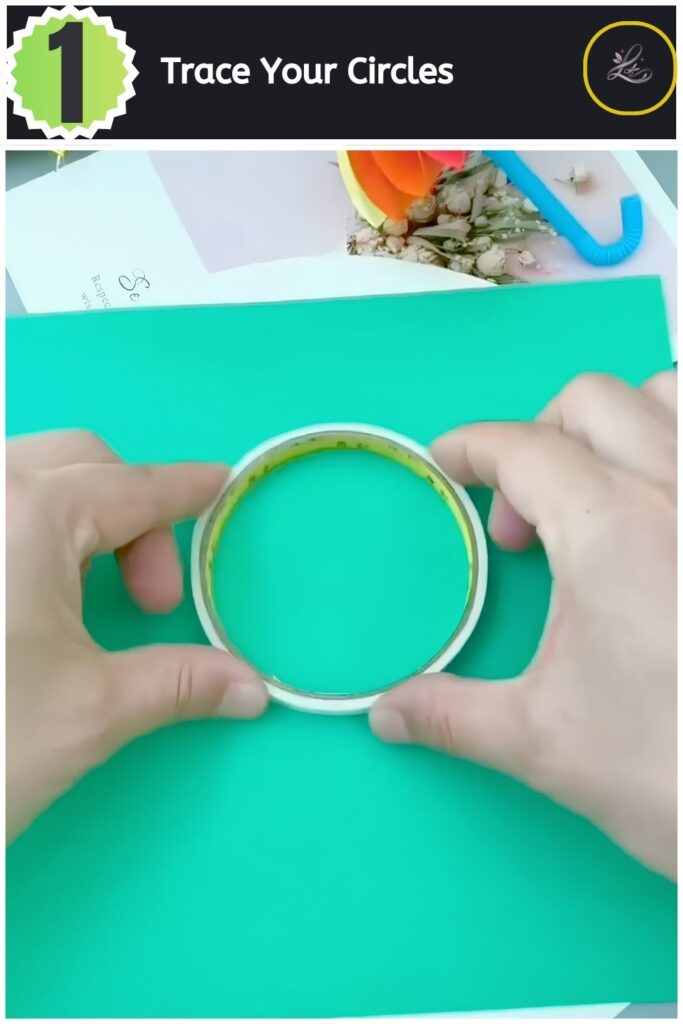
Place a roll of tape onto a sheet of coloured paper and trace around the inside with a pen. Keep your pen straight to ensure the circle remains completely round. Press firmly so you can clearly see the guideline.
Pro Tip: Use a slightly thicker paper to give your final canopy more structure.
Step 2: Cut Out the Shapes
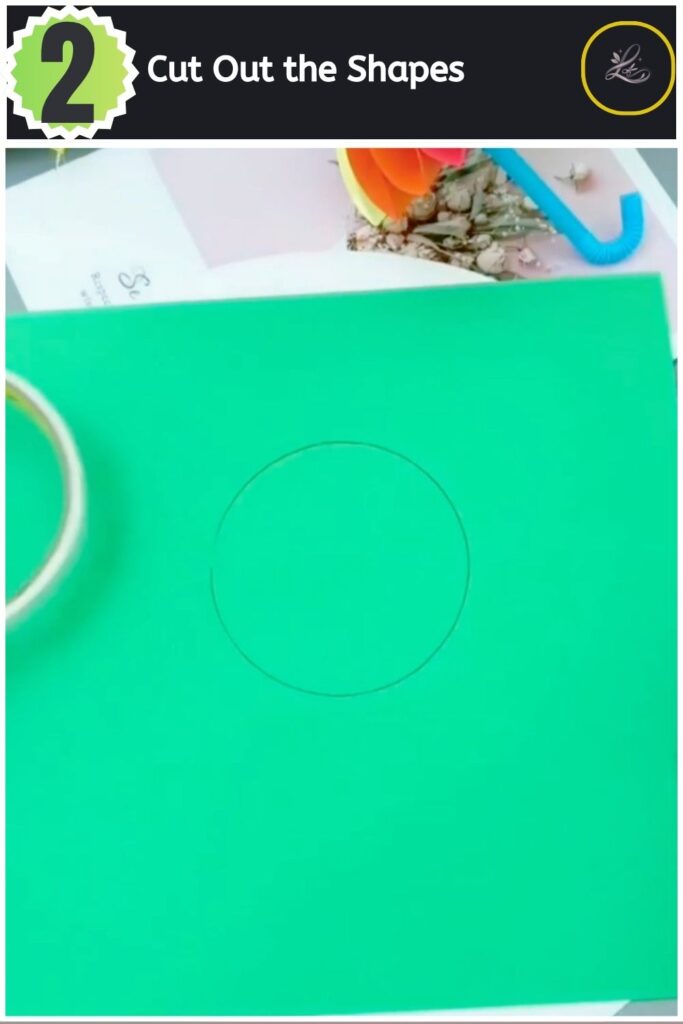
Use small scissors to cut along the traced line. Follow the ink line closely to keep the edges smooth. Repeat this process until you have 10 to 15 circles in various colors.
Pro Tip: Move the paper with your non-dominant hand while keeping the scissors relatively still for a smoother cut.
Step 3: Fold the Circles in Half
Fold the cut circle exactly in half. Line up the edges carefully before pressing down on the crease. Run your fingernail over the fold to make it sharp.
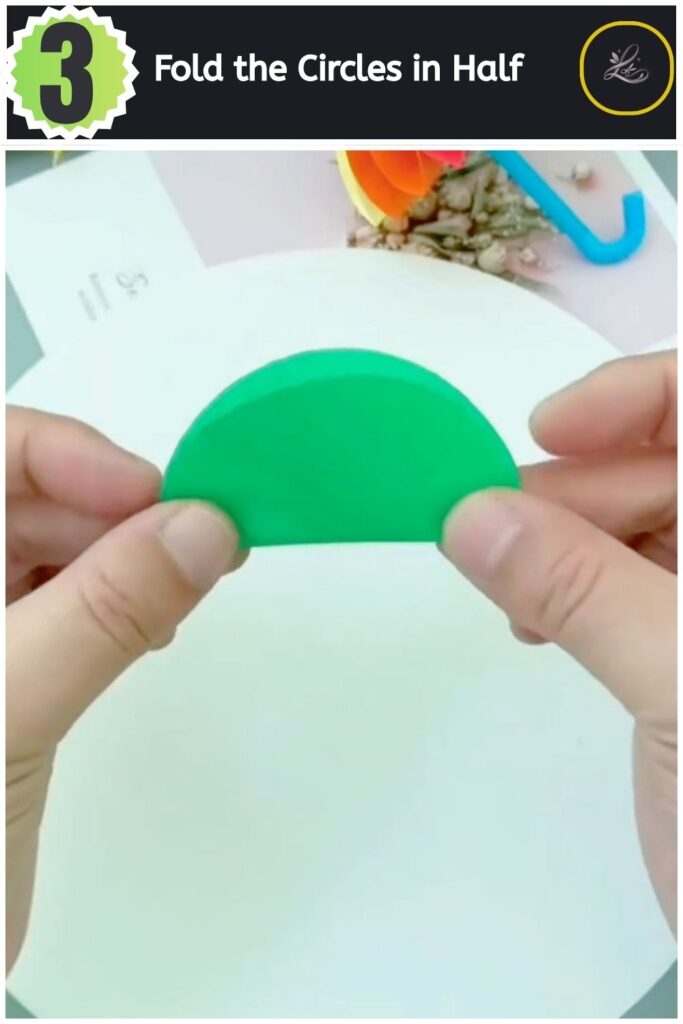
Pro Tip: A crisp fold ensures the umbrella segments will sit flush against each other later.
Step 4: Create the Petal Shape
Apply a small piece of double-sided tape inside the folded semi-circle and fold it in half again. Press the paper together so the tape holds the quarter-circle closed. Gently pry open the curved edge slightly to form a hollow, petal-like pocket.
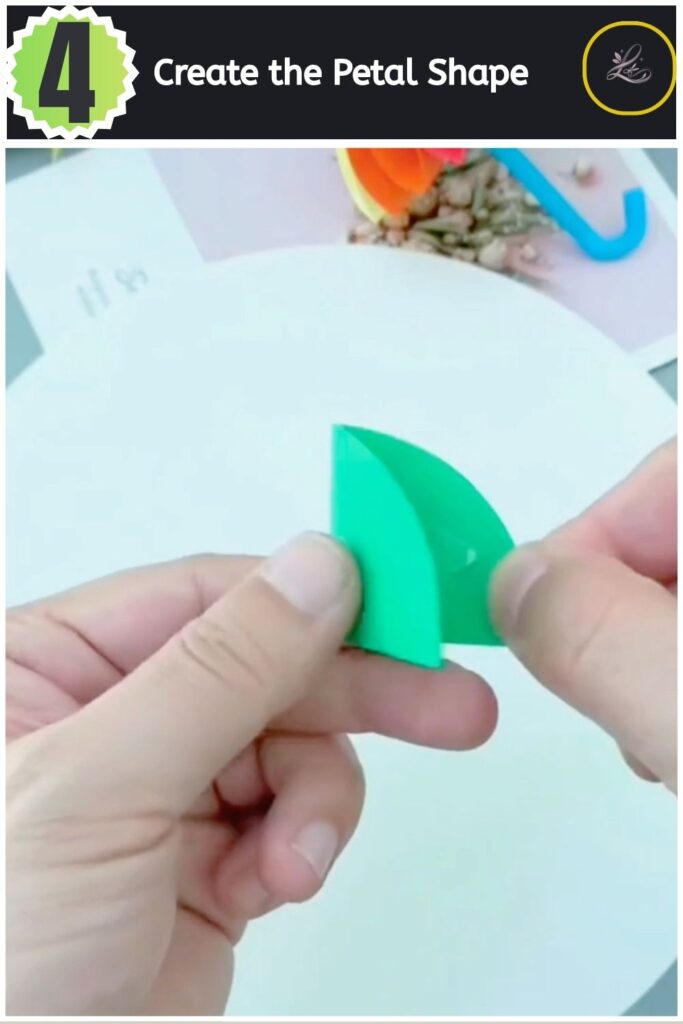
Pro Tip: Place the tape near the straight folded edge rather than the curved edge so the pocket opens wider.
Step 5: Connect the Segments
Stick all 10 to 15 folded segments together side-by-side using double-sided tape. Align the straight, folded edges of each piece as you stack them. Alternate colors to create a rainbow effect.
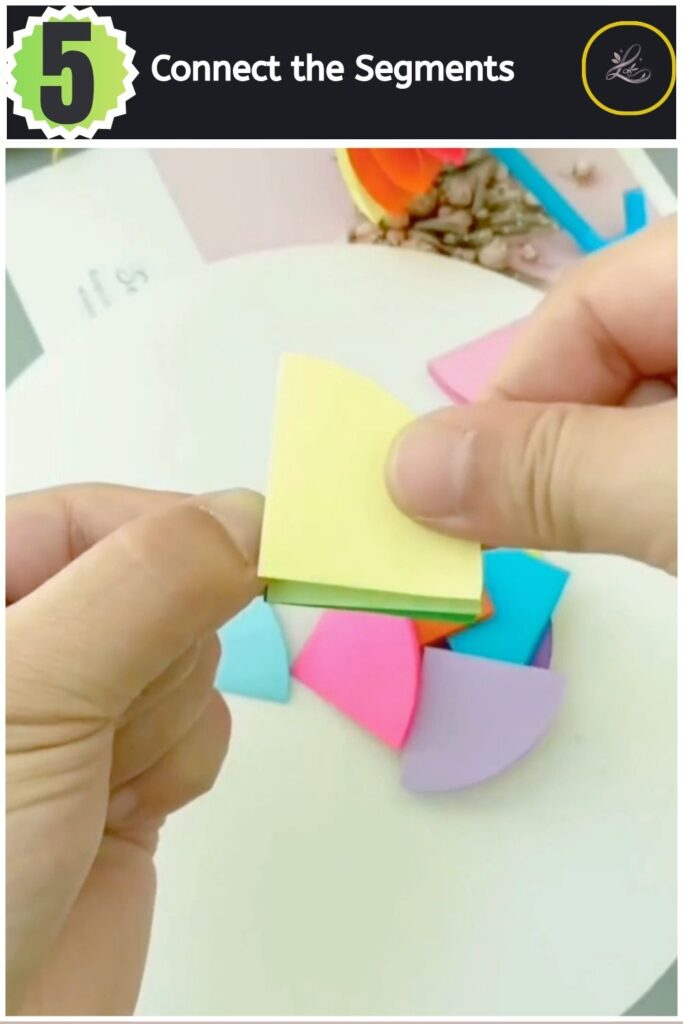
Pro Tip: Ensure all the open “pockets” face the exact same direction before taping them to the stack.
Step 6: Form the Canopy and Add the Handle
Wrap the stack around into a full circle and tape the first and last segments together. Push a bendable plastic straw through the center hole of your paper canopy. Secure the straw in place with a small piece of tape on the underside.
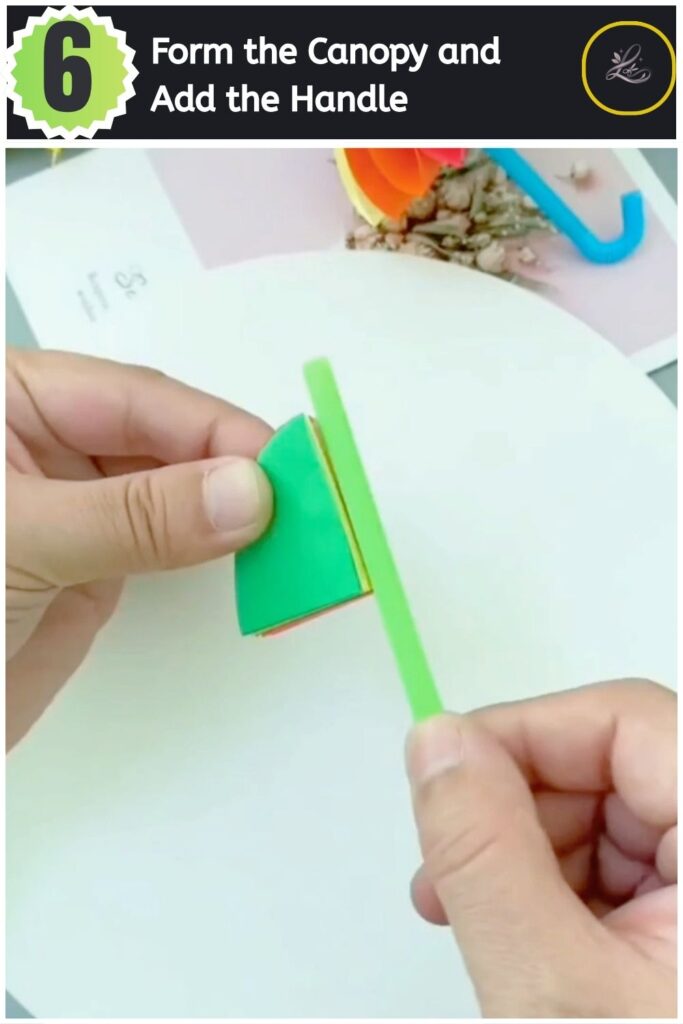
Pro Tip: Bend the neck of the plastic straw to mimic the classic “J” shape of a real umbrella handle.
TIPS & TRICKS
- If your umbrella canopy feels loose or wants to spring open, add a dab of hot glue to the center where the tips meet to lock them in place.
- If your circles are slightly different sizes, place the largest ones at the bottom of the stack to hide the inconsistencies.
- Use a bone folder instead of your fingernail to prevent transferring oils from your hands onto lighter-colored paper.
- If you lack double-sided tape, loop a small piece of regular clear tape back onto itself to create a sticky ring.
WAYS TO USE THIS CRAFT
You can use these adorable pieces in several creative ways around your house. They look brilliant hung from the ceiling with clear fishing line for floating home decor. You can also glue them to the top of gift boxes for an unexpected 3D topper.
FREQUENTLY ASKED QUESTIONS
-
How long does this project take to complete?
You will spend roughly 15 minutes completing this craft. Preparing and cutting the circles takes the longest amount of time.
-
What kind of paper is best for folding mini umbrellas?
Standard printer paper or lightweight origami paper works exceptionally well for this project. Thick cardstock often resists tight folds and makes the canopy too bulky to wrap into a full circle.
-
Can you use glue instead of double-sided tape for paper umbrellas?
You can substitute a standard glue stick for the double-sided tape. Hold the pieces together for a few extra seconds to ensure the glue sets before moving to the next step.
CLOSING
You conquered this project beautifully! Trying a new craft often feels intimidating at first, but taking it step by step makes all the difference. You now have a delightful, colourful decoration to brighten up your space. Ready for your next project? Try Adorable Paper Strawberry Craft for Beginners next!
Happy crafting! — LOUVADECORES
Follow us on: Pinterest
