
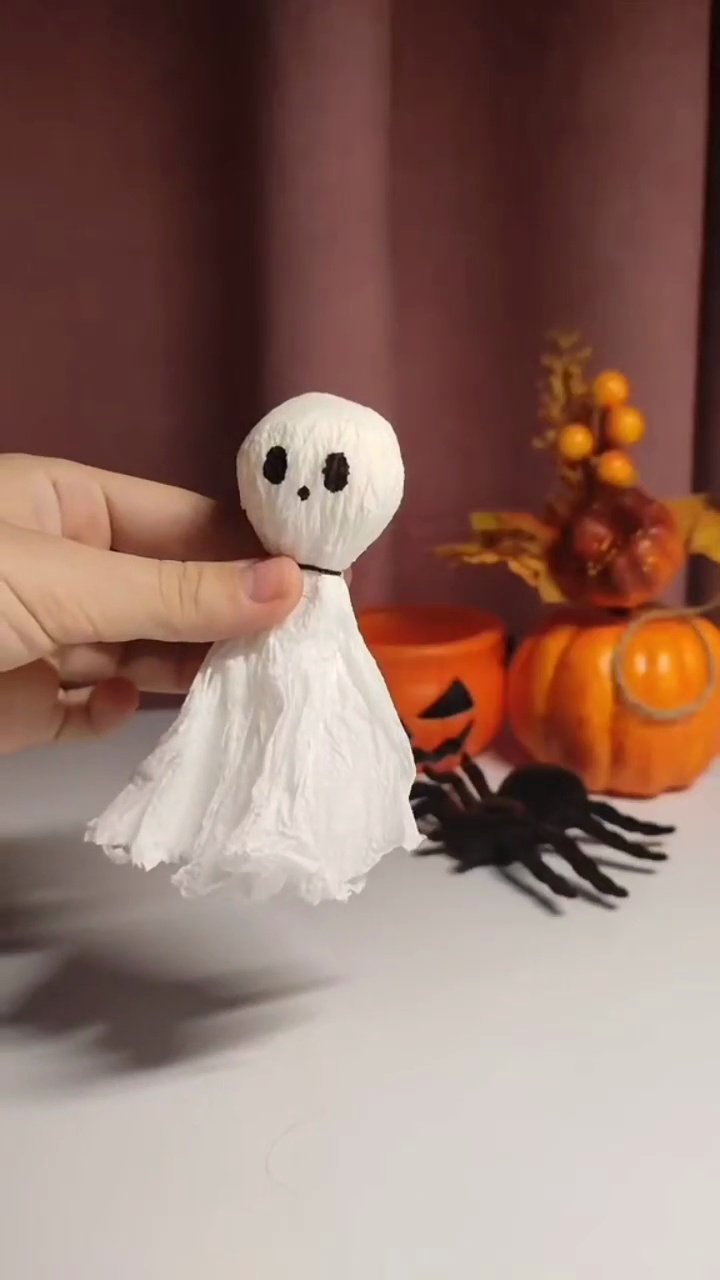
If you find yourself staring at an empty entryway table the week before Halloween, don’t panic—and definitely don’t run out to spend twenty dollars on cheap plastic decor. You can make these charming, freestanding DIY paper towel ghosts in literally five minutes with supplies you already have sitting in your kitchen pantry.
What I love most about this project is that it requires zero precision. You don’t need a hot glue gun (no burnt fingertips!), no expensive wood blocks, and no fancy measuring tape. Because quilted paper towels naturally hold soft folds and gentle wrinkles, every little ghost you craft ends up with its own goofy, sweet personality.
⏱ Craft Time: 5 Minutes •
💰 Budget: zsh – (Uses household pantry items) •
🎯 Skill Level: Absolute Beginner / Perfect for Kids
Supplies You Will Need
You probably have every single item sitting in your pantry right now (no expensive craft store runs required!):
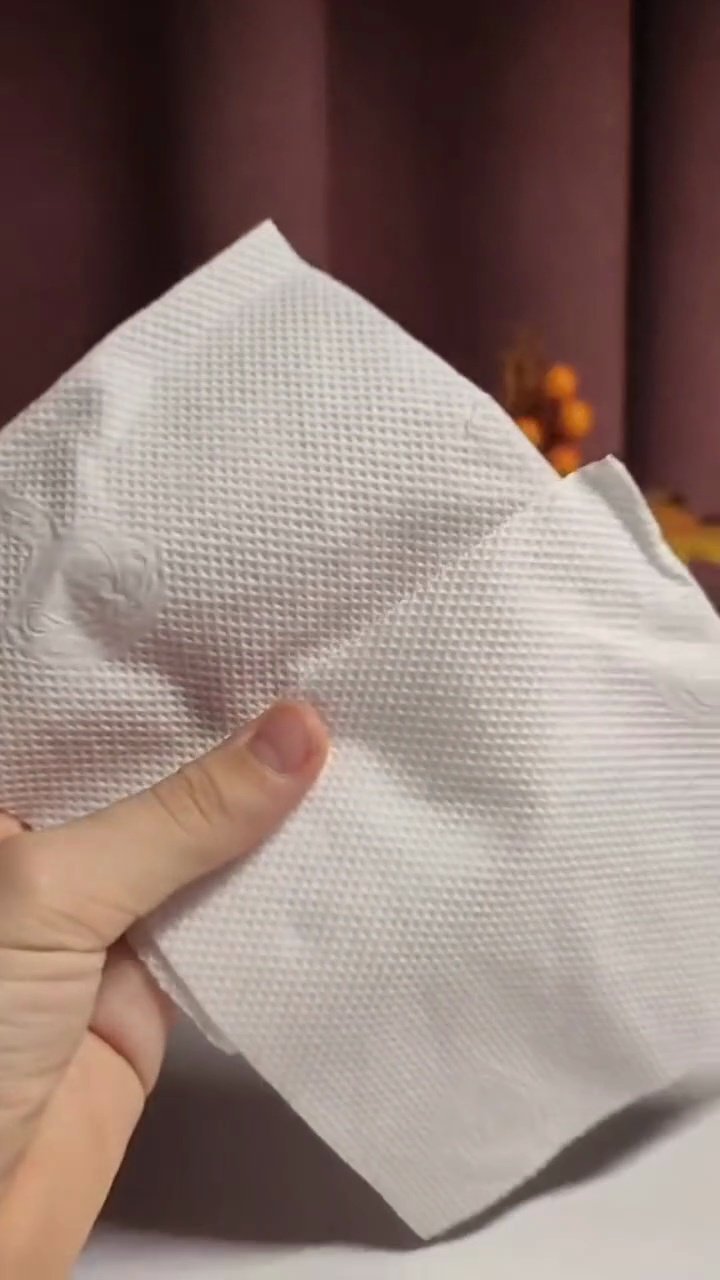
- White Paper Towels or Dinner Napkins — 2 sheets per ghost (quilted 2-ply sheets give the best body)
- Small Black Elastic Bands — 1 per ghost (mini hair elastics or tiny rubber bands)
- Black Marker — Felt-tip, Sharpie, or washable marker if crafting with little hands
Tools:
- Standard Craft Scissors
Quick Craft Video
Step-by-Step Instructions
Step 1: Crumple the Inner Head Core
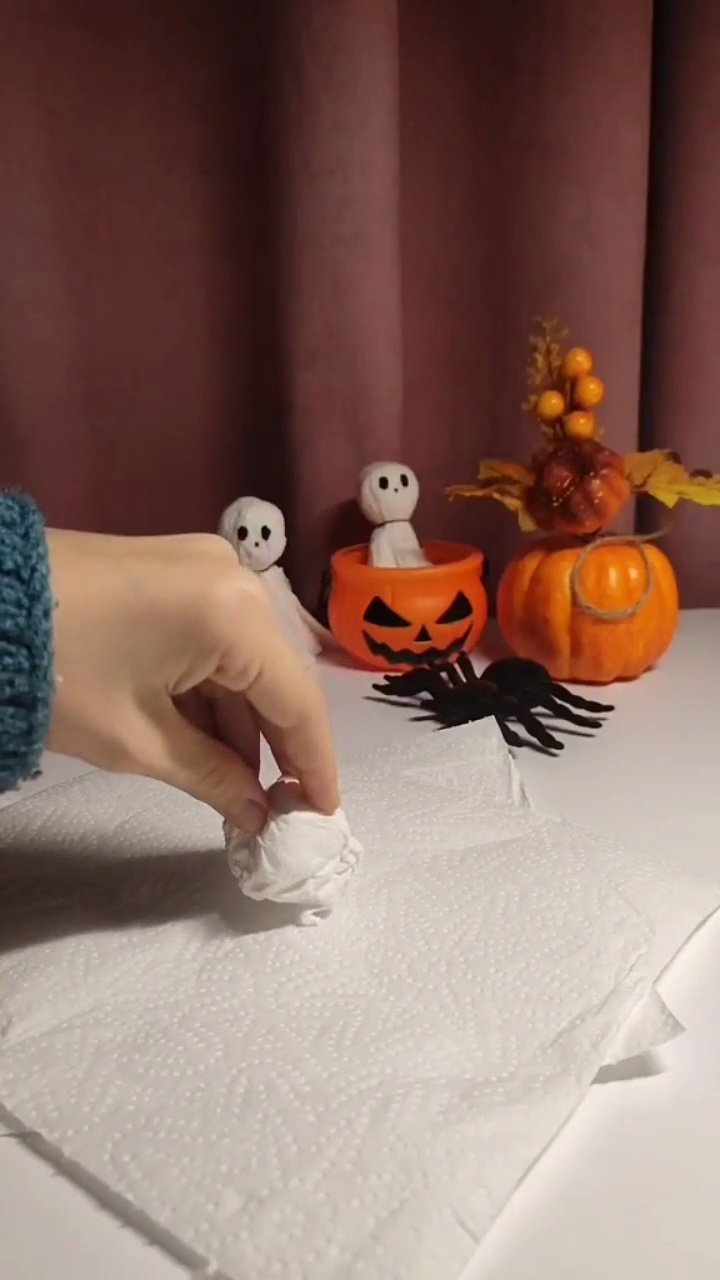
Take your first sheet of paper towel and squeeze it tightly into a firm ball. Roll and cup it between your palms just like making a mini snowball until it feels solid. This becomes the sturdy skeleton inside your ghost’s head.
Step 2: Drape the Outer Skirt
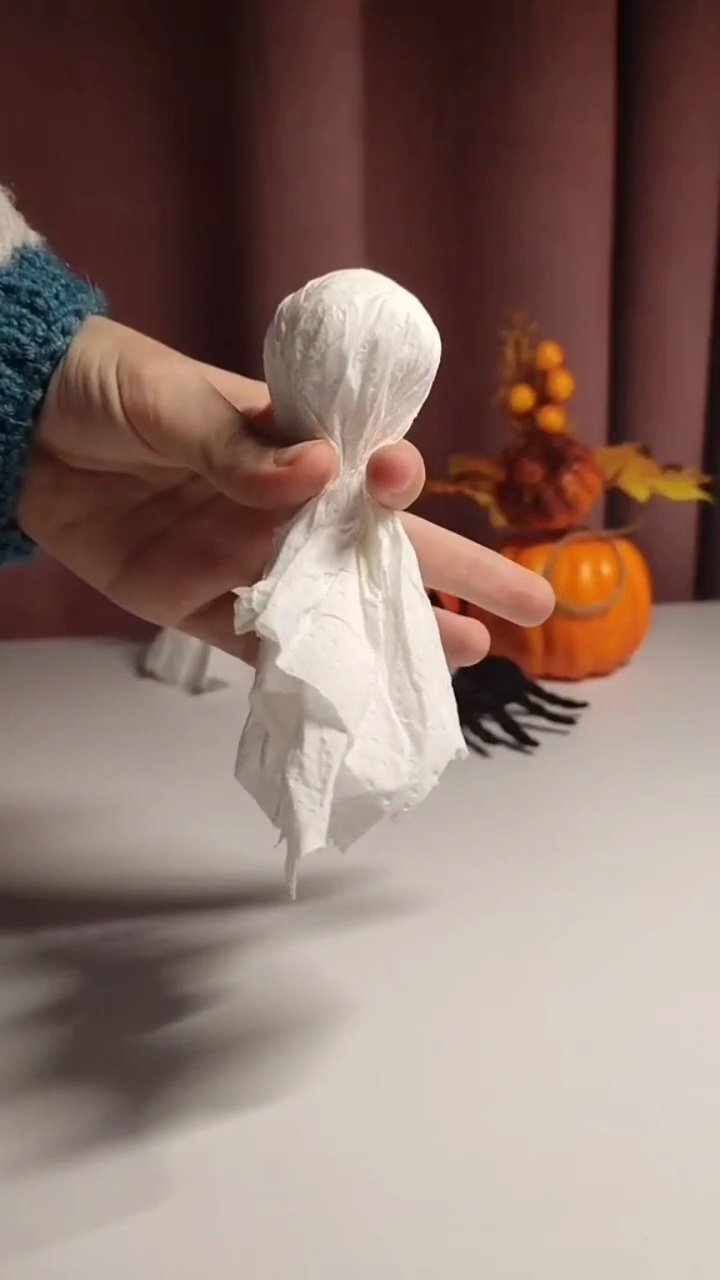
Lay a fresh paper towel flat on your table, place your paper ball right in the center, and fold the corners down. Gently gather the sheet around the ball with your fingers so the paper drapes evenly into a flowing ghost skirt.
Step 3: Lock the Neck with an Elastic
Wrap your small black elastic band tightly right under the head ball. Twist the band two or three times until it hugs the neck snugly. The black rubber band also doubles as a cute little collar!
Step 4: Give Your Ghost a Face
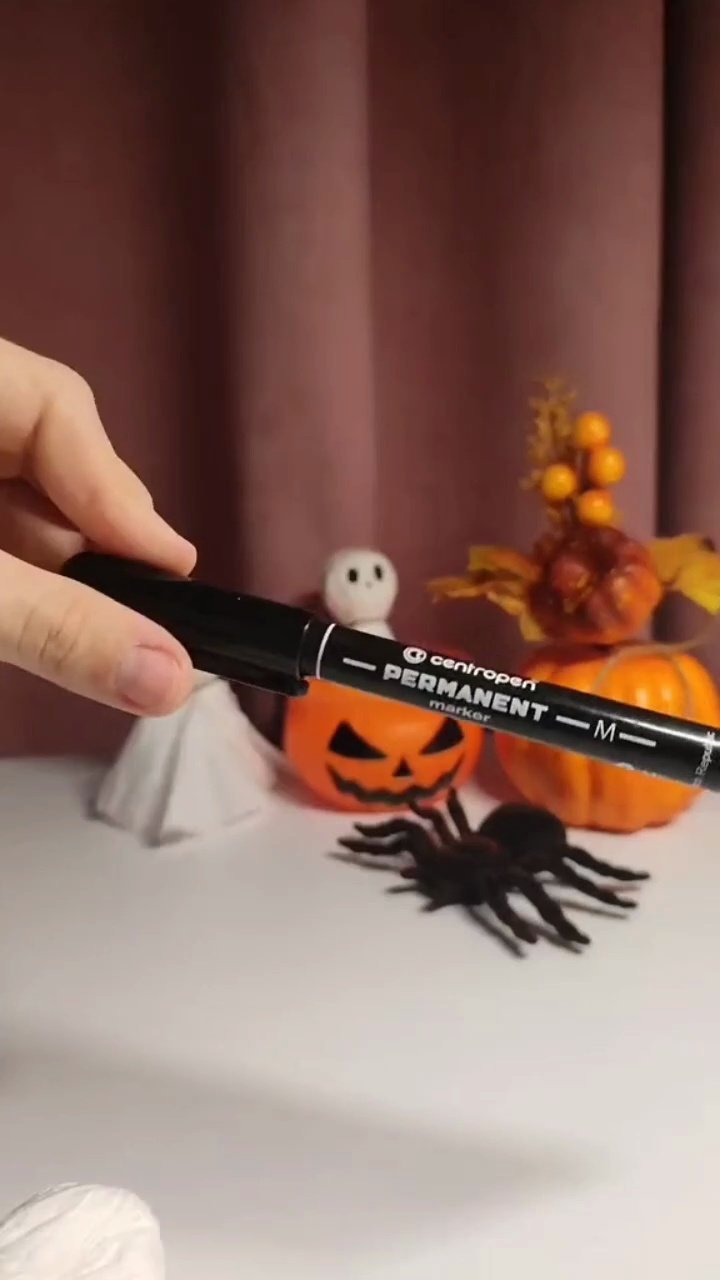
Grab your black marker and gently dab two oval eyes and a little open mouth onto the smoothest side of the head. Keep your touch light so the ink doesn’t bleed into the paper folds. You can give them friendly smiles, goofy winks, or classic spooky “O” mouths.
Step 5: Trim the Hem for a Freestanding Base
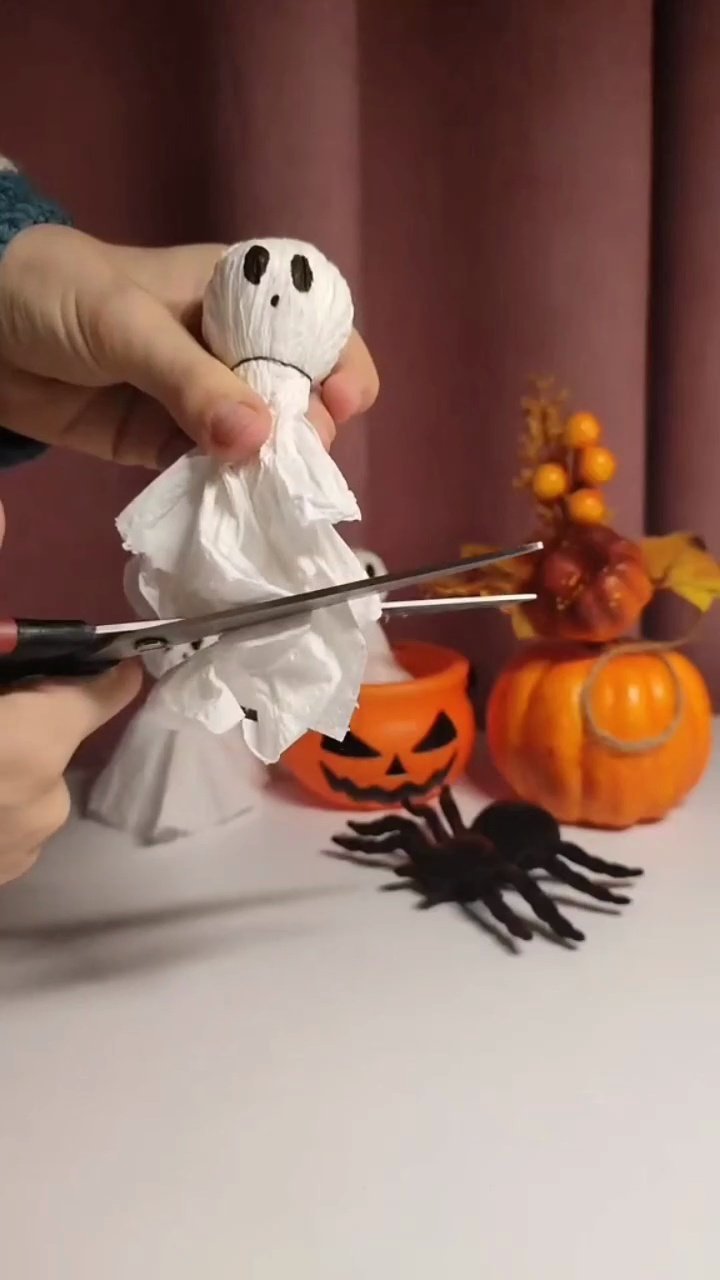
Set your ghost down on the table to see how it balances, then snip straight across the uneven bottom fringe. Trimming the base flat is the secret that lets these lightweight ghosts stand completely upright on their own without wobbling.
How to Style These Little Ghosts
- Tiered Tray Vignettes: Tuck a trio of ghosts around mini orange pumpkins, faux spiders, and wooden bead garlands on your kitchen counter.
- Fireplace Garland: Thread fishing line or baker’s twine through the heads with a needle, and drape a floating ghost garland across your mantel.
- Lollipop Party Treats: Swap the crumpled paper ball for a Dum-Dum or Tootsie Pop inside the head for an instant Halloween classroom favor!
Looking for More Budget-Friendly Decor?
Don’t stop at ghosts! Check out these easy project guides to complete your cozy setup:
- 20 Easy DIY Santa Crafts to Make This Christmas (Cheap & Adorable
- Make Sweet DIY Flower Greeting Card for Loved Ones
Frequently Asked Questions
Can I make these with regular bathroom tissues instead?
You sure can! Facial tissues create an even softer, whisper-thin ghost, though they are lighter and might need to lean slightly against a pumpkin or vase to stay upright.
What if my marker ink bleeds through the paper?
Don’t fret! If a dot bleeds a little larger than planned, simply rotate the ghost around and draw on the other side, or use tiny peel-and-stick black adhesive dots instead.
How can I make them stand up if they keep tipping over?
Gently flare out the bottom rim of the paper with your thumbs. If your room has a breeze, slip a small coin or washer into the bottom of the skirt for a hidden anchor weight.
Final Thoughts
There is something deeply satisfying about turning twenty cents worth of kitchen paper into seasonal decor that brings a smile to everyone who walks past the entryway. It’s proof you don’t need an extravagant budget or hours of free time to make your home feel festive and inviting.
If you make a little ghost family of your own, I would love to see how you style them! Snap a photo, tag us over on Instagram or Pinterest at @louvadecors, and be sure to pin the tutorial below so you can find it again next autumn.
Happy crafting, and have a cozy, spooky season!

One thought on “Easy DIY Paper Towel Ghosts (5-Minute Halloween Craft)”