
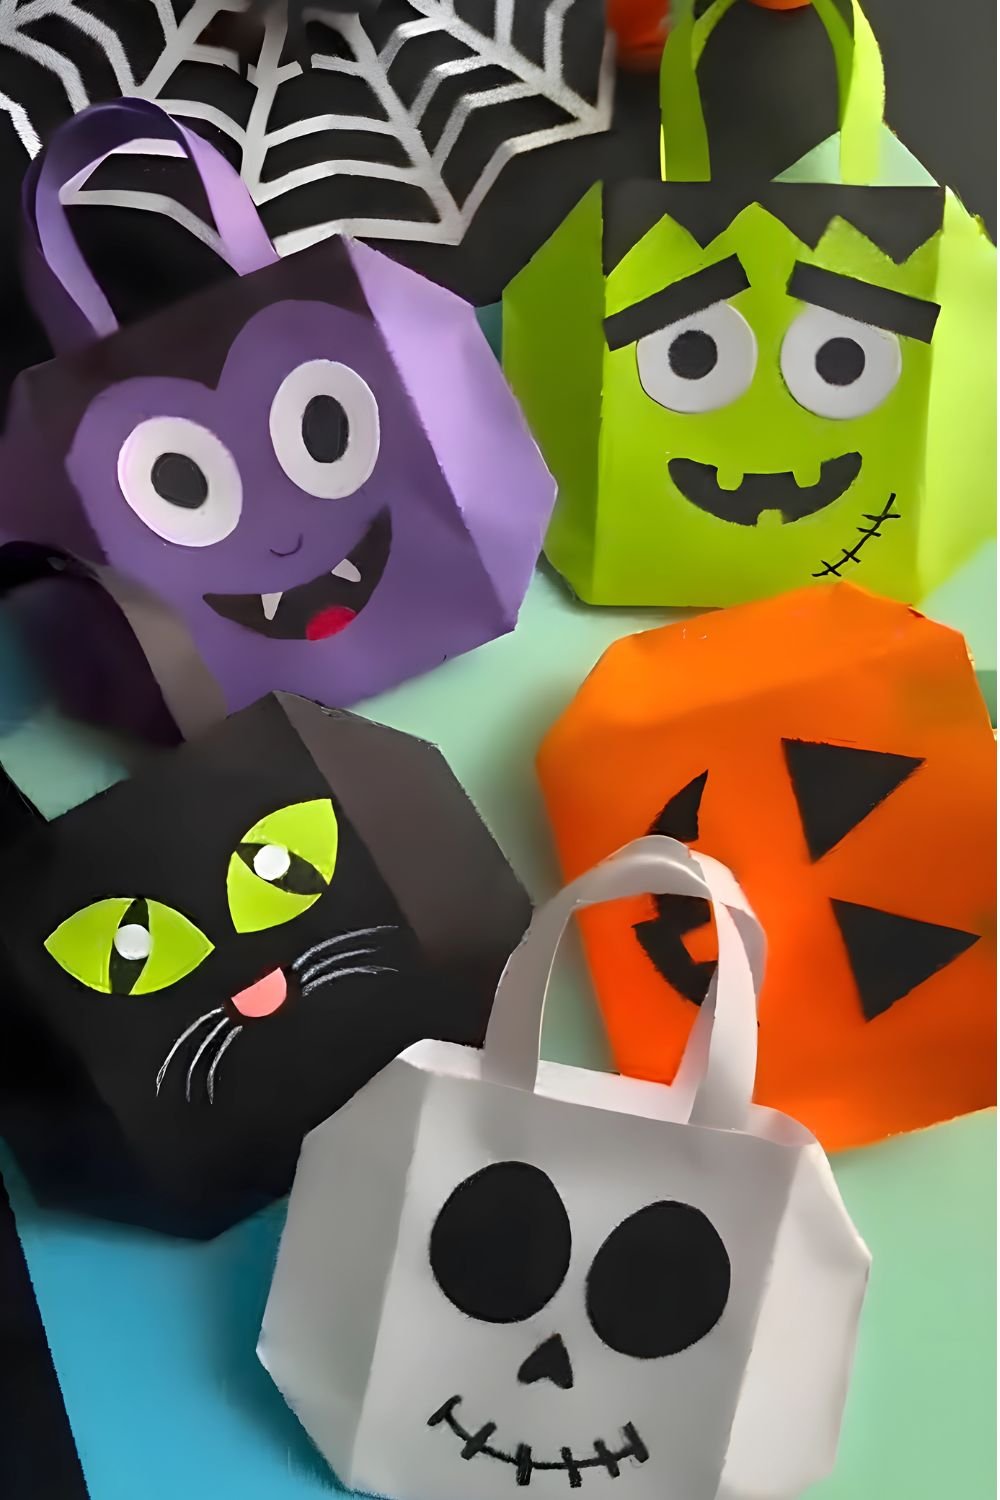
If you’re hunting for a festive classroom party favor or just want an adorable, budget-friendly way to hand out sweets this year, put down those generic plastic treat bags. You can fold these charming DIY Halloween paper treat bags in about ten minutes using everyday craft paper, a glue stick, and a marker.
The best part about this project is how easily it adapts. Once you master the simple folding technique, you can whip up an entire cast of spooky-cute characters: Frankenstein with his goofy smile, a classic toothy Jack-o’-Lantern, a cheeky little Dracula with tiny white fangs, a spooky black cat, and a friendly skeleton.
⏱ Craft Time: 10 Minutes per bag •
💰 Budget: Under $5 (Uses regular craft paper) •
🎯 Skill Level: Beginner / Kid-Friendly Origami
Supplies You Will Need
You probably have every single item sitting in your pantry right now (no expensive craft store runs required!):
- Colored Craft Paper or Origami Paper — Green (Frankenstein), Orange (Pumpkin), Purple (Vampire), Black (Cat), White (Skeleton)
- Paper Scraps — Small white and black scraps for eyes, fangs, and eyebrows
- Standard Craft Glue Stick
- Black Felt-Tip Marker or Sharpie
Tools:
- Craft Scissors
Step-by-Step Instructions
Step 1: Create the Base Fold Creases
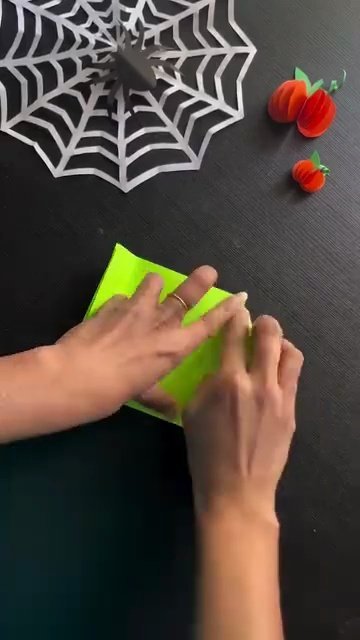
Take a rectangular sheet of colored craft paper, fold it in half horizontally, and fold the bottom edge up. Press the crease firmly with your fingernail or the flat side of a ruler. Having crisp, clean fold lines right at the start makes the final basket much sturdier.

Step 2: Fold Side Flaps into the Hexagonal Base
Fold the side edges inward and press the corner flaps down diagonally. Unfold slightly and reverse-crease the corners. This geometric folding pattern creates the expandable accordion sides that let the bag open into a 3D pouch.
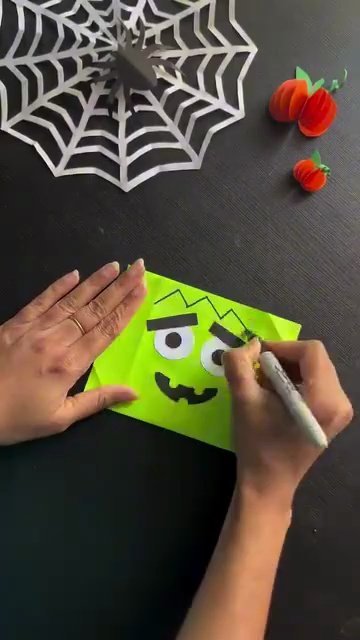
Step 3: Glue on the Expressive Facial Features
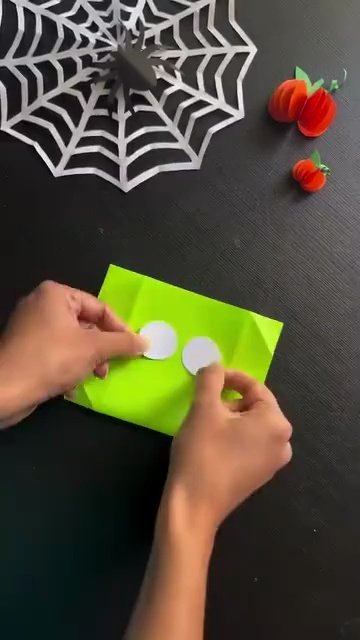
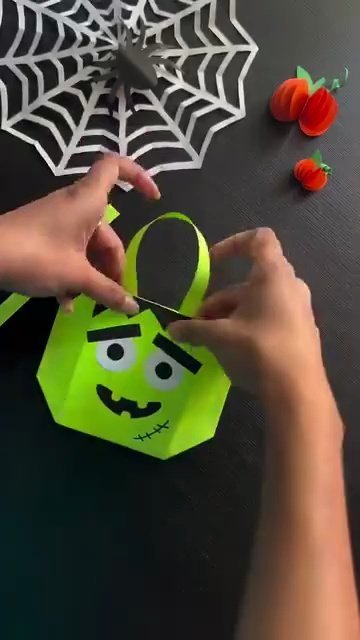
Cut two small white paper circles for eyes and two slanted black strips for eyebrows, then glue them onto the front panel. Angling the eyebrows downward gives Frankenstein that instantly recognizable, lovable, and goofy monster personality!
Step 4: Draw the Hair, Smile, and Scars with Marker
Use a black marker to sketch Frankenstein’s spiky bangs across the top rim, along with a stitch scar and a jagged smile. Color in the hair with bold, even strokes. If you’re crafting the Jack-o’-Lantern, draw classic triangle eyes; for Dracula, sketch a wide vampire grin with tiny white paper fangs!
- Easy DIY 3D Origami Christmas Tree (Cute Folded Holiday Decor)
- Easy DIY Origami Cruise Ship (5-Minute Paper Boat Tutorial)

- Easy DIY 3D Paper Heart Hot Air Balloon (5-Minute Kids Craft & Gift Card)

- Easy DIY 3D Pop-Up Flower Card (Exploding Floral Bouquet Tutorial)
- Easy DIY Paper Sunflower Card (With Surprise Flip Message!)
Step 5: Apply Glue Stick to the Assembly Seams
Open the pouch flat and swipe your glue stick along the bottom corner tabs and side seams. A standard dry glue stick is the secret weapon here because it bonds quickly without wrinkling or warping the paper like wet liquid glue.

Step 6: Pop into a 3D Basket and Attach Handles
Press the glued side tabs together to pop the basket upright, then glue two matching paper strips inside the top rim for handles. Pinch the glued seams between your fingers for 5 to 10 seconds until the paper bonds firmly.
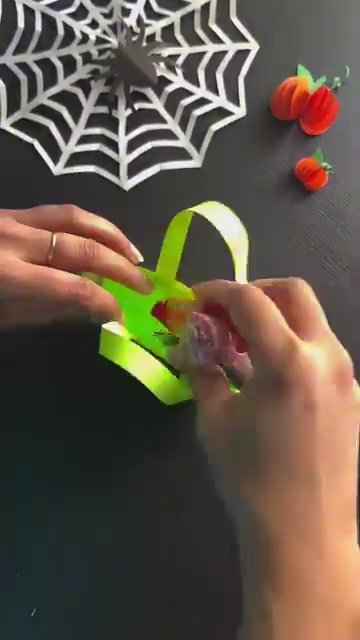
Step 7: Fill with Halloween Candies and Treats!
Gently widen the opening with your fingers and fill the interior with lollipops, chocolates, and festive goodies. The sturdy hexagonal base expands comfortably to hold 4 to 6 bite-sized wrapped candies without tipping over.
How to Style These Little Ghosts
- Classroom Treat Stations: Line up a rainbow of Frankenstein, Pumpkin, Dracula, and Skeleton bags on a festive tray for kids to pick their favorite character.
- Spooky Dinner Place Cards: Write each guest’s name across Frankenstein’s forehead or the Pumpkin’s belly, and set one at each dinner plate as a sweet welcoming gift.
- Autumn Fireplace Vignette: Group all 5 characters together on a fireplace mantel or bookshelf next to faux spider webs and mini pumpkins for charming, budget-friendly decor.
Looking for More Budget-Friendly Decor?
Don’t stop at ghosts! Check out these easy project guides to complete your cozy setup:
- Easy DIY Paper Towel Ghosts (5-Minute Craft) — Pair your paper treat bags with these adorable freestanding kitchen ghosts.
Frequently Asked Questions
Can I use cardstock instead of standard craft paper?
Standard 20 lb copy paper or medium-weight colored craft paper (around 80–120 GSM) works best. Heavy cardstock is slightly too stiff for the intricate corner accordion folds, while origami paper folds like a dream.
How much candy can each bag actually hold?
Each little basket comfortably holds about 4 to 6 fun-size candy bars, two standard lollipops, or a mini bag of fruit snacks.
Can younger kids make these on their own?
Kids ages 7 and up can handle the folding independently! For toddlers or preschoolers, pre-fold the basket shapes and let them have fun gluing on the eyes, fangs, and drawing silly faces.
Final Thoughts
There is something so special about handing out handmade treat bags instead of store-bought plastic. Whether you make a single Frankenstein with your kids on a quiet Sunday afternoon or batch out thirty colorful pouches for an entire classroom party, these little baskets bring big smiles for pennies.
If you make a collection of these little Halloween monster bags, I would love to see which characters you create! Tag us over on Instagram or Pinterest at @louvadecors, and be sure to save this post so you have the folding steps handy whenever Halloween season rolls around.
Happy crafting, and have a wonderfully sweet Halloween!
