

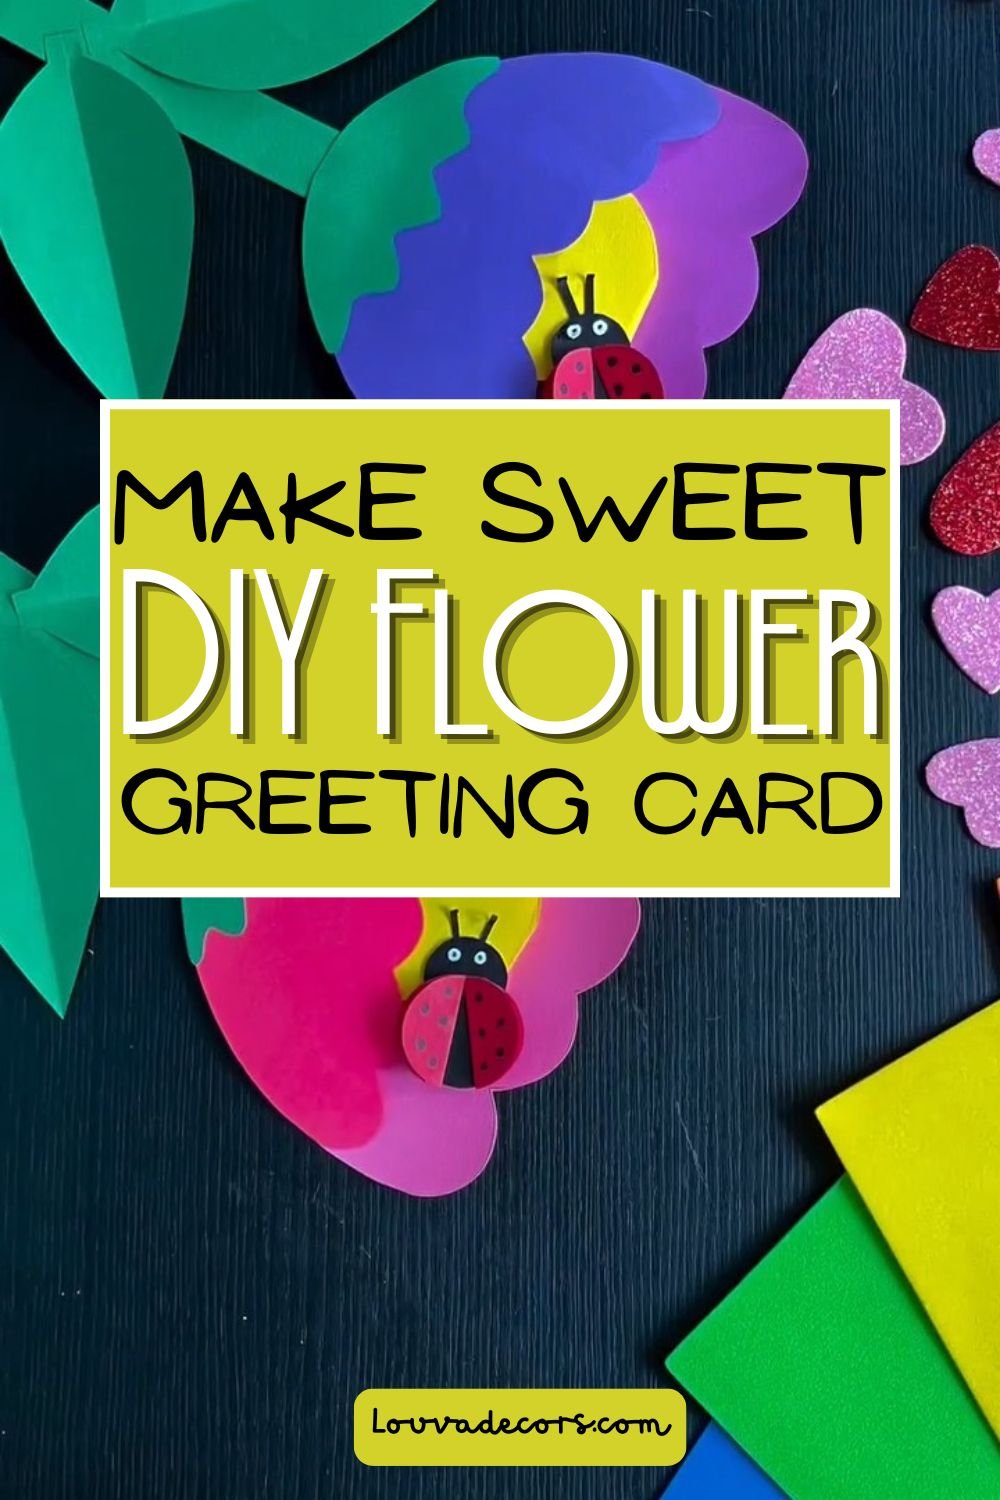
Picture a flower sitting on the table, petals soft and layered in pink and purple, with a tiny ladybug resting on top like it just landed there. Now picture pulling those petals open and finding a folded strip of paper tucked right in the center, with a handwritten message waiting to be read. That is what you are about to make with this DIY flower greeting card, and it works beautifully as a foam craft gift, a handmade Valentine card, or a pop-up flower craft for any occasion that calls for something more personal than a card from a store. This hidden message card layers craft foam into soft, rounded petals, then hides your own words inside where they belong.
You do not need any experience to make this. If you have never touched craft foam before, or if your last attempt at a handmade card ended up in the recycling bin, this project was built with you in mind. Take your time with each layer, and remember that a slightly uneven petal only adds to the handmade charm.
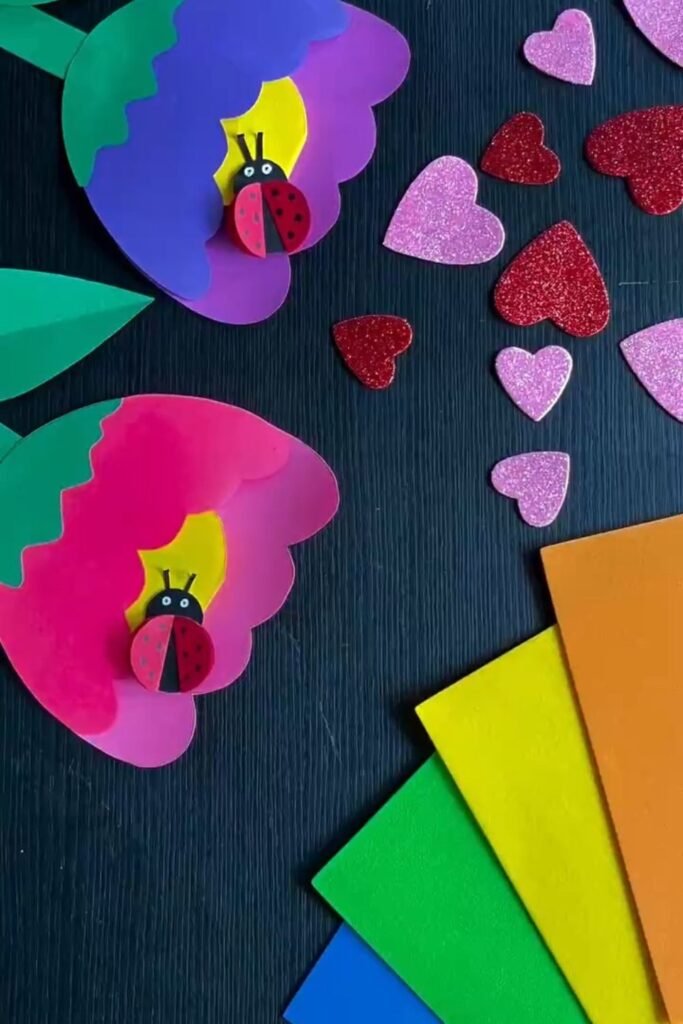
This card comes together from a handful of craft foam sheets, a glue stick, scissors, and a marker, all of which usually run under $5 total. The whole project takes under an hour from first cut to finished flower, including the time it takes to write your message.
Why You Will Love This Project
This DIY flower greeting card looks like something pulled from a boutique stationery shop, but it costs a fraction of what a store card would run. Every petal is beginner-friendly, since the shapes are simple ovals and scallops that do not require precise cutting. It works wonderfully for anniversaries, Mother’s Day, or any Valentine’s-season gift, and the hidden message inside makes it feel personal in a way a printed card never could.
What You Will Need
- Craft Foam Sheet, Purple — 1 sheet [Purple cardstock as a budget alternative]
- Craft Foam Sheet, Pink or Magenta — 1–2 sheets [Pink cardstock as a budget alternative]
- Craft Foam Sheet, Yellow — 1 sheet [Yellow cardstock as a budget alternative]
- Craft Foam Sheet, Green — 1 sheet [Green cardstock as a budget alternative]
- Craft Foam Scrap, Red — small piece, for the ladybug [Red cardstock as a budget alternative]
- Glue Stick — 1
- Scissors — 1 pair, sharp enough to cut foam cleanly
- Pencil — for tracing shapes
- Black Fine-Tip Marker — for the ladybug spots and face
All materials can be found at your local craft store or ordered online.
Video Tutorial
Watch the full tutorial above before reading the written steps. The steps below match the video exactly.
Step-by-Step Instructions
Step 1: Cut the Flower Petal Layers
Start by cutting two rounded, scalloped flower shapes from your craft foam. Use the purple sheet for the back layer and the pink or magenta sheet for a slightly smaller front layer that will sit on top. Keep the scallops soft and rounded rather than sharp, since gentle curves read as petals more convincingly than pointed edges.
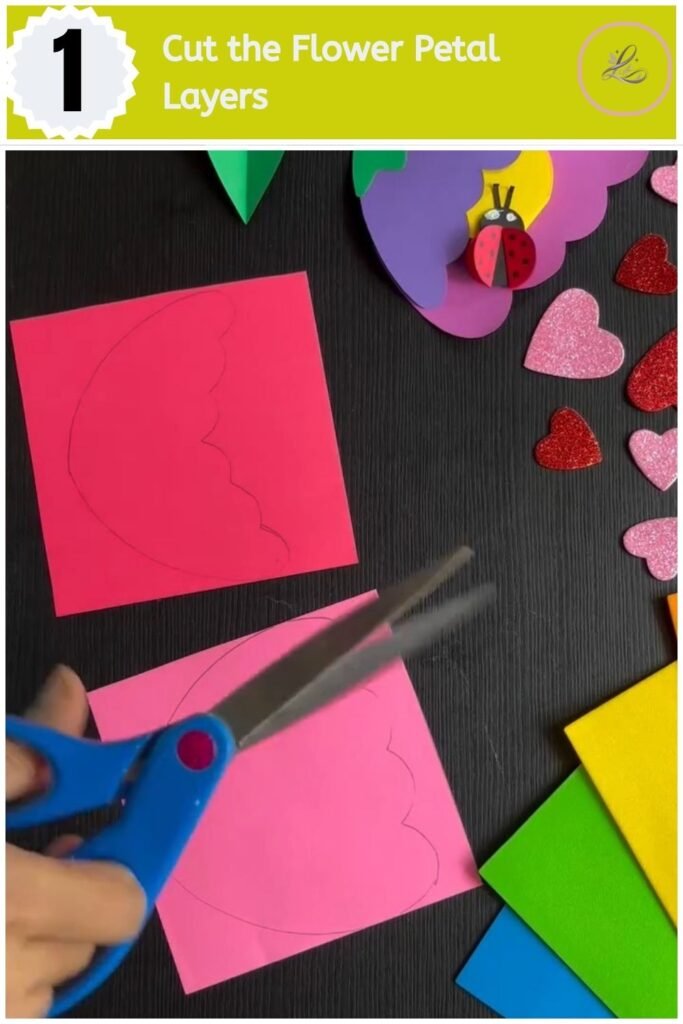
Pro Tip: If your scissors keep catching on the foam, cut in short strokes instead of one long pass. Craft foam tears less when the blade takes small bites along the curve.
Step 2: Cut and Shape the Leaves and Stem
Trace a simple pointed leaf shape onto your green foam sheet using a pencil, then cut it out. You will need at least two leaves and one long strip of green foam for the stem. Trace lightly first, since pencil marks on foam can be hard to erase completely.
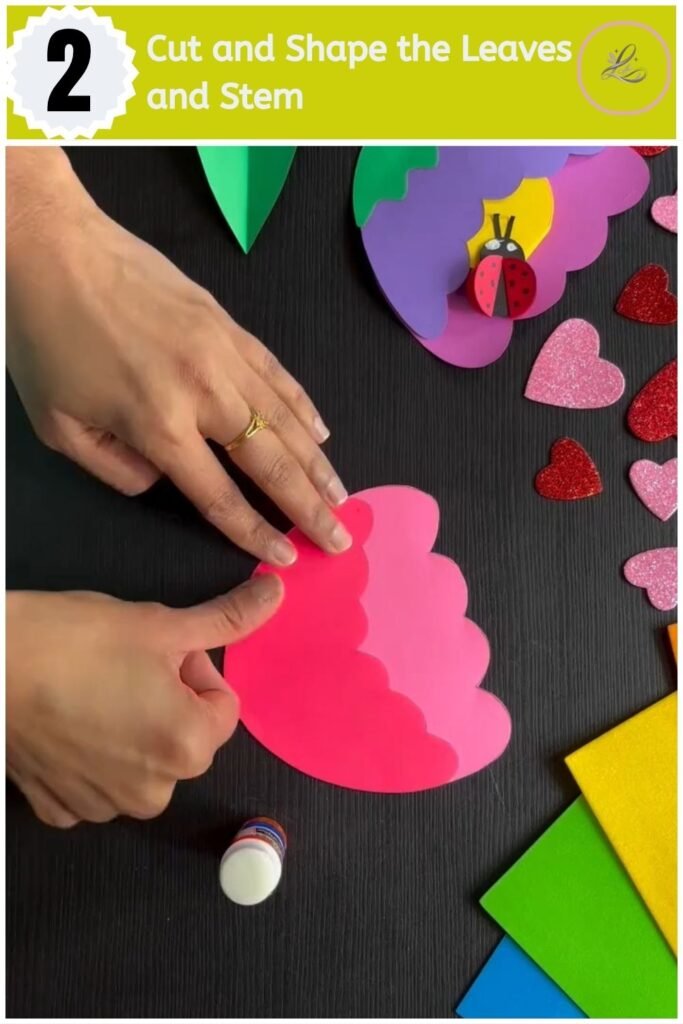
Pro Tip: Fold your green foam in half before tracing so both leaves come out identical when you cut through both layers at once.
Step 3: Trace and Cut a Second Petal Layer
Cut a second full flower shape to give your card more depth, layering a brighter pink foam piece over the base color. This second layer is what gives the finished flower that soft, dimensional look instead of a single flat shape. Set this piece aside until your base layer and leaves are ready.
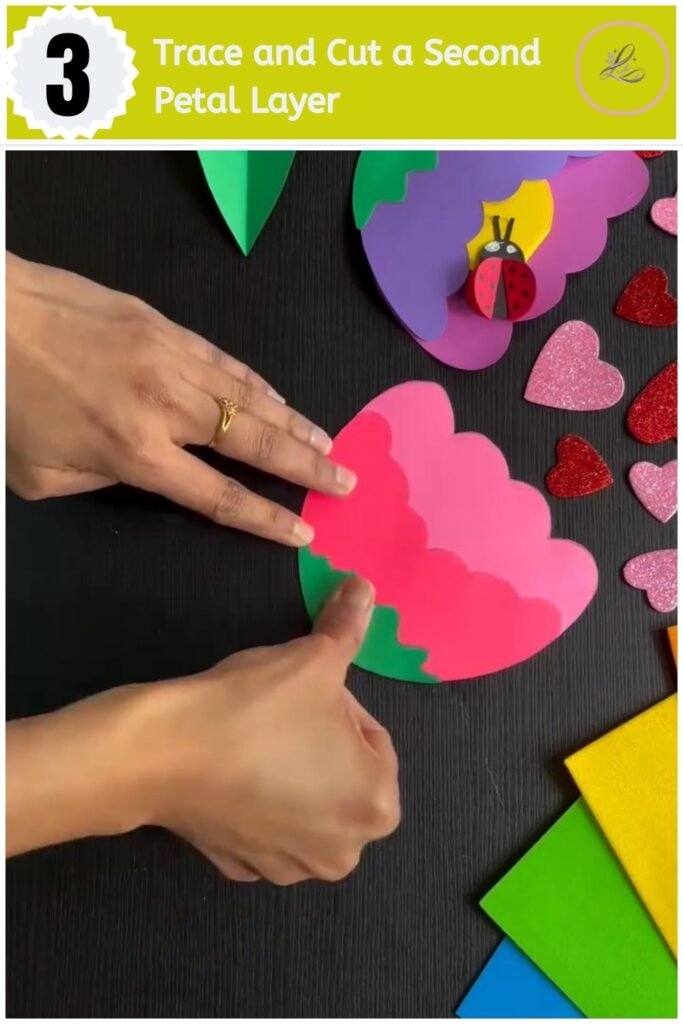
Pro Tip: Cut the second petal layer about a half-inch smaller all around than the base layer so both colors stay visible once they are glued together.
Step 4: Glue the Leaf Strips to the Stem
Attach your green leaf strips to the long stem piece using the glue stick, pressing firmly along each seam. Hold each leaf in place for a few seconds so the glue has time to grip the foam surface. It is okay if the glue line is not perfectly straight, since the leaves will still read clearly once the card is finished.
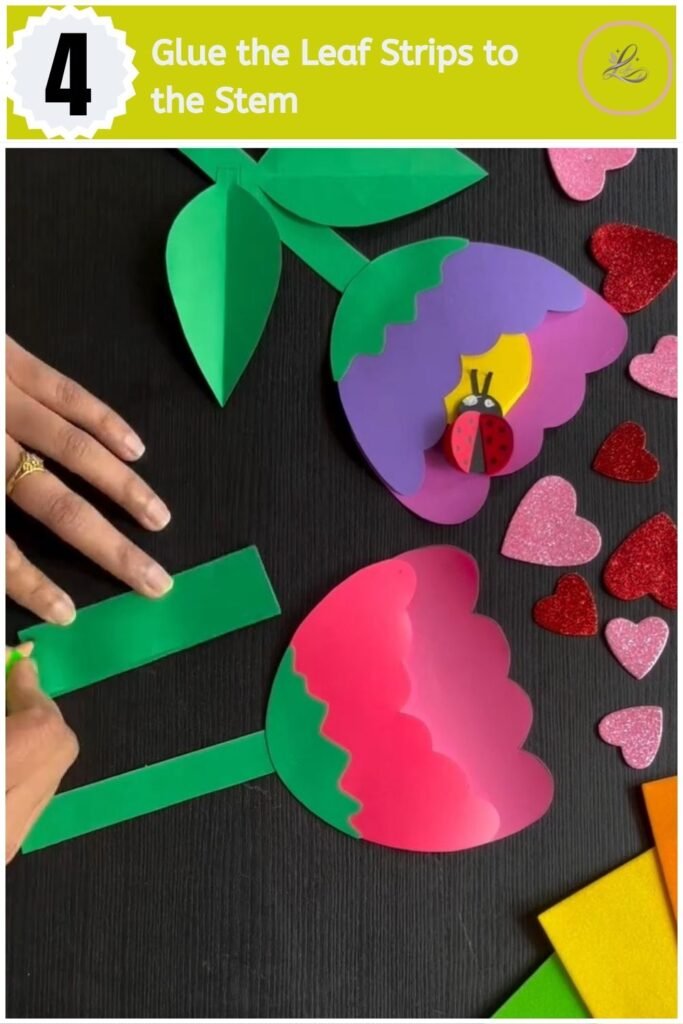
Pro Tip: A glue stick works better than liquid glue here because foam absorbs wet glue and can warp. Stick glue stays on the surface and dries faster.
Step 5: Cut the Yellow Message-Strip Ovals
Cut several small yellow foam ovals and connect them into a folded, zigzag strip that will sit inside the flower center. This accordion strip is what holds your hidden message, so cut enough ovals to leave room for a short sentence. Line the ovals up edge to edge before gluing so the finished strip folds smoothly.
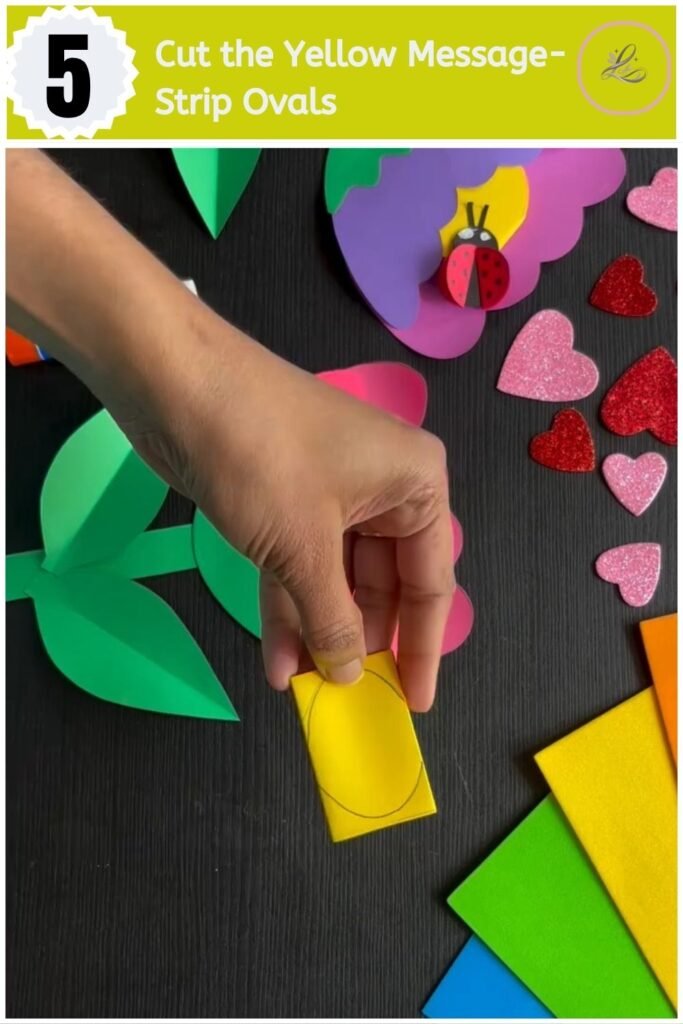
Pro Tip: Cut all your ovals from a single folded strip of foam instead of individual pieces. This keeps every oval the same size without needing to measure each one.
Step 6: Glue the Message Strip Inside and Attach the Ladybug Pull Tab
Glue the folded yellow oval strip inside the leaf layer first, tucking it flat against the base so it stays hidden. Next, cut a small red foam piece for the ladybug body and use your black marker to draw the head, antennae, and small dots along the back. Glue the finished ladybug onto the end of the folded strip so it sits right on top, since the ladybug will act as the pull tab that opens the whole message strip.
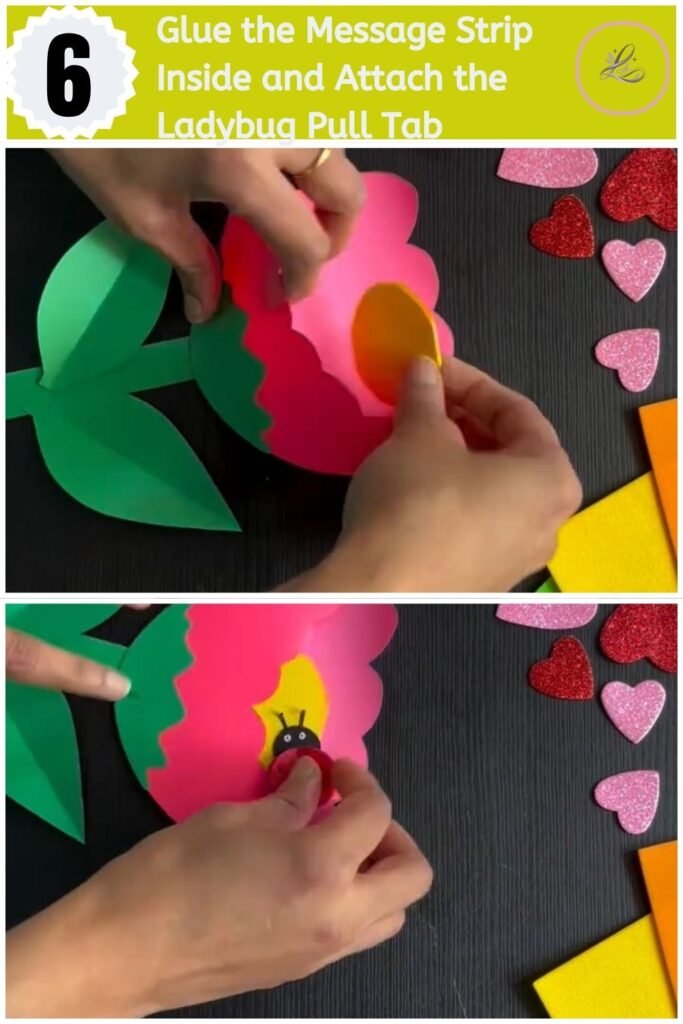
Pro Tip: Glue only the very end of the strip to the leaf, not the whole underside. If the entire strip is glued down, the panels will not fold open smoothly when the ladybug is pulled.
Step 7: Pull the Ladybug Open and Write Your Hidden Message
Gently pull the ladybug away from the flower to unfold the yellow oval strip, panel by panel, until the full message strip is stretched open. Write your message across the unfolded ovals, one or two words per panel, using your black marker. Take your time with the wording, since this is the part your recipient will remember most, and let the ink dry for a minute before folding the strip closed again.
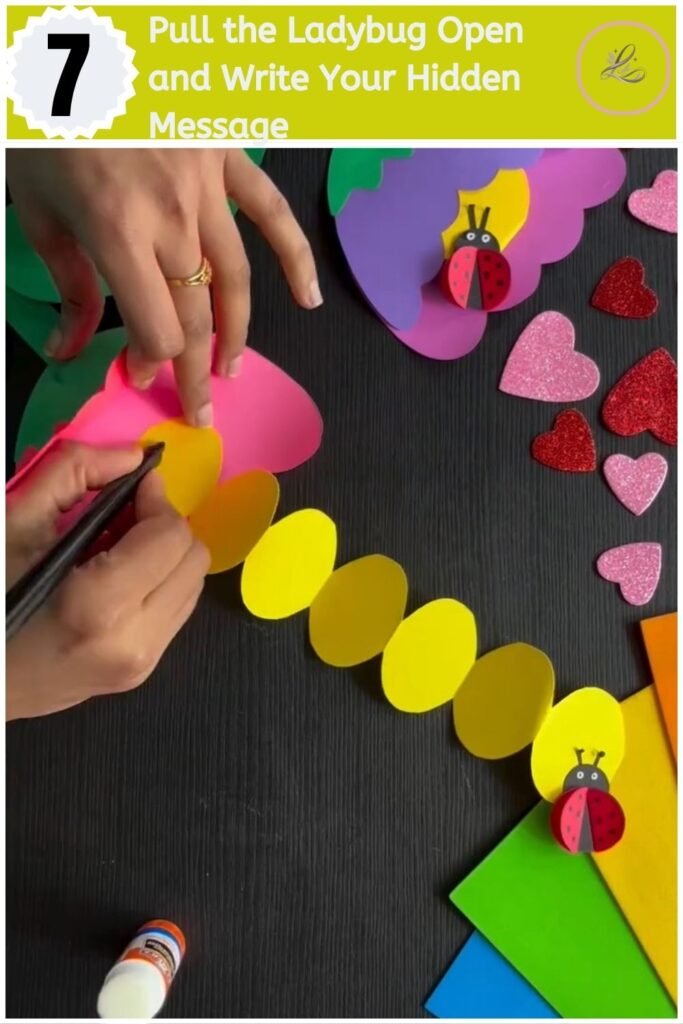
Pro Tip: Practice pulling the strip open and closed once before writing on it. This shows you exactly how much of each panel is visible when folded, so your words land in the right spot.
Tips & Tricks
- If your craft foam sheets come rolled up in packaging, lay them under a heavy book for an hour before cutting. Flat foam is far easier to work with than curled foam.
- Keep a damp paper towel nearby while writing your message. If you make a mistake with a permanent marker, a quick wipe while the ink is still wet can save the panel.
- Work on a placemat or cutting mat instead of directly on your table. Craft foam scraps can leave faint color marks on wood or laminate surfaces.
- If your petals will not sit flat once glued, press them under a stack of books overnight. The glue sets flatter under gentle, even weight.
- Store extra foam scraps in a labeled bag. Ladybug bodies, small leaves, and message ovals are all easy to reuse in a future card.
Ways to Use This Craft
This DIY flower greeting card fits naturally into three parts of home life: home decor, gifting, and the seasons that call for a little more warmth. Display a finished card on a mantel or shelf as a small seasonal accent piece between Valentine’s Day and spring, since the soft petal colors work well with both. As a gift, it doubles as a card and a keepsake, since the recipient can display the flower long after the occasion has passed.
Frequently Asked Questions
-
How long does this project take to complete?
Most beginners finish this DIY flower greeting card in under an hour, including cutting, gluing, and writing the hidden message. Give yourself extra time for the first flower, since the layering technique gets faster with practice. Take your time on the message strip, since that is the part your recipient will remember most.
-
What can I write inside a hidden message flower card?
Short, warm phrases work best inside a folded message strip, since space is limited on each panel. Consider a simple sentence split across the panels, like a line from a favorite memory or a short thank-you. There is no wrong way to fill it in, as long as the words feel true to your relationship with the recipient.
-
Can I make this flower card without craft foam?
Cardstock works as a substitute for craft foam, though the petals will feel thinner and flatter than the dimensional foam version. If you use cardstock, choose a slightly heavier weight so the layered petals hold their shape. The folding technique for the hidden message strip works the same way in either material.
-
What occasions is this flower card good for?
This DIY flower greeting card works well for Valentine’s Day, anniversaries, Mother’s Day, or any moment that calls for a handwritten message. The hidden message strip makes it especially fitting for love notes or heartfelt thank-yous. Swap the foam colors to match other seasons if you want to reuse the technique year-round.
Closing
You just made a flower greeting card with your own hands, layer by layer, right down to the message hidden inside. That kind of care shows, and it is something no store shelf can offer. Give yourself credit for trying something new, especially if this was your first time working with craft foam.
Ready for your next project? Try Pop-Up Paper Flower Card Tutorial for Beginners next!
Happy crafting! LOUVADECORES
Follow us on: Pinterest
