

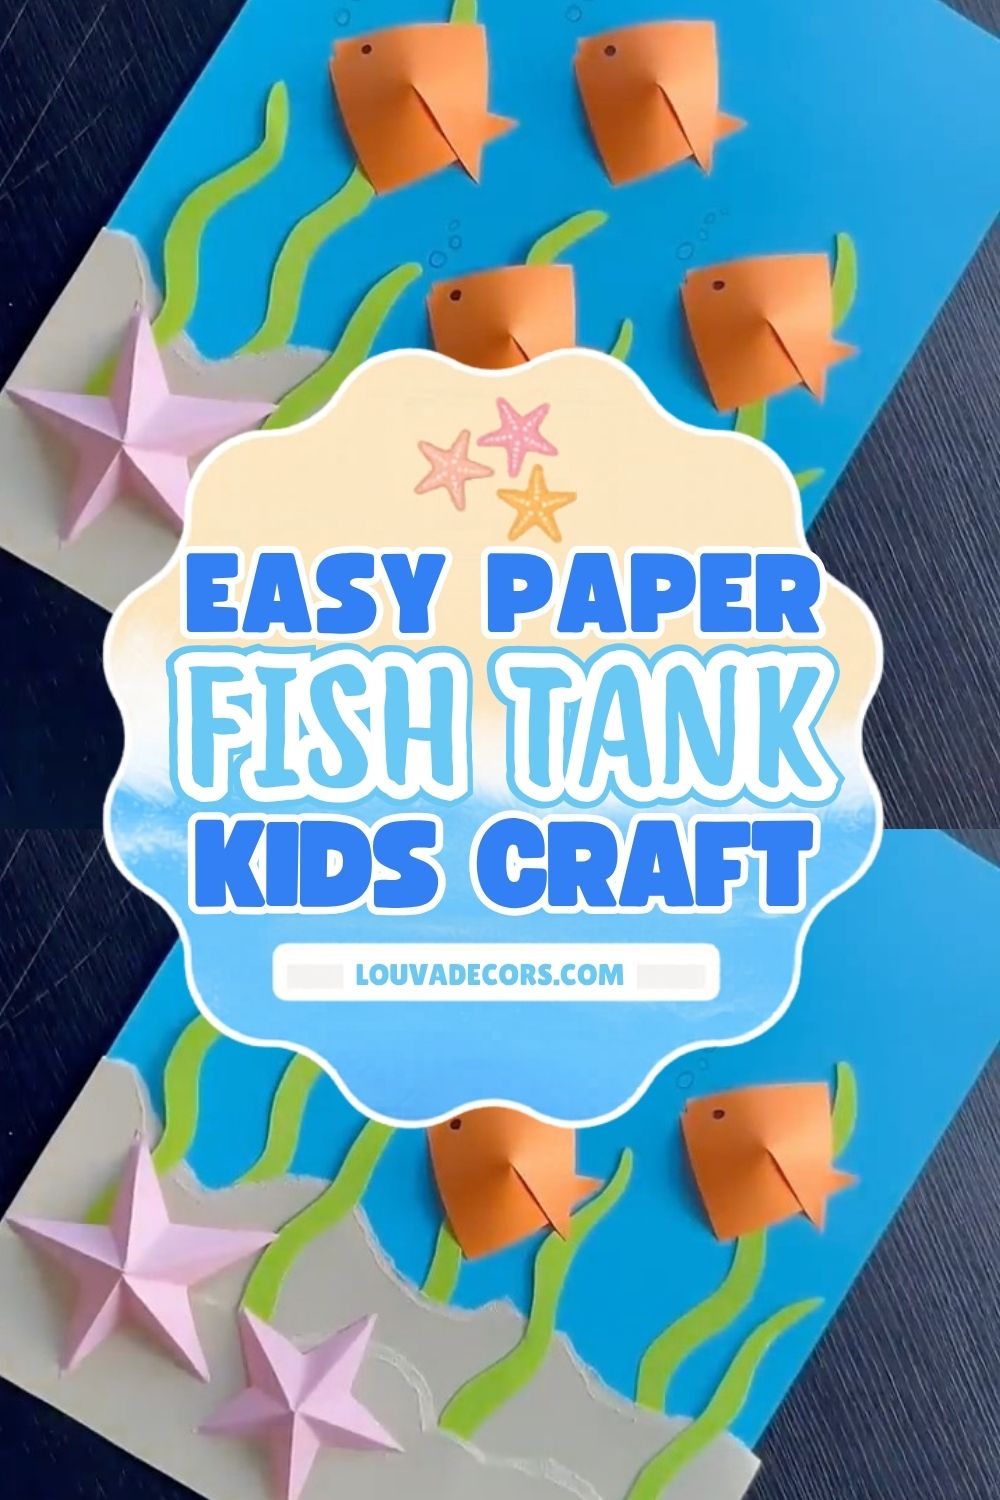
There is something so charming about a tiny paper ocean swimming across your wall. A handful of orange origami fish glide above a sandy floor, framed by wavy green seaweed, with two pink starfish resting nearby. This paper fish tank craft is one of those projects that looks far more complicated than it actually is, and it belongs right alongside your favorite kids crafts and paper crafts. It also makes a lovely piece of low-cost home decor for a playroom or bedroom wall.
You do not need any experience to make this one. If you have never folded origami before, that is perfectly okay. The fish shape in this project comes together with just a few folds, and a little wobble in your lines will not show once everything is glued in place. Take your time with the folding steps, and remember that no one will be grading your seaweed for symmetry.
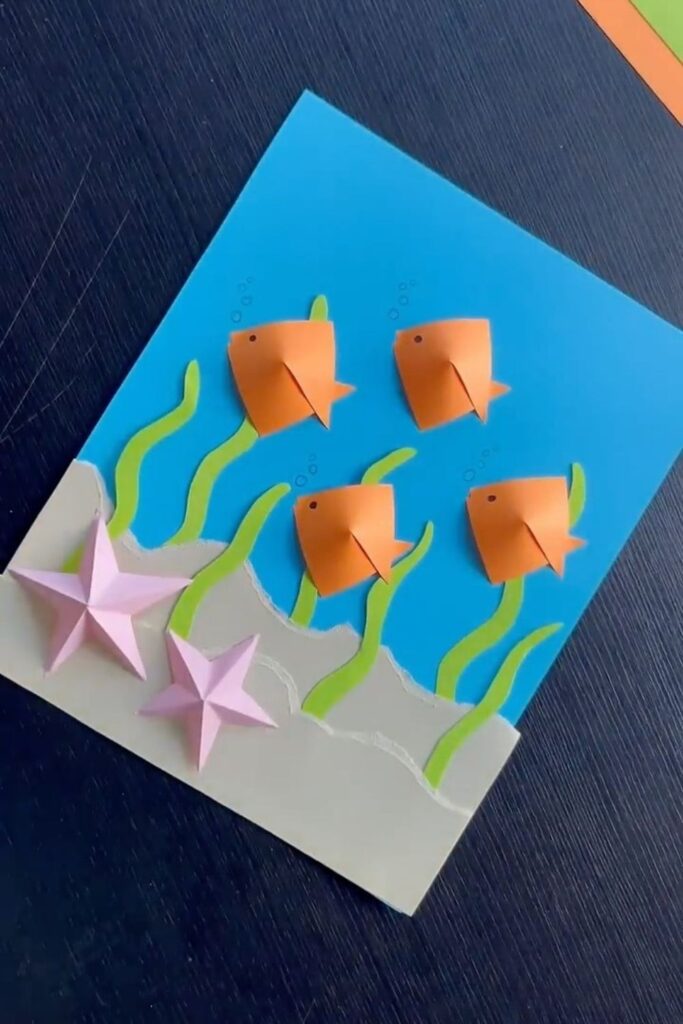
For this project, you will need a handful of cardstock colors, a black marker, scissors, and glue most of which you can find at any craft store. Many crafters in the home decor and paper craft space love projects like this one because they cost very little and finish in under an hour. Jump down to the materials list below, or scroll straight to the [JUMP TO TUTORIAL] step-by-step instructions.
WHY YOU WILL LOVE THIS PROJECT
This little paper fish tank looks like it belongs in a kids’ boutique, but it costs only a few sheets of cardstock to make. It is wonderfully beginner-friendly since every fold is repeated several times, so by your second or third fish you will have the motion down. It is perfect for rainy-day crafting, classroom projects, or adding a playful pop of color to a child’s bedroom wall.
WHAT YOU WILL NEED
- 1 sheet of Blue Cardstock [Construction paper works as a budget alternative]
- 1 sheet of Tan or Cream Cardstock (for the sand) [Light brown craft paper works as a budget alternative]
- 1 sheet of Green Cardstock (for the seaweed) [Any bright green paper works as a budget alternative]
- 2 sheets of Orange Cardstock (for 4 fish) [Orange construction paper works as a budget alternative]
- 1 sheet of Pink Cardstock (for 2 starfish) [Any pastel paper works as a budget alternative]
- 1 Black Fine-Tip Marker (for eyes and bubbles) [A black gel pen works as a budget alternative]
- 1 pair of Scissors
- 1 Glue Stick or Liquid Craft Glue
All materials can be found at your local craft store or ordered online.
VIDEO TUTORIAL
Watch the full tutorial above before reading the written steps. The steps below match the video exactly.
STEP-BY-STEP INSTRUCTIONS
Step 1: Set Up Your Ocean Background
Lay your blue cardstock sheet on your work surface as your ocean background. Position it so the longest edge faces you, since this gives you the most room to build your scene. Leave the bottom third of the sheet open for the sand you will add in Step 3.
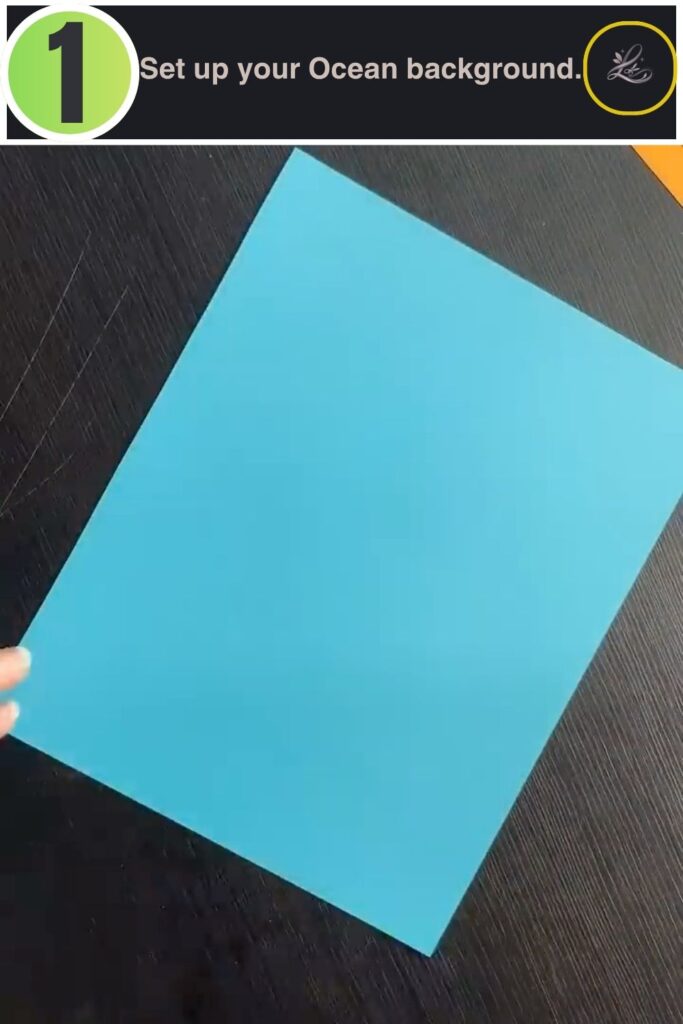
Pro Tip: Keep the blue sheet positioned at a slight angle while you work; it gives your finished tank a more dynamic, “swimming” feel instead of a flat grid layout.
Step 2: Cut the Wavy Seaweed Strips
Cut several long, wavy strips from your green cardstock to use as seaweed. Vary the heights so some strips are tall and some are short, which makes the ocean floor feel more natural. Aim for five or six strips total so your seaweed has enough fullness once it’s glued down.
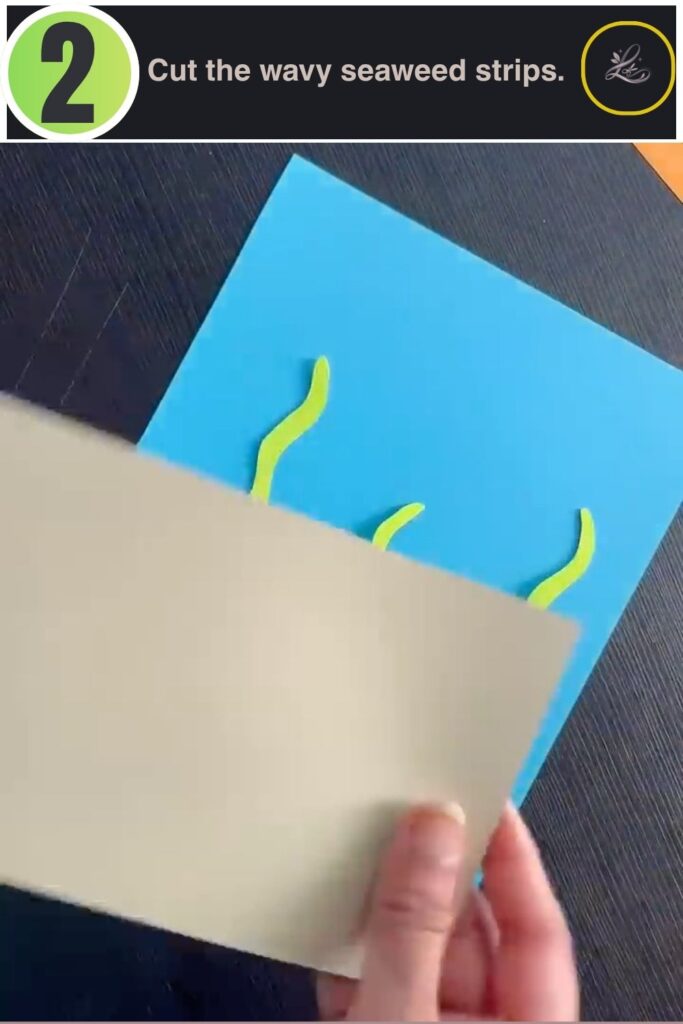
Pro Tip: If your wavy lines come out uneven, do not worry real seaweed never grows in a straight line either, so a little wobble actually helps the craft look more realistic.
Step 3: Shape the Sandy Shoreline
Tear or cut a wavy, scalloped edge along one long side of your tan cardstock sheet. This bumpy edge is what makes the sand look like an ocean floor instead of a flat strip. Keep the rest of the sheet straight so it lines up neatly with the bottom of your blue background.
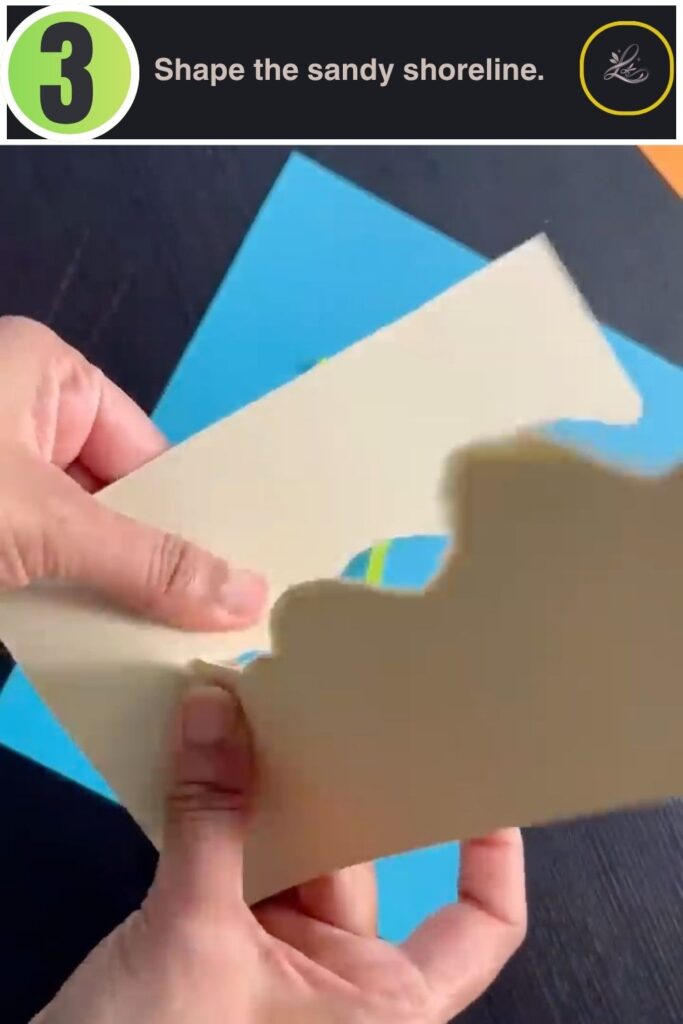
Pro Tip: A slightly torn edge (instead of a perfectly scissor-cut one) gives the sand a softer, more natural texture, so don’t be afraid to rip it by hand.
Step 4: Glue the Sand and Seaweed in Place
Glue your sand strip along the bottom edge of the blue background so the scalloped edge faces up into the “water.”Next, glue each seaweed strip standing upright, tucking the base of each strip just behind the scalloped edge of the sand. Space the seaweed strips unevenly across the bottom for the most natural look.
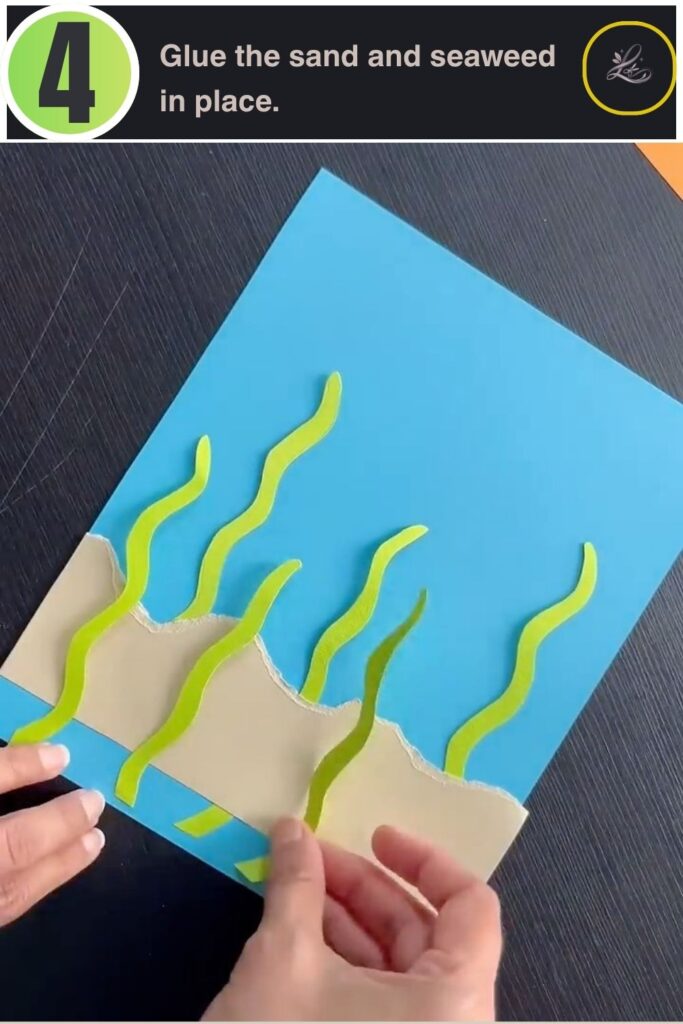
Pro Tip: Glue the tallest seaweed strips toward the back and the shortest ones toward the front this small layering trick adds depth to a flat paper scene.
Step 5: Fold Your First Origami Fish
Cut a small square from your orange cardstock and fold it in half diagonally to form a triangle. Fold the two bottom corners of the triangle up and in toward the top point, tucking them so the front edge curves into a rounded fish “head.” Crease the back point so it fans out slightly, since this will become the tail.
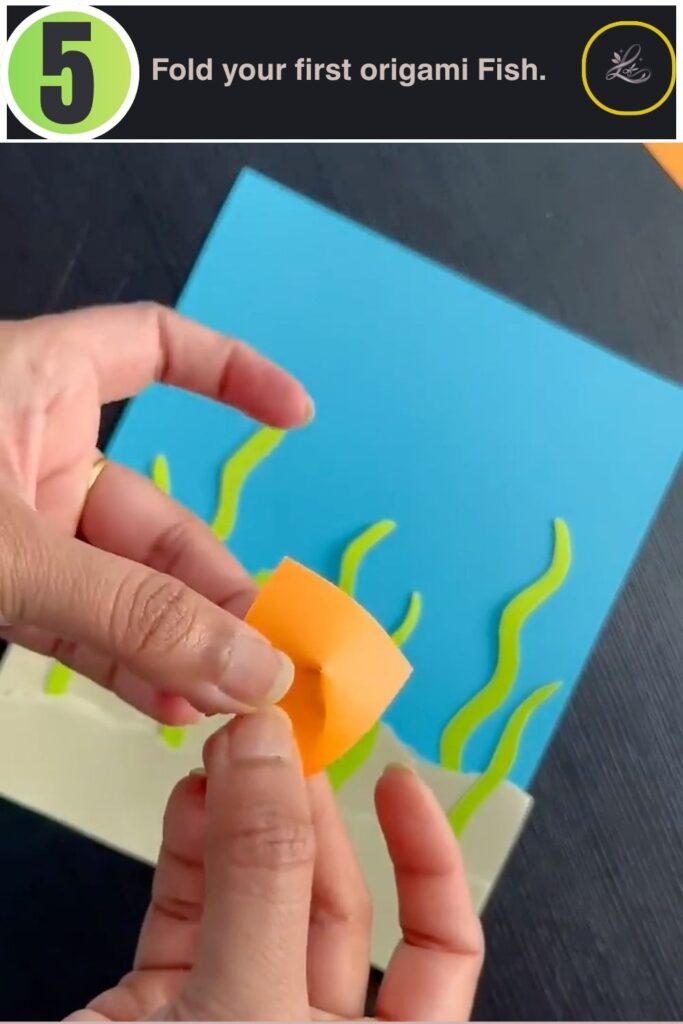
Pro Tip: If your folds do not line up exactly, press them flat with your fingernail before moving to the next fold. A crisp crease now makes the finished fish hold its shape much better.
Step 6: Add Eyes and Repeat for Four Fish
Draw one small black dot near the front of the fish to give it an eye, then snip a tiny triangle notch into the tail point for a finned look. Glue the finished fish onto your ocean background, angled as if it is swimming forward. Repeat this entire folding process three more times so you have four orange fish total, gluing each one at a slightly different height and angle.
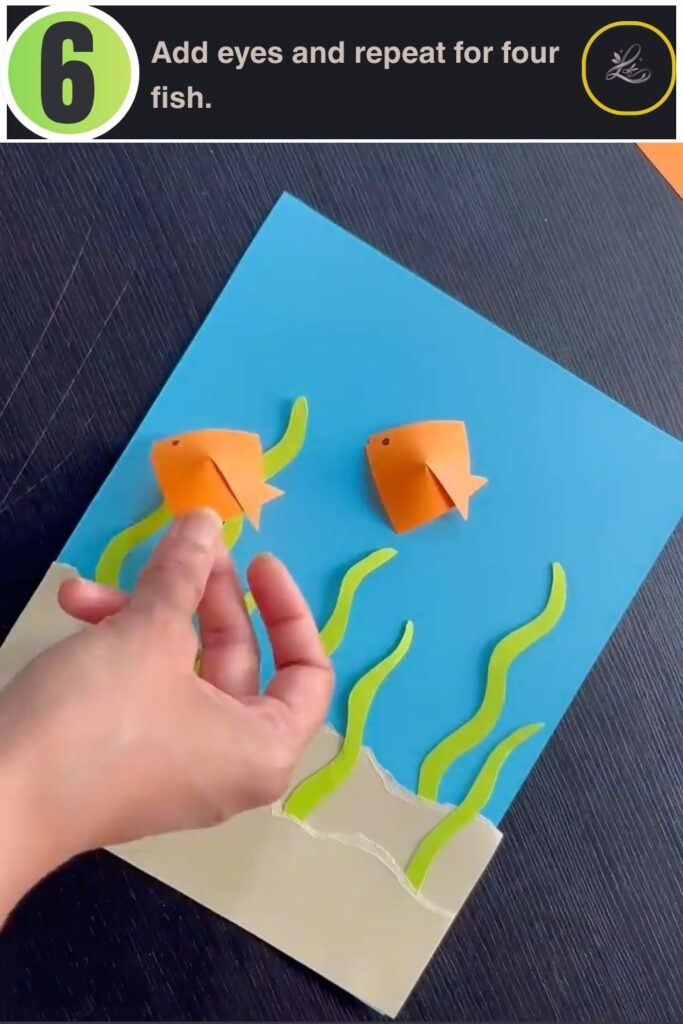
Pro Tip: Glue your fish at staggered heights instead of a straight row. A “school” of fish looks far more lively when they are not perfectly lined up.
Step 7: Fold the Pink Paper into a Starfish
Cut a small square from your pink cardstock and fold it the same way you folded the fish, into a creased triangle base. From this folded triangle, snip small notches into the open edges to create five pointed star arms, then gently unfold the paper into a flat star shape. Press the folds flat so the star sits nicely against the page.
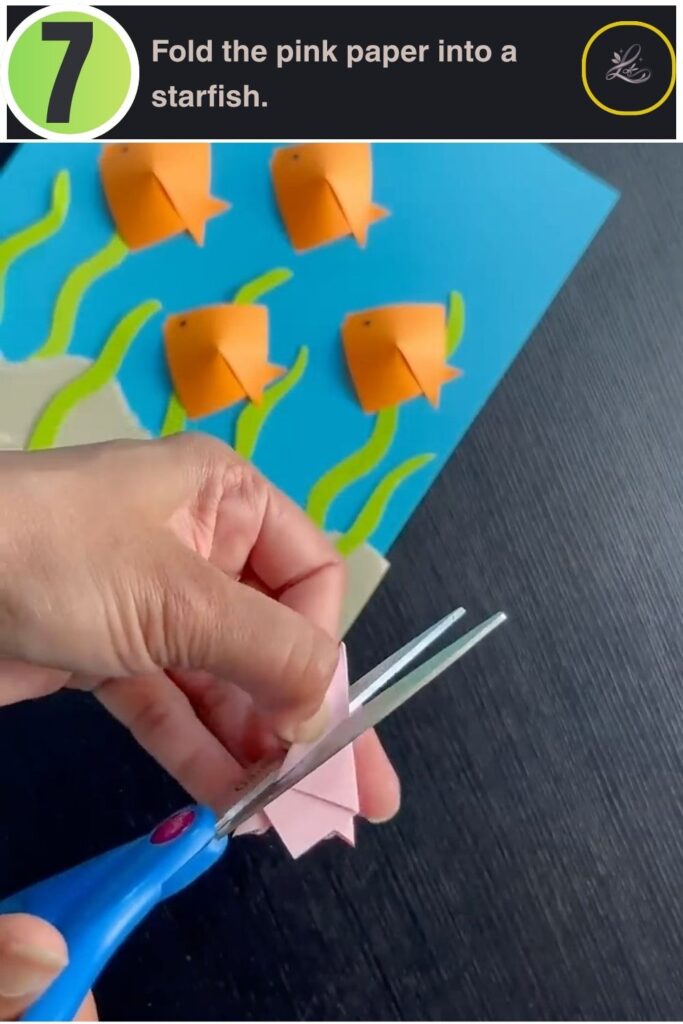
Pro Tip: Keep your cuts shallow on this step cutting too deep into the folded triangle can cause the star arms to separate from the center.
Step 8: Glue On the Starfish and Draw Bubbles
Glue your finished starfish near the sand at the bottom corner of your scene, repeating the fold for a second starfish if you would like a pair. Finish the scene by drawing a few small bubble circles above each fish’s head with your black marker. Let the glue dry fully before hanging or displaying your paper fish tank.
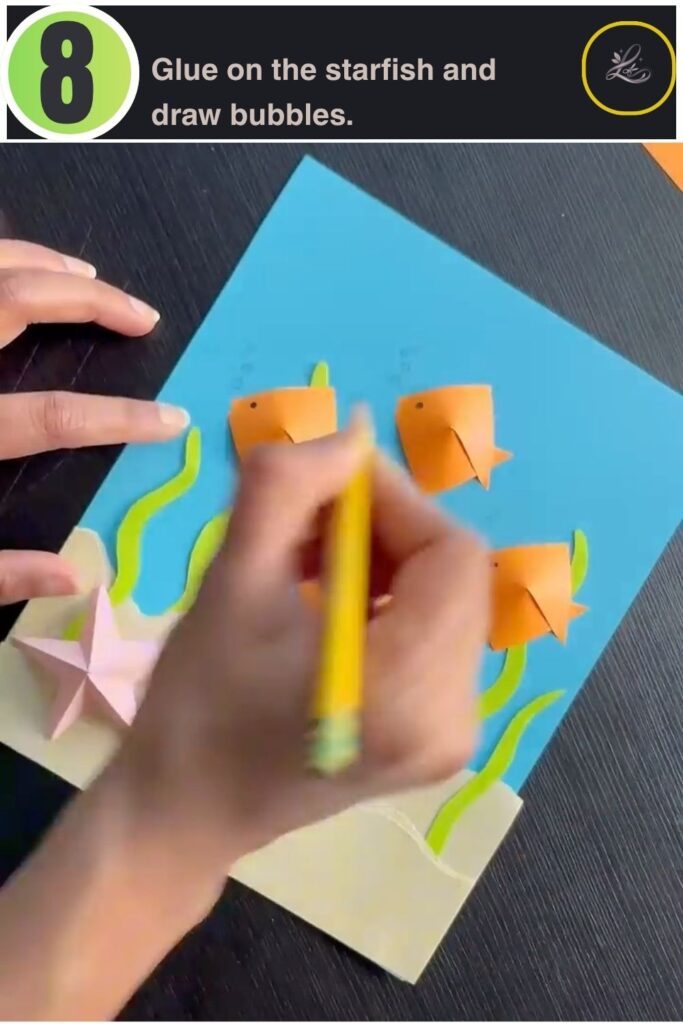
Pro Tip: Draw your bubbles in small clusters of two or three rather than single dots it reads much more like rising water bubbles that way.
TIPS & TRICKS
- If your cardstock keeps springing back open after folding, run your fingernail or a butter knife along each crease to set it firmly before moving to the next fold.
- If you tear the sand strip unevenly, tear from the back of the sheet instead of the front torn edges often look cleaner from that side.
- If your fish look too uniform, try cutting your starting squares in slightly different sizes so your school of fish has some variety.
- If your marker bleeds through the cardstock, switch to a finer tip pen or test your dot on a paper scrap first.
- If you want a more dimensional look, lift the tail of each fish slightly away from the background with a small folded paper tab before gluing.
WAYS TO USE THIS CRAFT
This paper fish tank craft fits naturally into a few different corners of your home and gift life. As a piece of home decor, it makes a sweet framed addition to a child’s bedroom or a bathroom with an ocean theme. As a gift, a finished tank glued to a folded card becomes a handmade present for a birthday, a new baby, or a grandparent who loves anything their grandchild makes. For a seasonal twist, swap the colour palette to oranges and browns for a coral reef look, or add tiny paper snowflakes above the water for a wintery under-the-ice scene.
FREQUENTLY ASKED QUESTIONS
-
How long does this project take to complete?
Most beginners finish this paper fish tank craft in about 30 to 45 minutes, including drying time for the glue. The folding goes faster once you’ve made your first fish, since each one after that follows the same steps. Take your time on your first fish, the rest will come together more quickly.
-
What if I make a mistake can I fix it?
Yes, paper crafts are very forgiving. If a fold goes wrong, simply start over with a new square of cardstock since the material costs very little. If a fish looks crooked once it’s glued down, you can usually peel it up gently while the glue is still wet and reposition it.
-
How do you make an origami fish for kids?
An origami fish for kids usually starts with a paper square folded diagonally into a triangle, then the bottom corners are folded up and in to shape a rounded head. A small snip into the back point creates a simple tail fin, and a drawn-on dot finishes the eye. This version skips more advanced origami folds, which makes it approachable for young hands.
CLOSING
You did it, your very own paper fish tank is ready to swim its way onto a wall, a card, or a little one’s bedroom door. There is something genuinely satisfying about watching a flat sheet of cardstock turn into a tiny ocean scene with just a few folds, a marker, and some glue. Whether this is your first paper craft or your fiftieth, we hope this one earned a spot in your favourites.
Ready for your next project? Try Adorable Paper Cone Carrot Crafts for Beginners next!
Happy crafting! LOUVADECORES
