
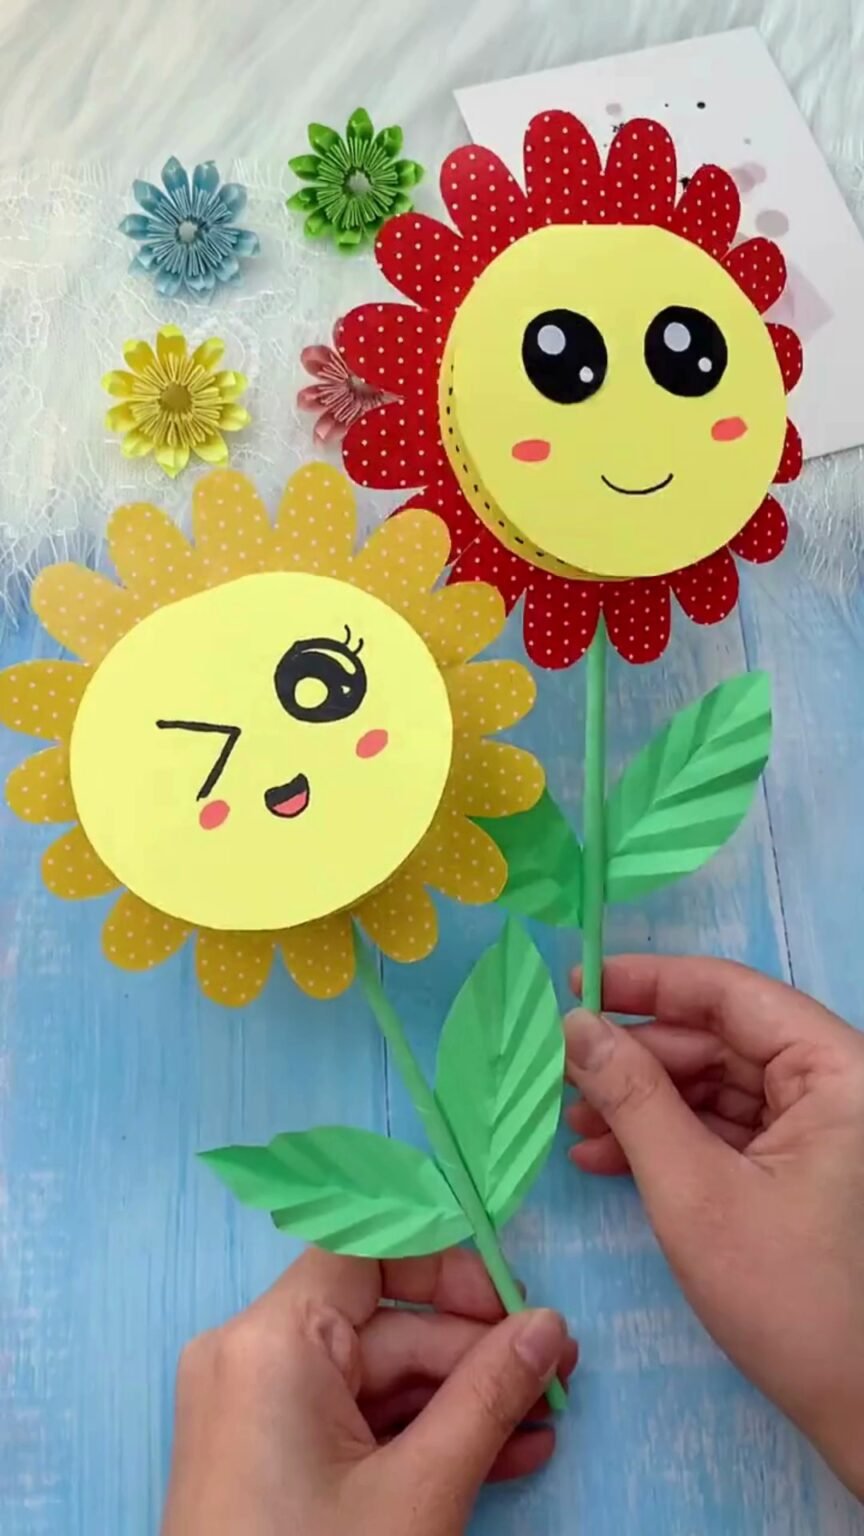
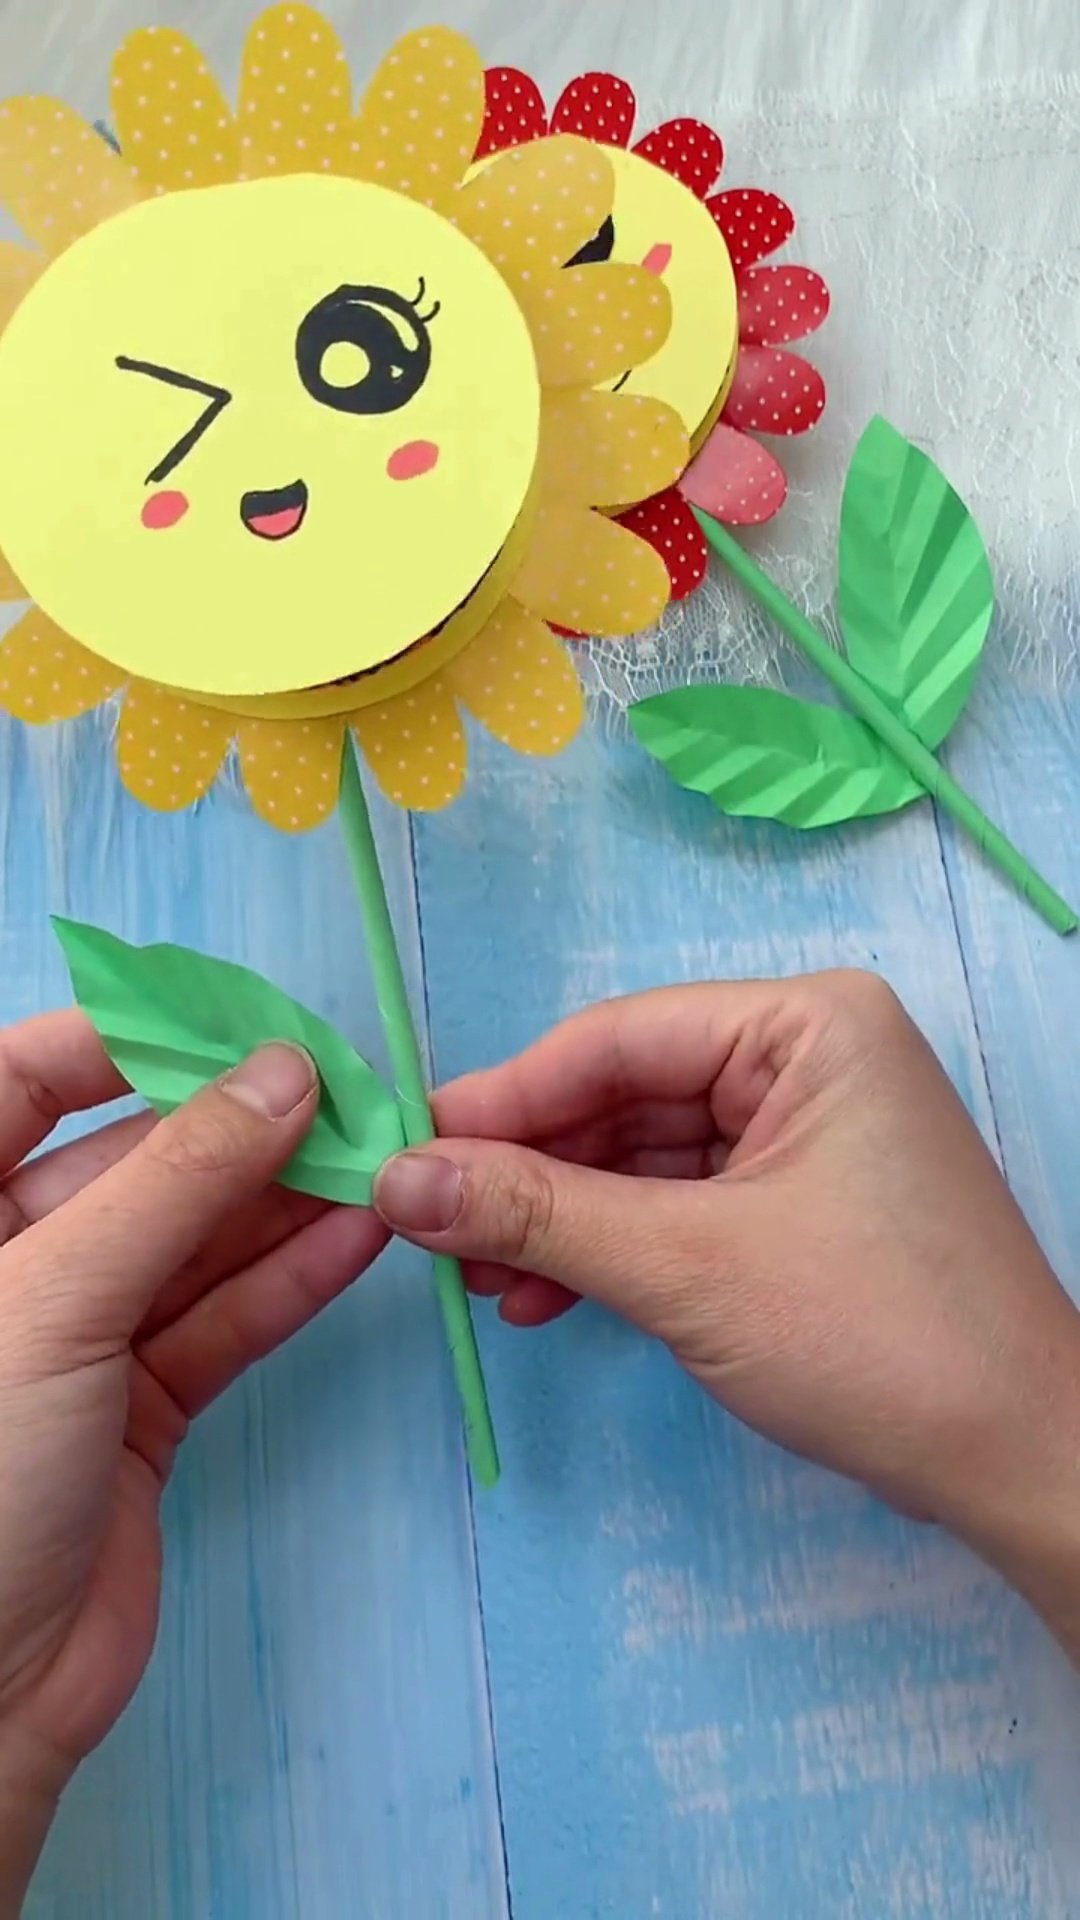
If you’re tired of giving boring, flat greeting cards that end up tucked away in a drawer, this cheerful DIY paper sunflower card is about to become your new favorite project. With its sunny polka-dot petals, dimensional pleated leaves, and an adorable winking face that flips open to reveal a secret handwritten note, it’s half handmade card, half playful paper flower.
The best part is that you don’t need expensive cutting machines or specialized craft punches. All it takes is a 12cm square of craft paper, basic scissors, and about ten minutes of quiet crafting time to make someone smile.
⏱ Craft Time: 10–15 Minutes •
💰 Budget: Under (Uses standard colored craft paper) •
🎯 Skill Level: Absolute Beginner / Kid-Friendly
Supplies You Will Need
You probably have every single item sitting in your pantry right now (no expensive craft store runs required!):
- Yellow or Polka-Dot Craft Paper — 1 square (12cm × 12cm) for the outer petals, plus 1 yellow circle (approx. 4cm) for the face
- Green Craft Paper — 1 strip for rolling the stem tube, plus 2 leaf cutouts
- Pink Marker or Crayon — For soft rosy blush cheeks
- Black Fine-Tip Marker or Pen — For sketching the kawaii winking face and writing your secret message
- Standard Craft Glue Stick
Tools:
- Craft Scissors
Step-by-Step Instructions
Step 1: Trace and Fold the Center Face Flap
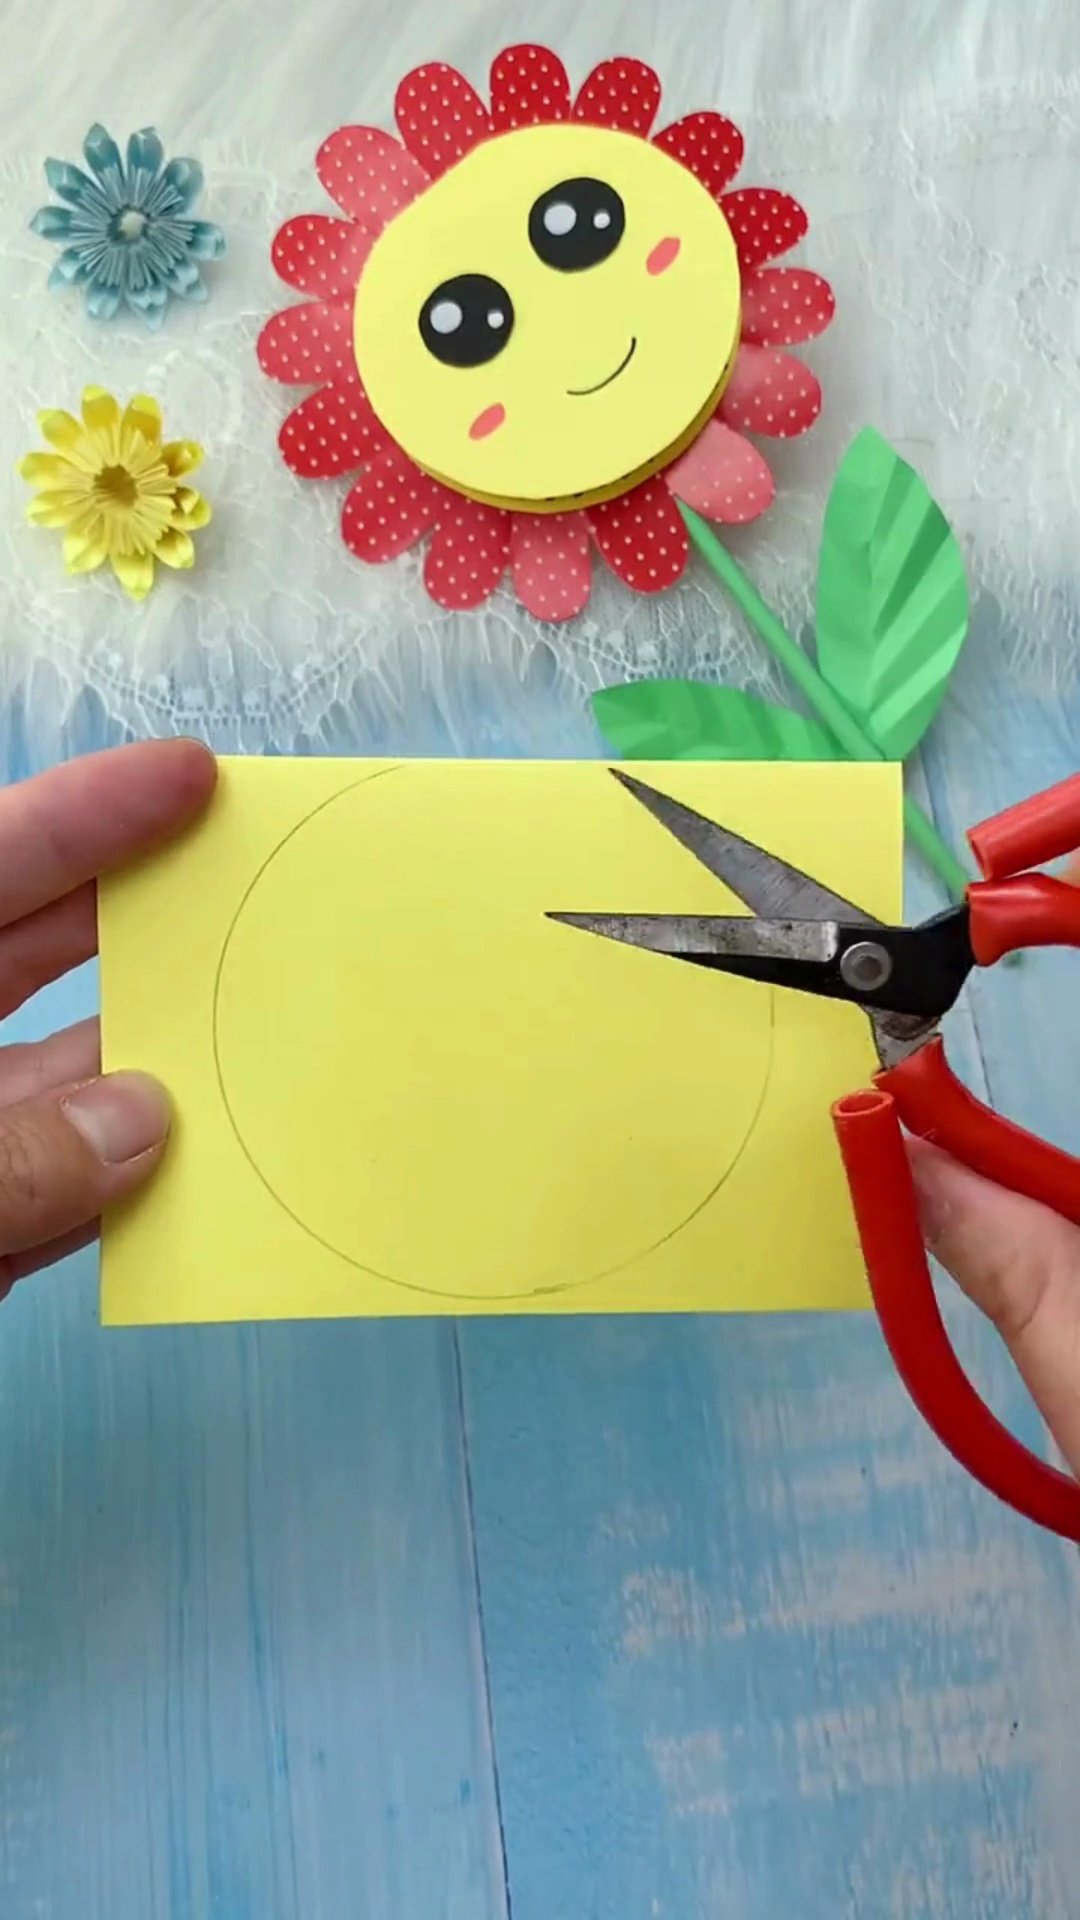
Cut out a 4cm circle from yellow craft paper and fold the top quarter over to form a neat hinge. This clever little fold creates the flip door that conceals your secret handwritten message until the recipient lifts it up.
Step 2: Draw the Kawaii Face & Write Your Secret Note
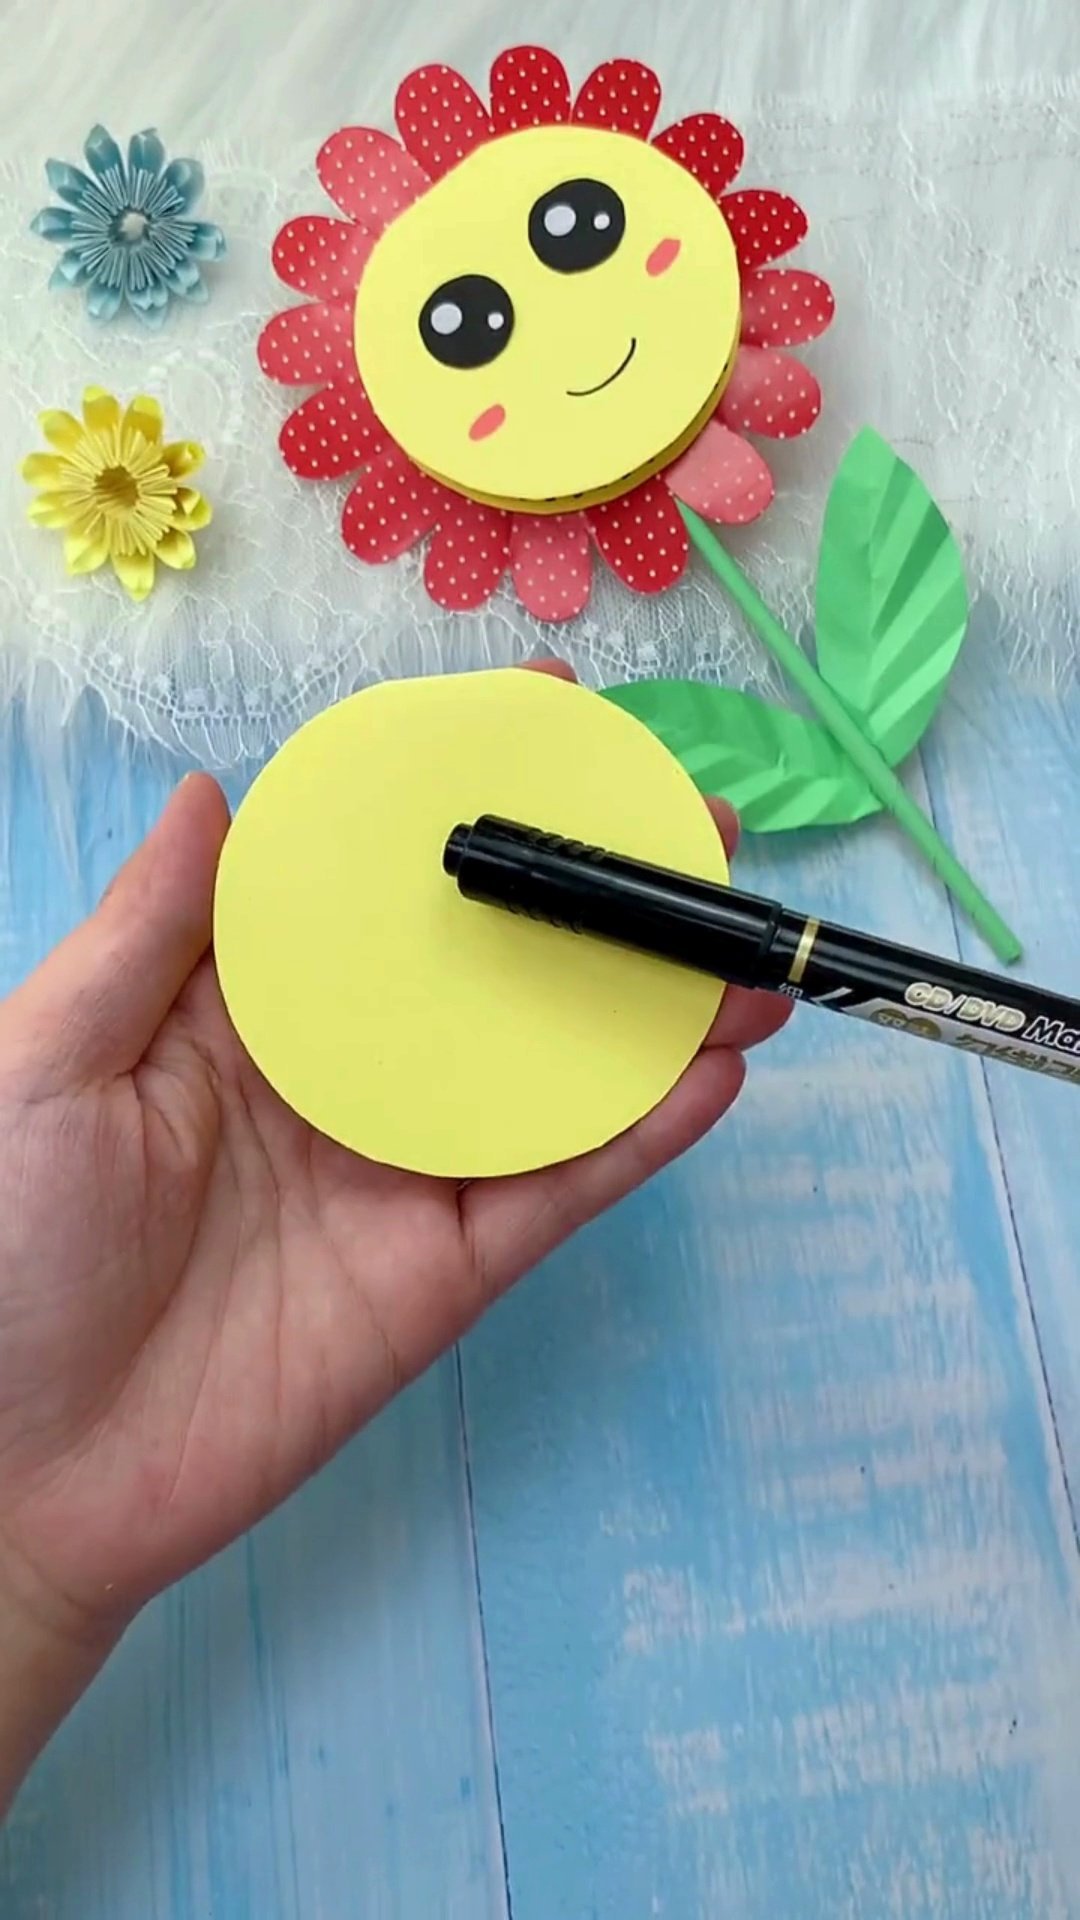
Use a black felt pen to draw big anime-style eyes, a winking lash, and a happy smile, then flip it open to write your personal note. Add two little dabs of pink marker for blush cheeks. Inside, you can write “Thinking of You!”, “Happy Birthday!”, or “Best Mom Ever!”
Step 3: Fold the Petal Square into a Triangle Cone
Take your 12cm × 12cm square of patterned paper and fold it in half diagonally three consecutive times. Folding it into this compact triangle wedge lets you snip all 16 symmetrical petals at once with just a single cut!
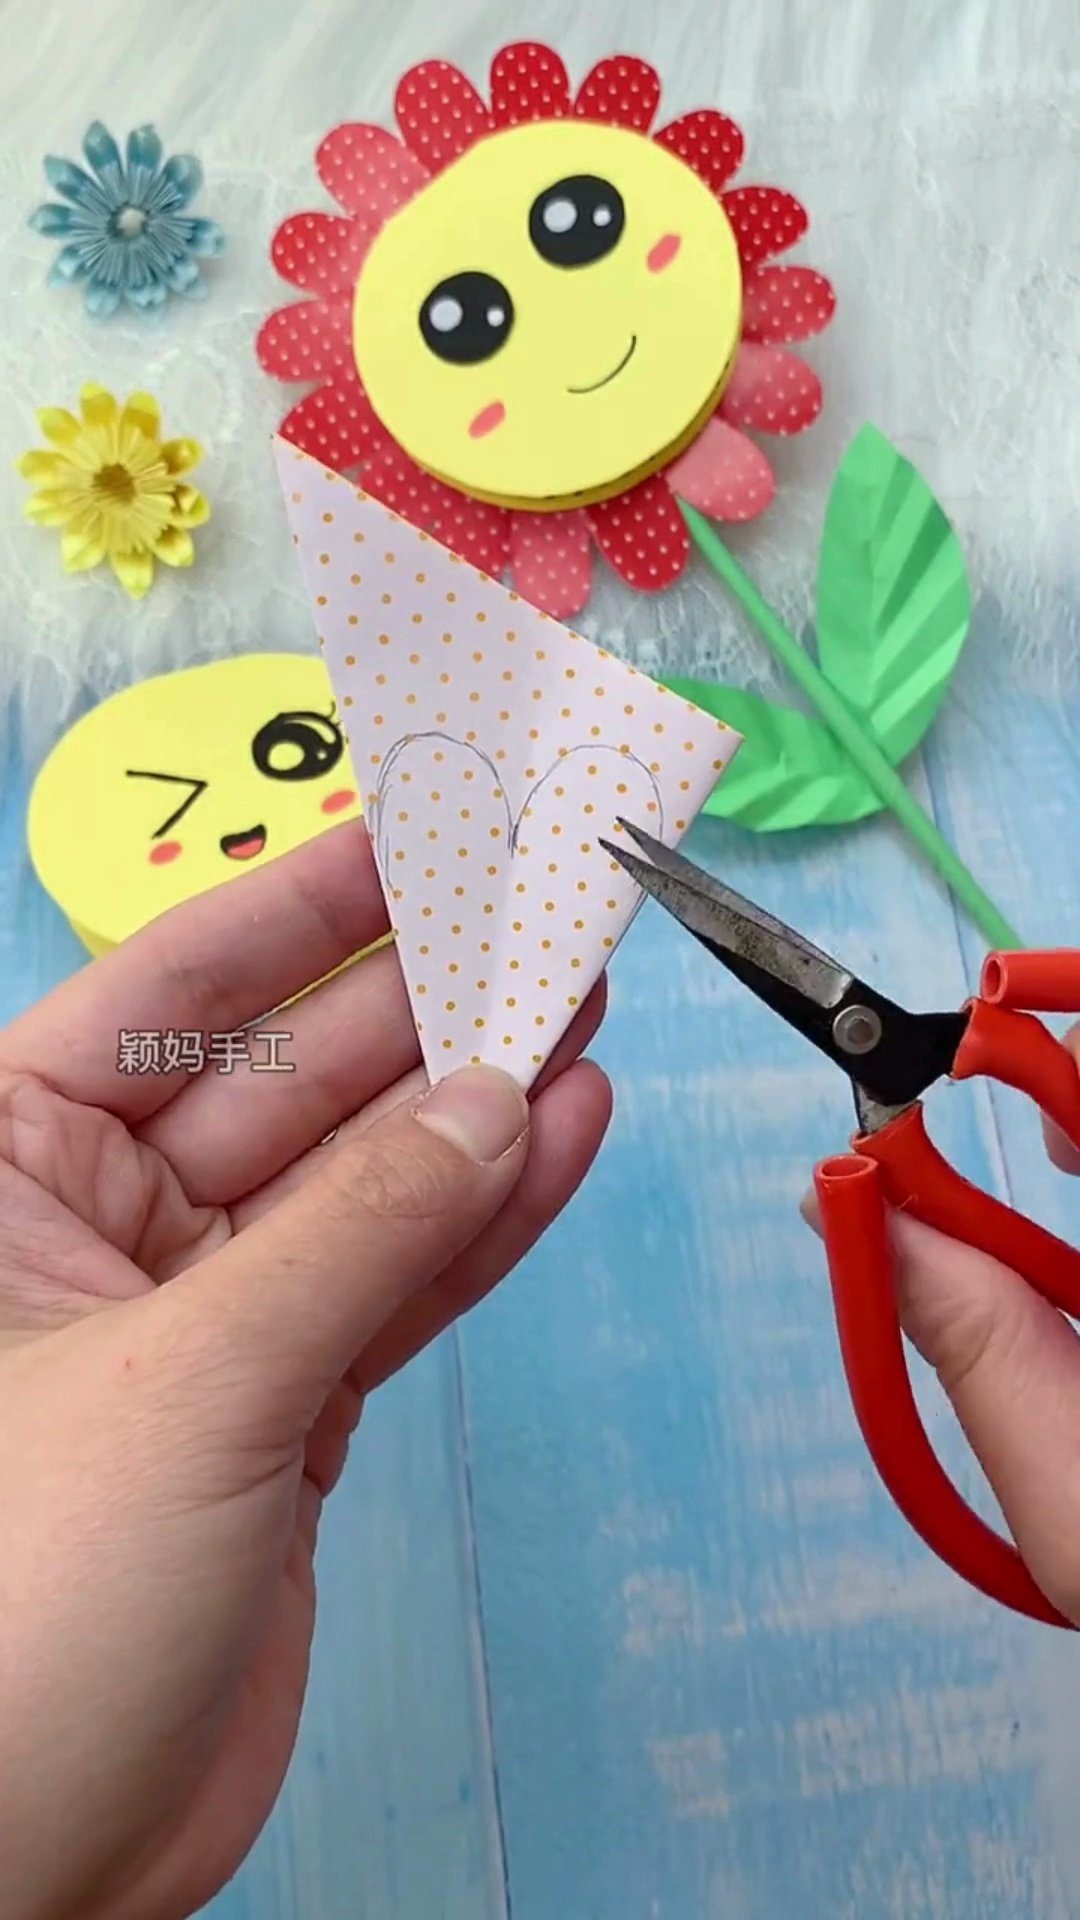
Step 4: Cut the Petal Arch and Unfold the Bloom
Sketch a soft rounded arch across the wide end of your folded triangle and snip along the curve with scissors. When you unfold the paper, you will reveal a gorgeous, perfectly symmetrical 16-petal sunflower blossom.
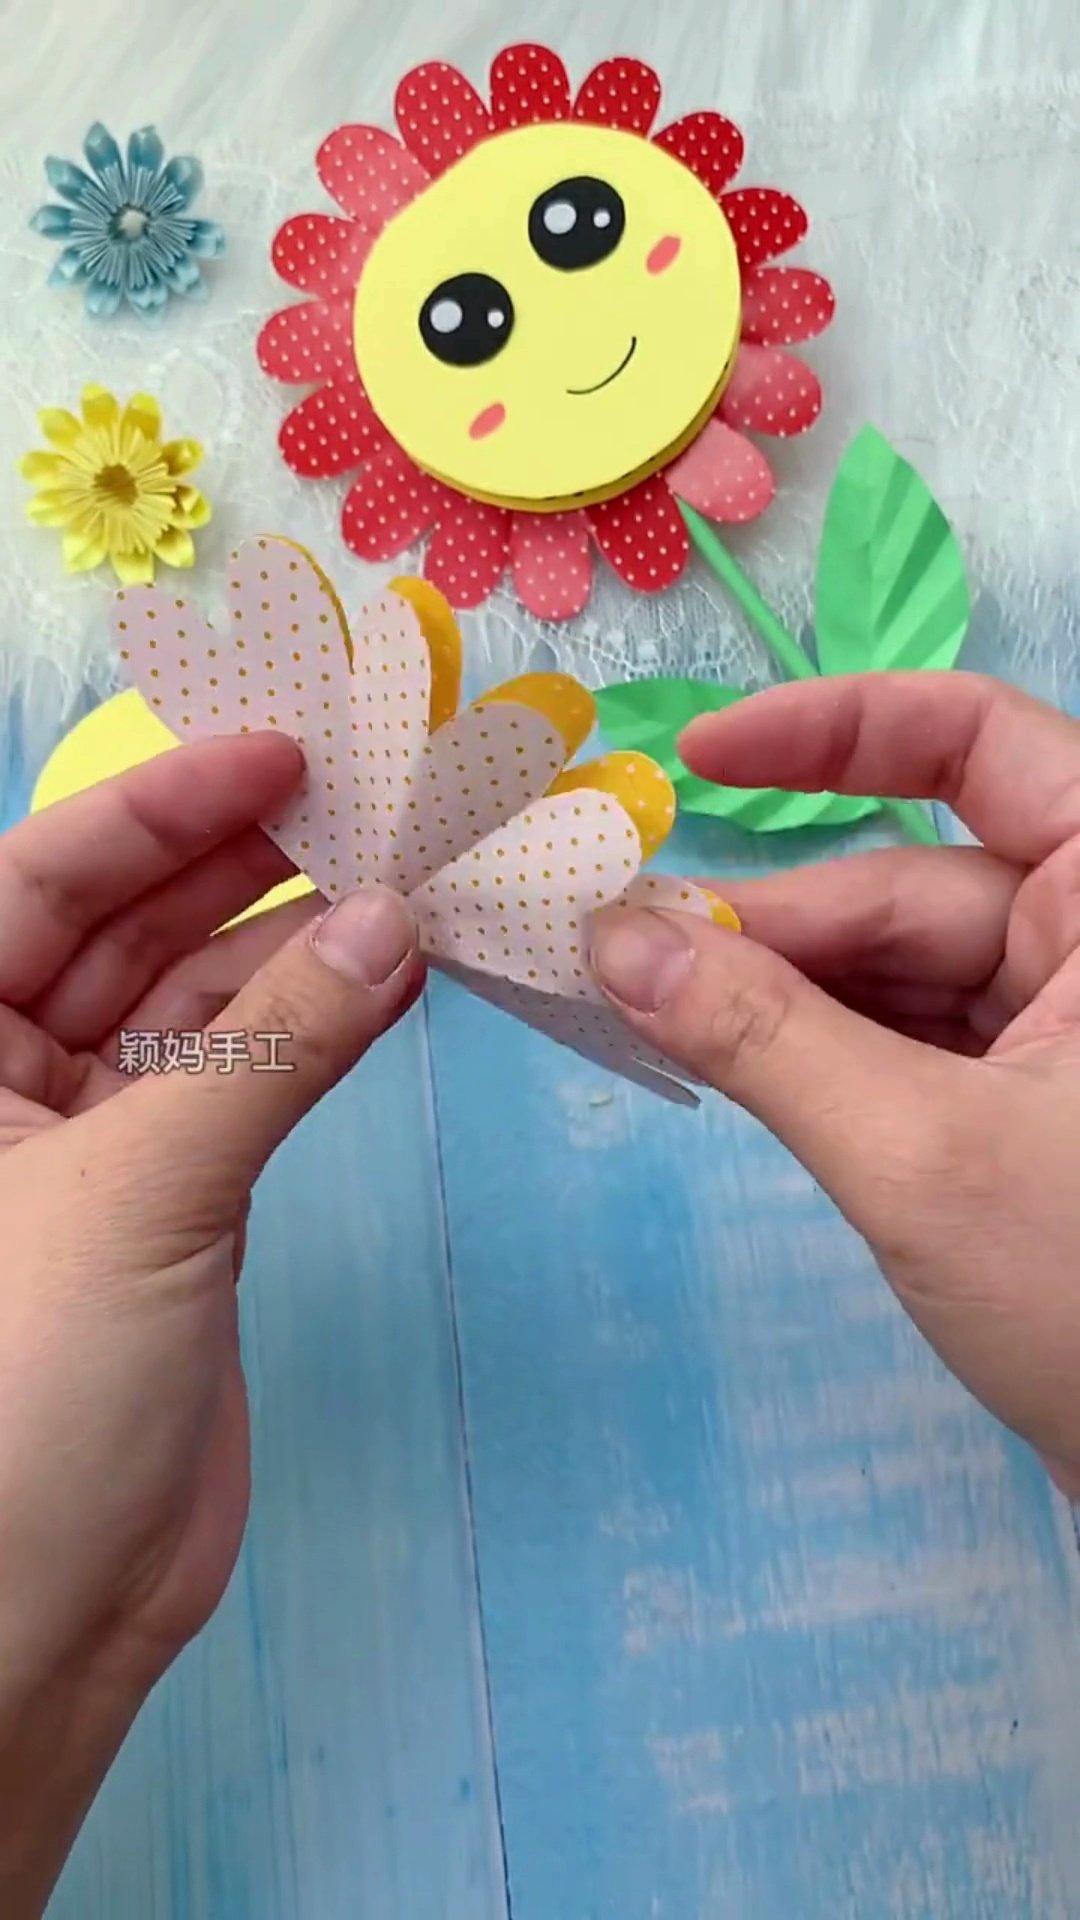
Step 5: Paste the Flip Face onto the Flower Center
Swipe glue stick only on the bottom back portion of your face circle and press it firmly into the center of the petals. Leaving the top hinged flap free of glue allows the face to flip open smoothly like a secret door.
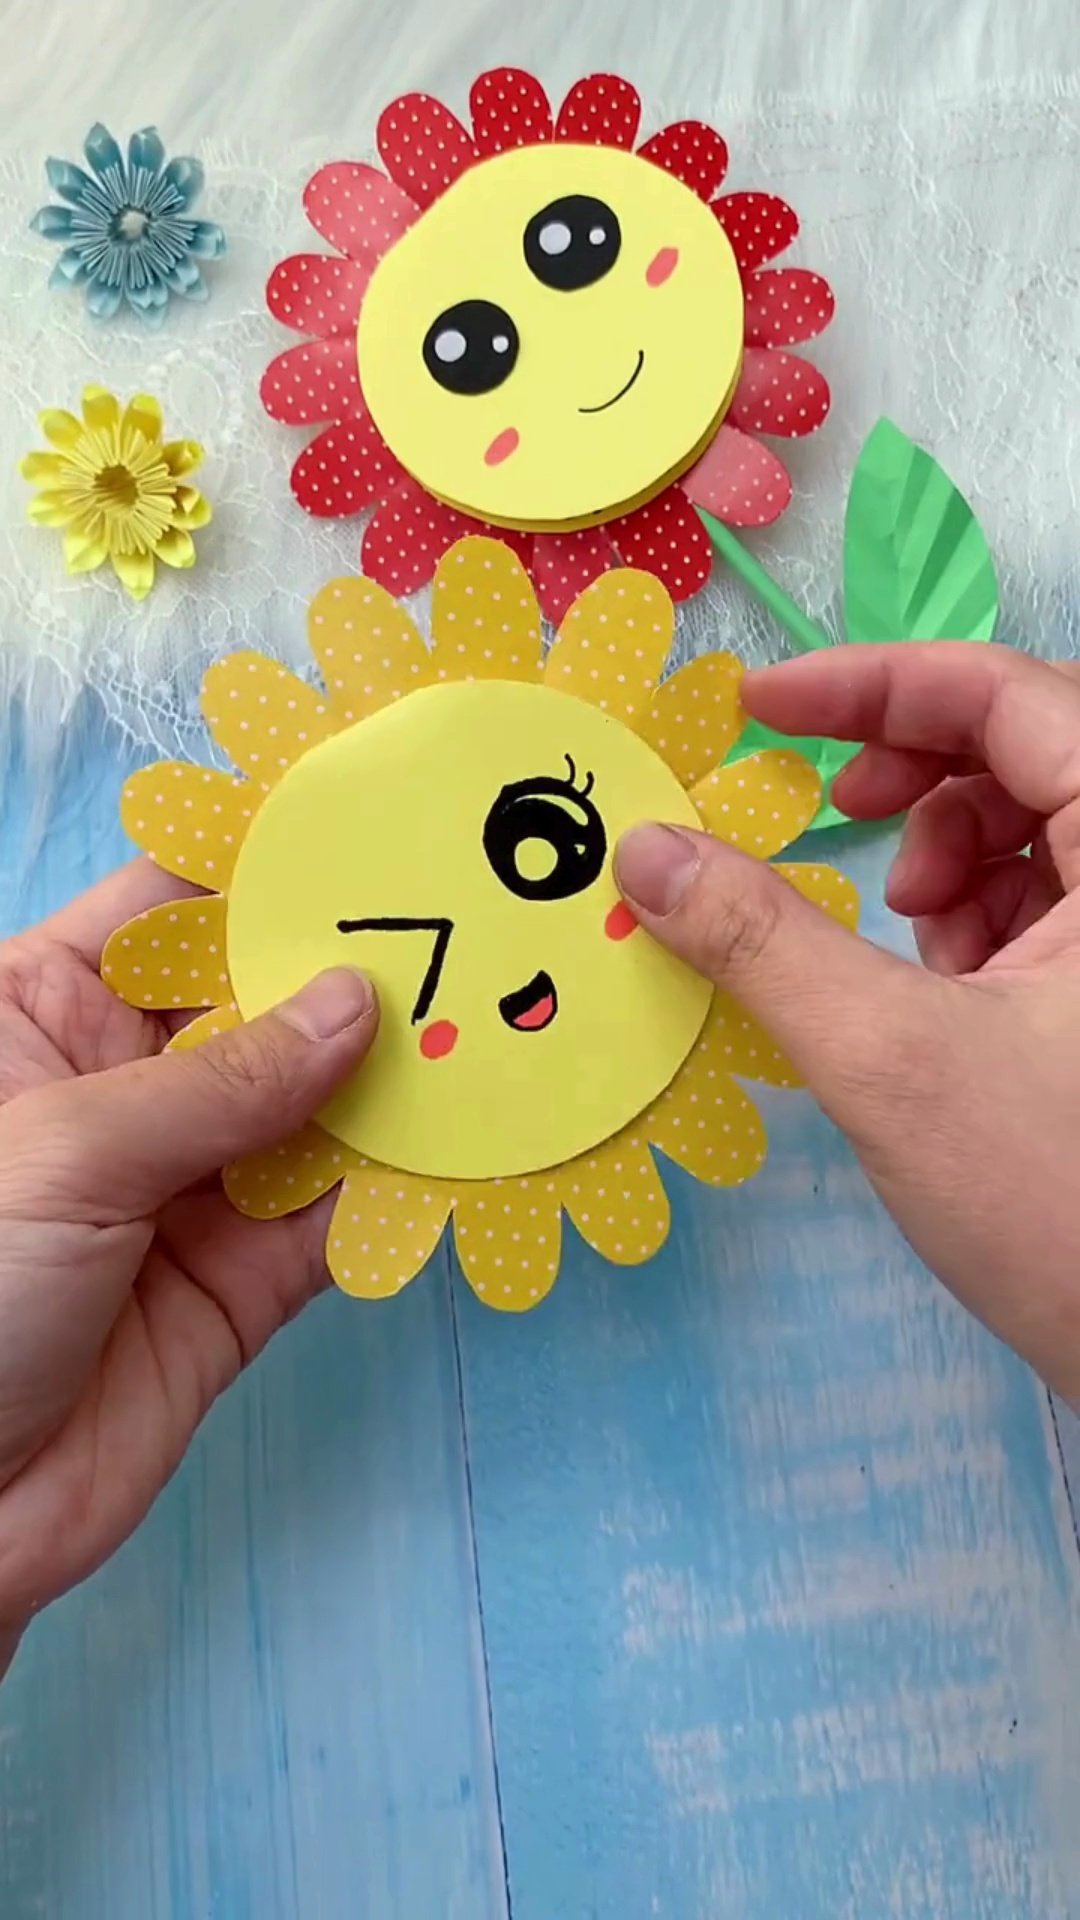
Step 6: Accordion-Fold the Green Leaves for 3D Texture
Cut out a pair of green paper leaves, fold them in half lengthwise, and press tight diagonal accordion pleats along the crease. When you gently open the folds, the leaf springs into a realistic, dimensional leaf with textured natural veins.
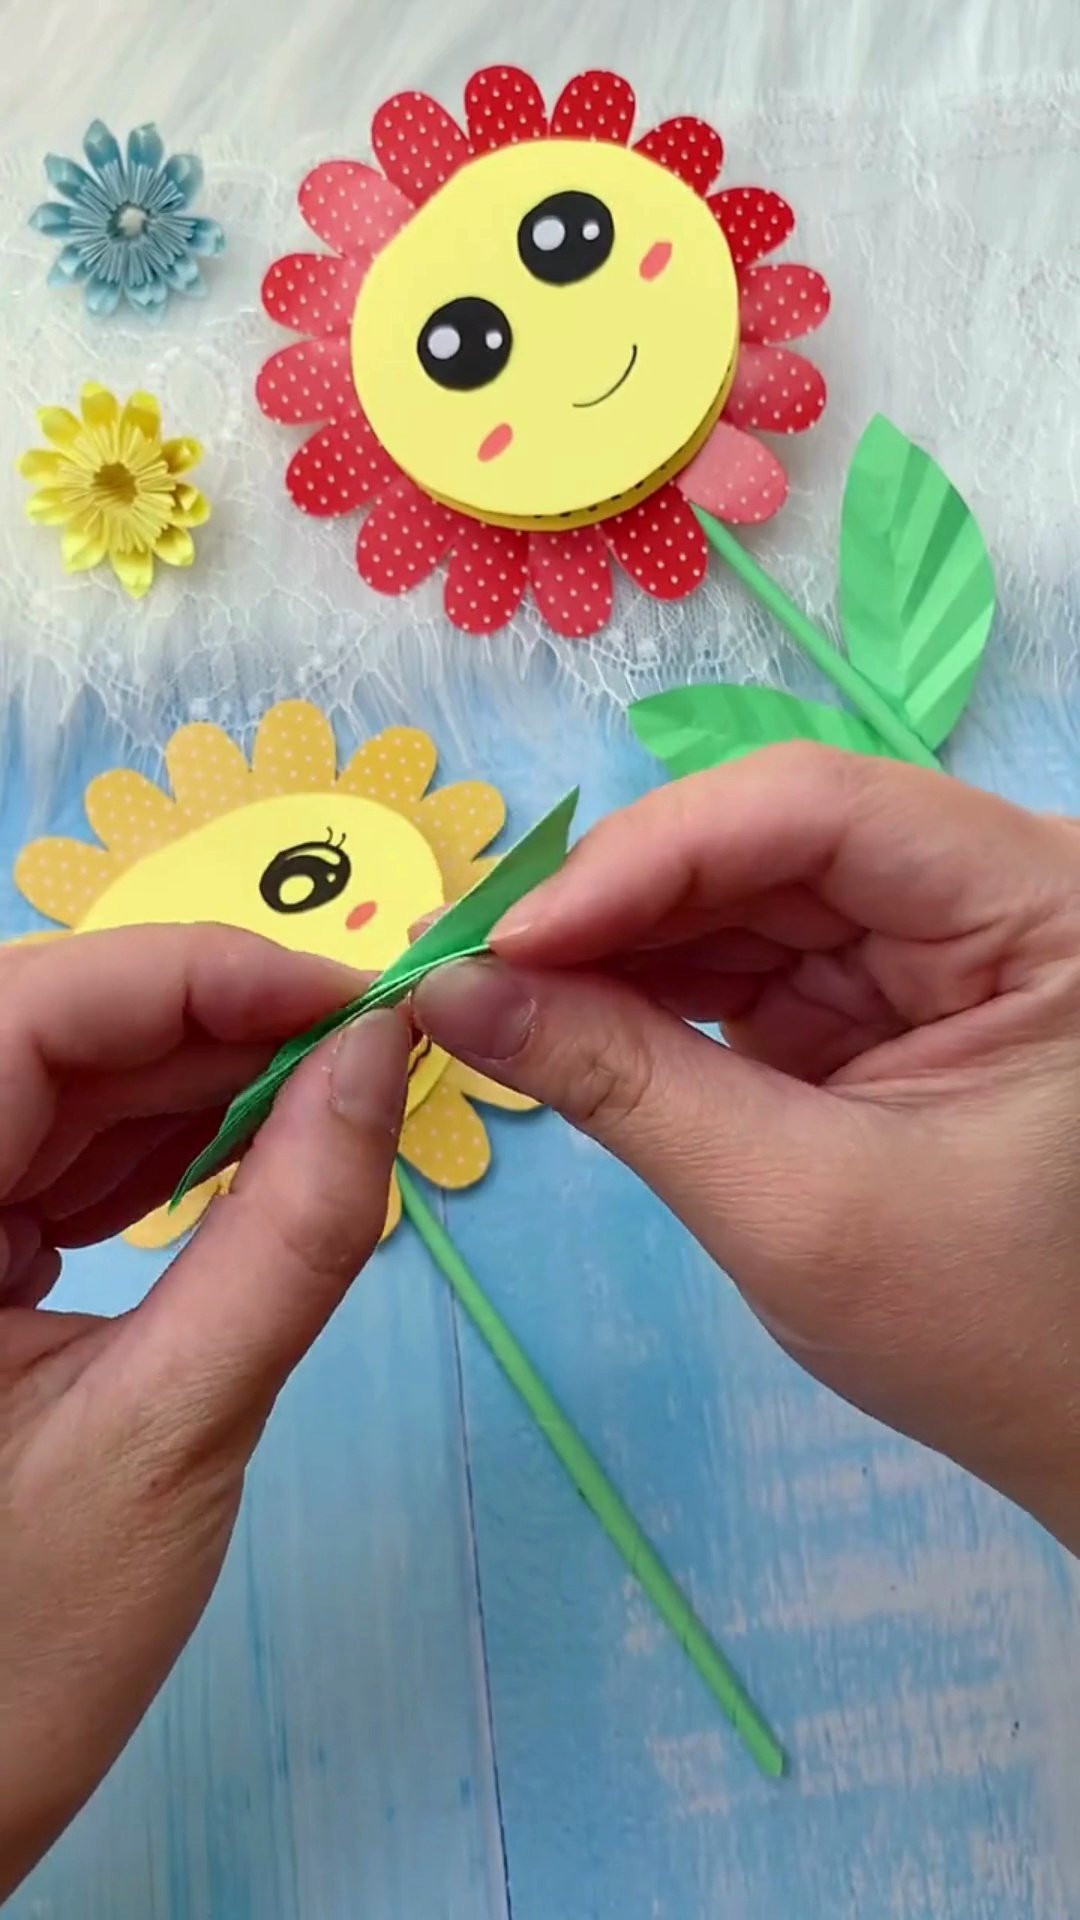
Step 7: Roll the Paper Stem and Assemble Your Flower
Roll a strip of green paper tightly into a firm straw-like stem, glue the flower head to the top, and attach your pleated leaves. The rolled paper stem is surprisingly sturdy and holds the cheerful sunflower upright so it can sit in a mini bud vase or be handed directly as a gift.
How to Style These Little Ghosts
- Mini Bud Vase Bouquet: Make three flowers in sunny yellows and vibrant reds, and pop them into a small ceramic vase for an instant tabletop pick-me-up.
- Gift Box Topper: Instead of a plastic bow, tape one of these cheerful sunflowers atop a wrapped birthday gift for a thoughtful, handmade touch.
- Mother’s Day or Teacher Keepsake: Have little ones write their own personalized thank-you note inside the flip flap—it’s a keepsake that will be cherished for years.
Looking for More Budget-Friendly Decor?
Don’t stop at ghosts! Check out these easy project guides to complete your cozy setup:
- DIY Halloween Paper Treat Bags (5 Cute Origami Pouches) — Another charming, budget-friendly paper folding craft kids and adults love.
- Easy DIY Paper Towel Ghosts Tutorial — Turn everyday kitchen supplies into whimsical, freestanding seasonal decor.
Frequently Asked Questions
What weight of craft paper works best for the petals?
Standard lightweight craft paper, 20 lb colored copy paper, or single-sided origami paper folds and cuts easiest. Thick cardstock can be tough to snip through when folded into multiple layers.
What size should the stem be?
A paper strip about 4 inches wide rolled tightly around a wooden skewer or thin pencil makes a durable, straight stem roughly 7 to 8 inches long.
Can I make these in different flower shapes?
Absolutely! Cutting a pointed V-shape instead of a rounded arch turns this into a spiky dahlia, while heart-shaped cuts make a lovely daisy.
Final Thoughts
There is something pure and joyful about giving a card that makes someone physically interact with it. Watching a friend or family member gently lift the winking face to discover your handwritten message inside is ten times more memorable than handing over a commercial drugstore card.
If you make your own sunny paper flower bouquet, we would love to see your color combinations! Share your creations on Instagram or Pinterest and tag us at @louvadecors so we can cheer you on.
Happy crafting, and keep spreading sunshine!
