

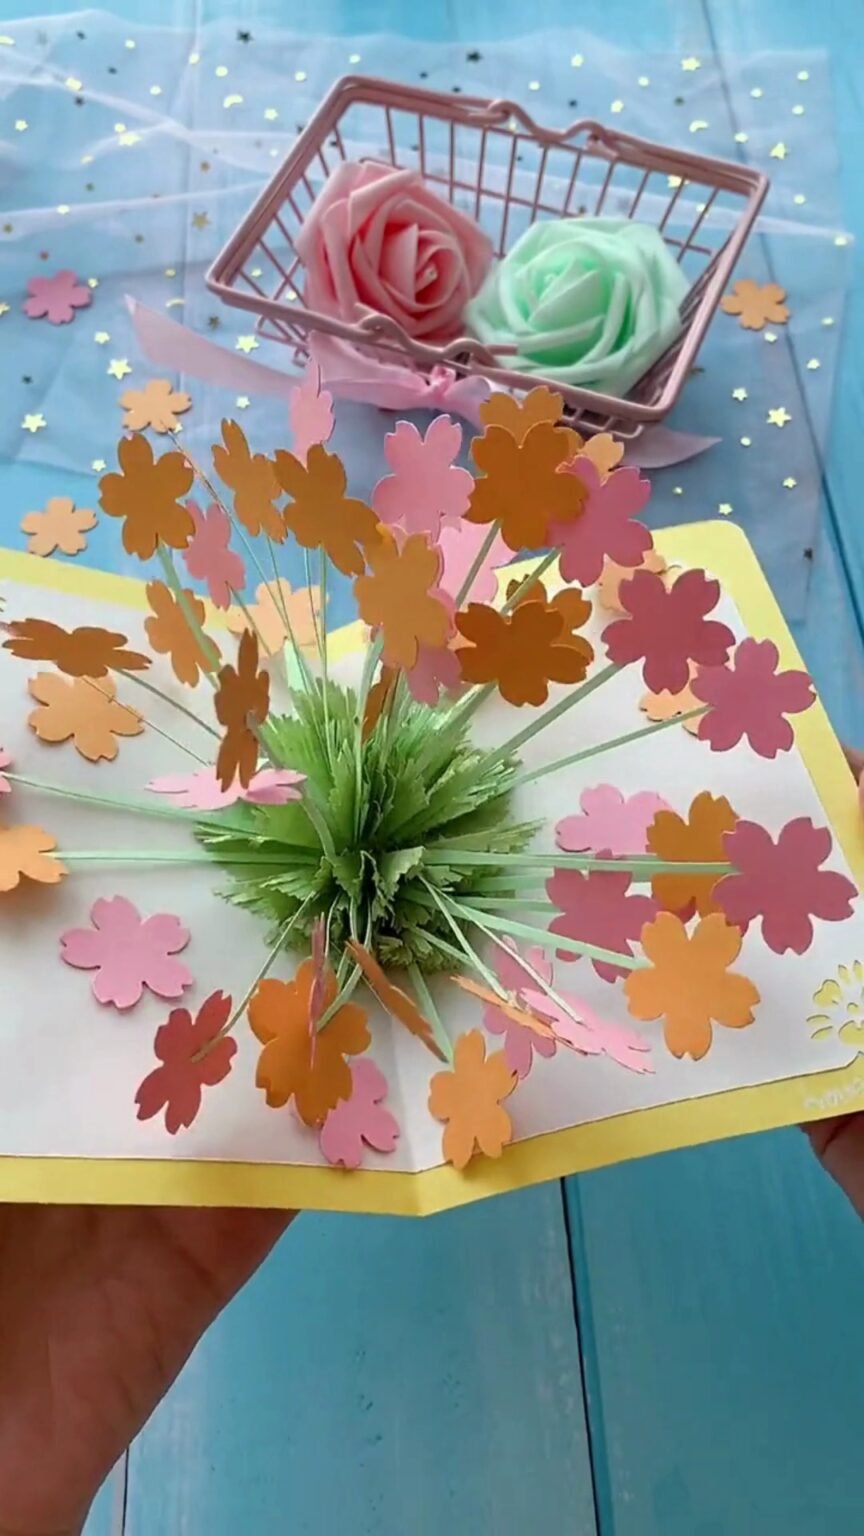
There are handmade cards that make people say a polite “thank you,” and then there are cards that make people physically gasp when they open them. This DIY 3D pop-up flower card falls squarely in the second category. From the outside, it looks like a charming, modest pastel greeting card—but the second you unfold it, an entire dome of dimensional blossoms bursts upward like floral fireworks.
While it looks like something you’d purchase at a luxury paper boutique for fifteen dollars, the mechanics are actually based on a simple accordion folding trick. Once you assemble the pleated green dome base, you simply slot your paper flower stems into place and watch the magic happen!
⏱ Craft Time: 20 Minutes •
💰 Budget: Under (Uses cardstock & paper scraps) •
🎯 Skill Level: Beginner-to-Intermediate / Rewarding Paper Craft
Supplies You Will Need
You probably have every single item sitting in your pantry right now (no expensive craft store runs required!):
- Yellow A5 Cardstock — 1 sheet for the sturdy outer cover
- White Paper — 1 sheet (slightly trimmed, with lace corner punches)
- Green Crepe or Lightweight Origami Paper — 1 square (approx. 10cm × 10cm) for the pop-up dome mechanism
- Colored Craft Paper — Scraps of pink, peach, and orange for flower blooms, plus light green for stem strips
- Sheer Mesh Ribbon — Small piece for the front cover bow
- Craft Glue — Quick-drying craft glue or glue stick
Tools:
- Fine Craft Scissors
- Zig-Zag Pinking Shears (optional, for fringed grass texture)
- Small Flower Paper Punch (optional, or hand-cut blooms)
Step-by-Step Instructions
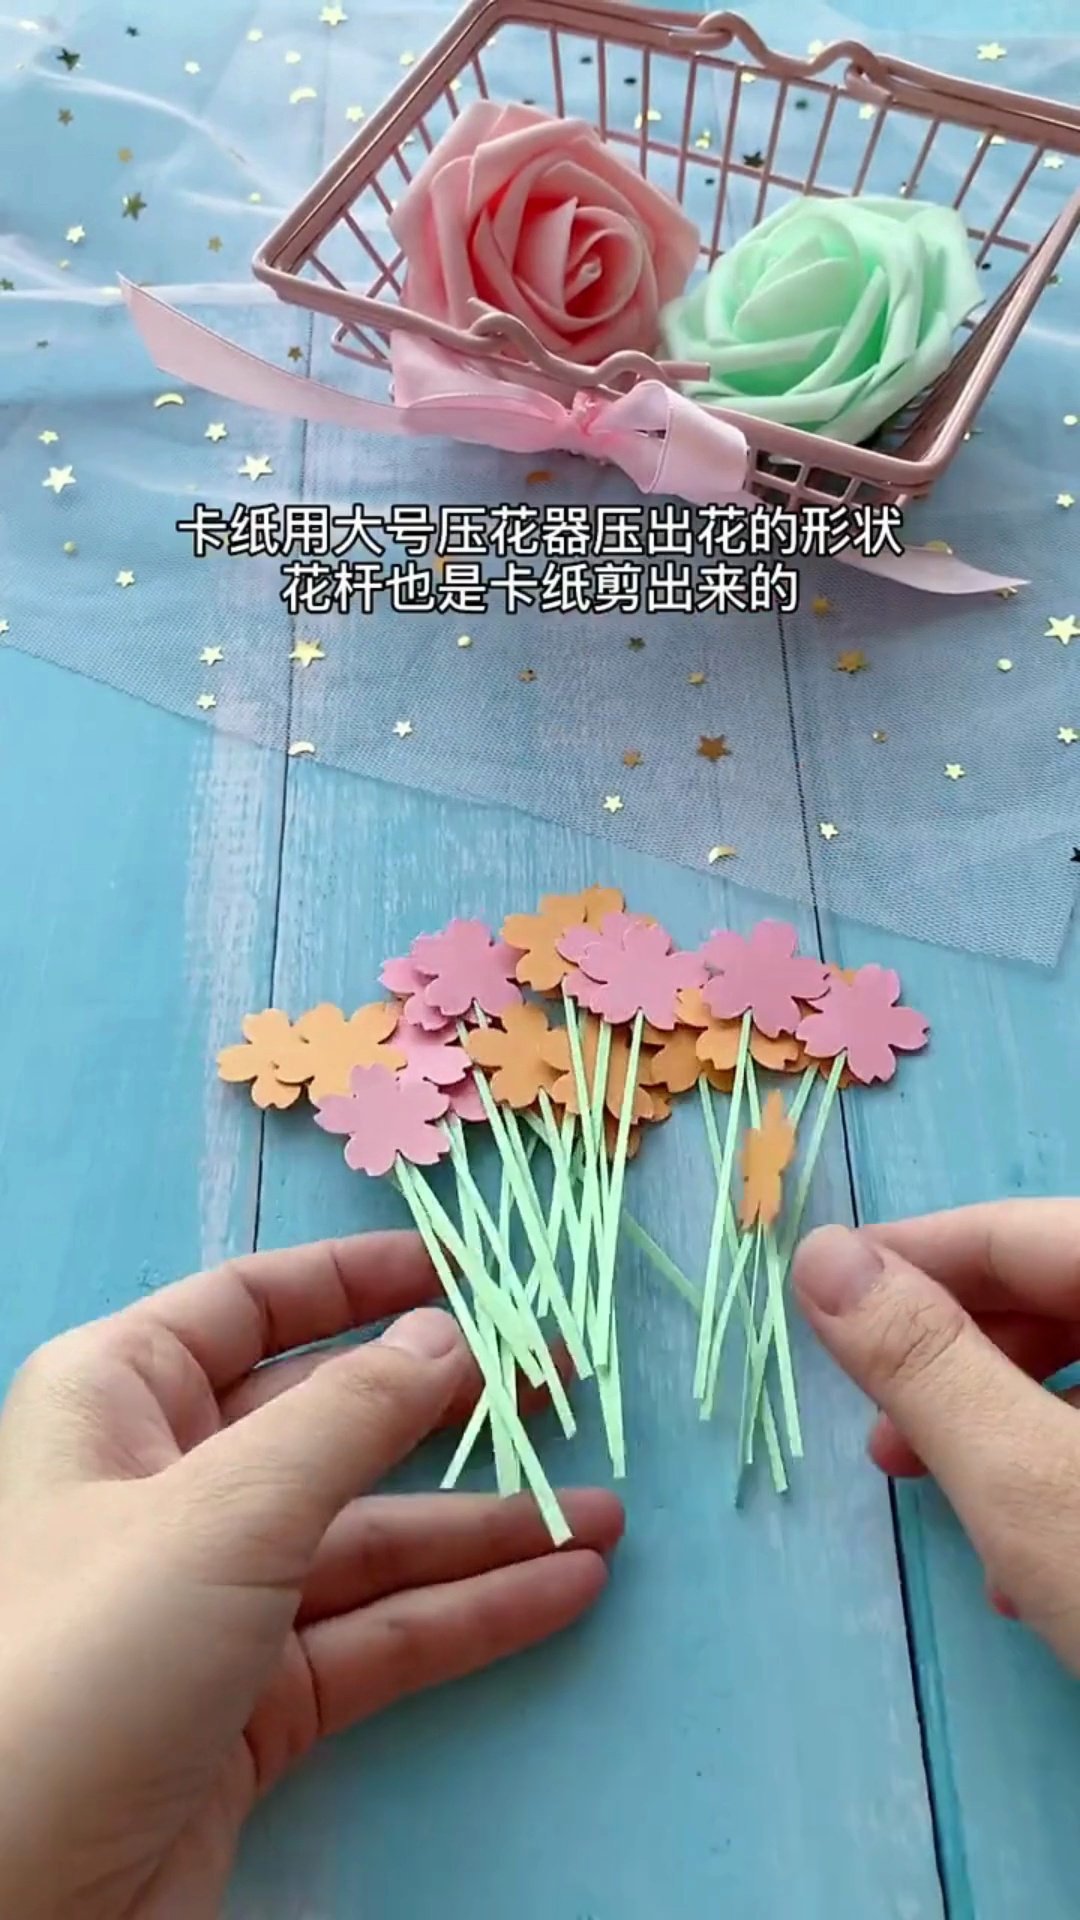
Step 1: Punch Flower Heads and Prepare Paper Stems
Punch 25 to 30 small flower heads from pink, orange, and peach craft paper, and glue each one to the tip of a thin green paper strip. Varying the stem lengths slightly (between 2 and 3.5 inches) gives your finished flower explosion realistic volume and layered dimension.
Step 2: Fold the Green Square into a Triangle Cone
Take your green paper square, fold it in half diagonally, and fold the corners inward to form a compact triangle cone. This geometric fold forms the hidden spring mechanism that pushes all the floral stems upward when the card unfolds.

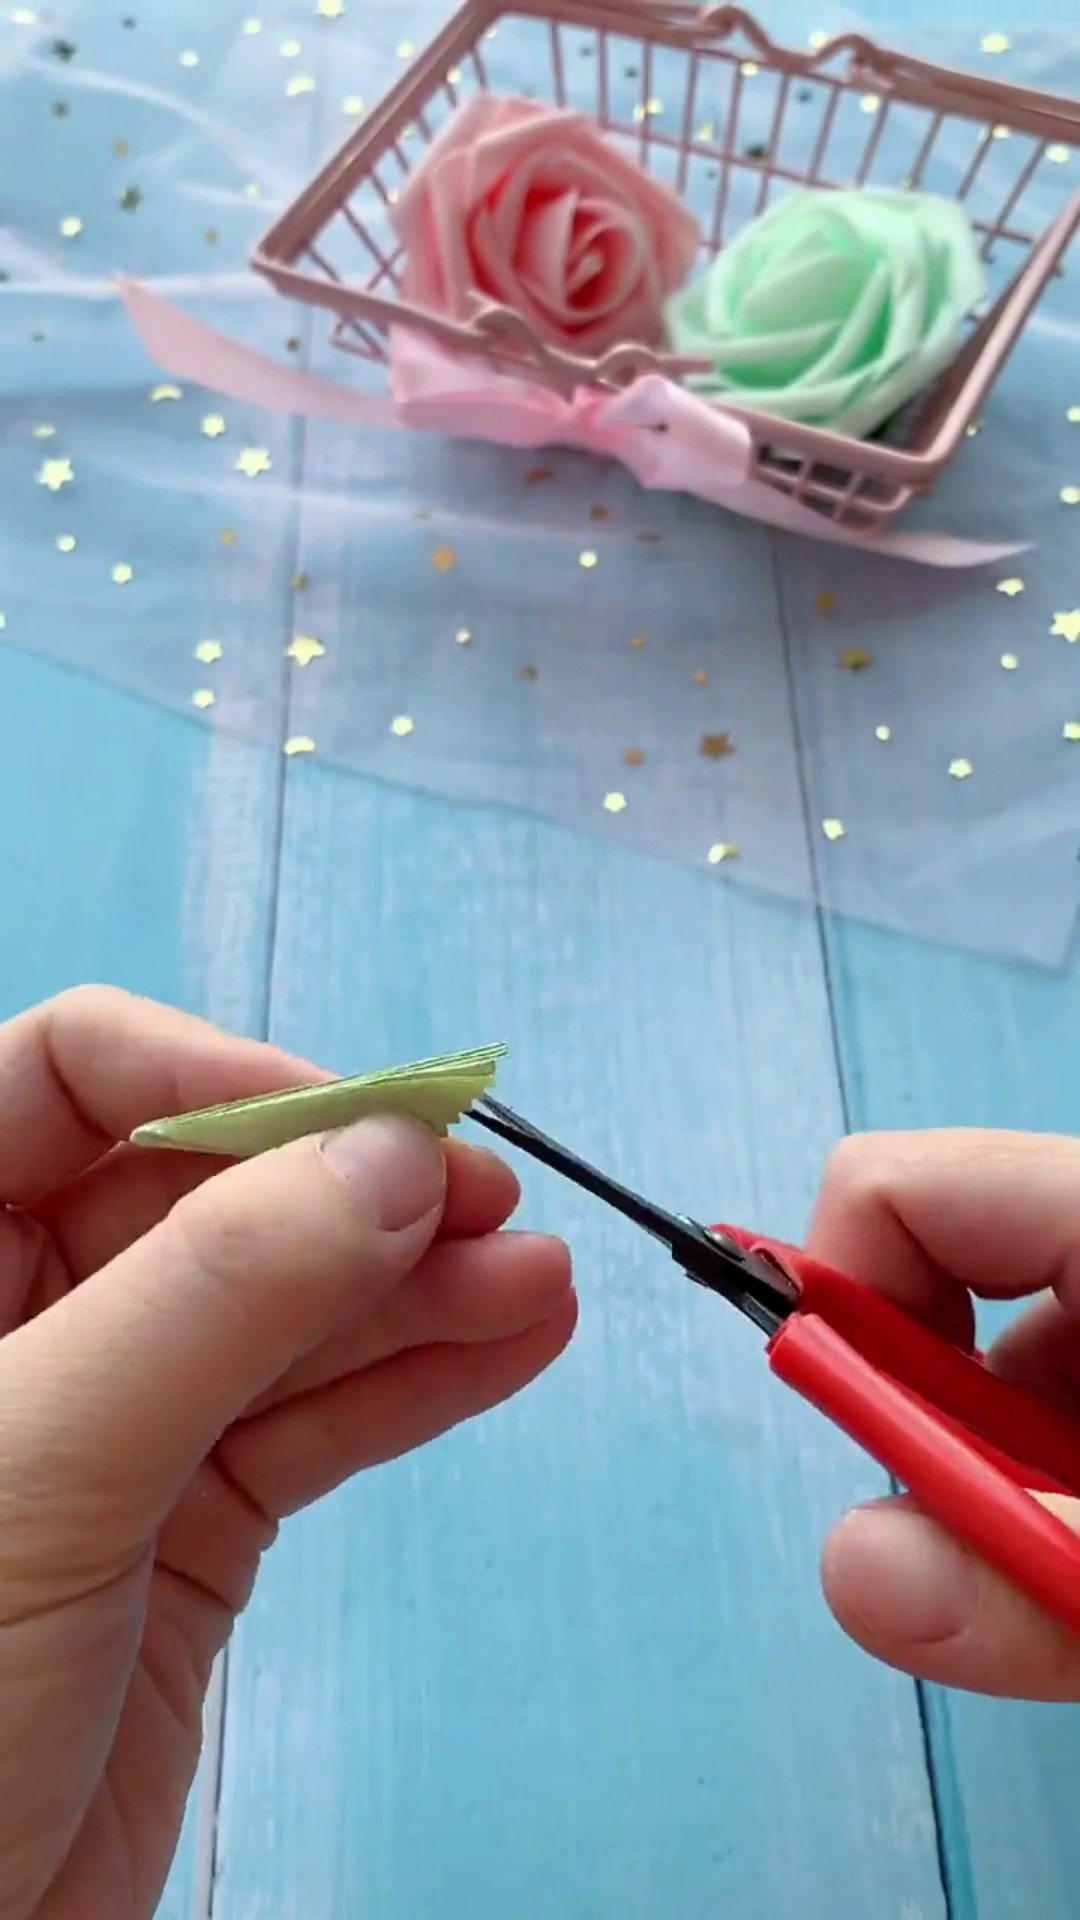
Step 3: Snip the Fringe Edges with Decorative Shears
Trim the curved outer edge with zig-zag shears, then make small vertical fringe snips along the sides using fine scissors. The zig-zag cuts mimic lush garden foliage and create natural slots for tucking the flower stems into place.
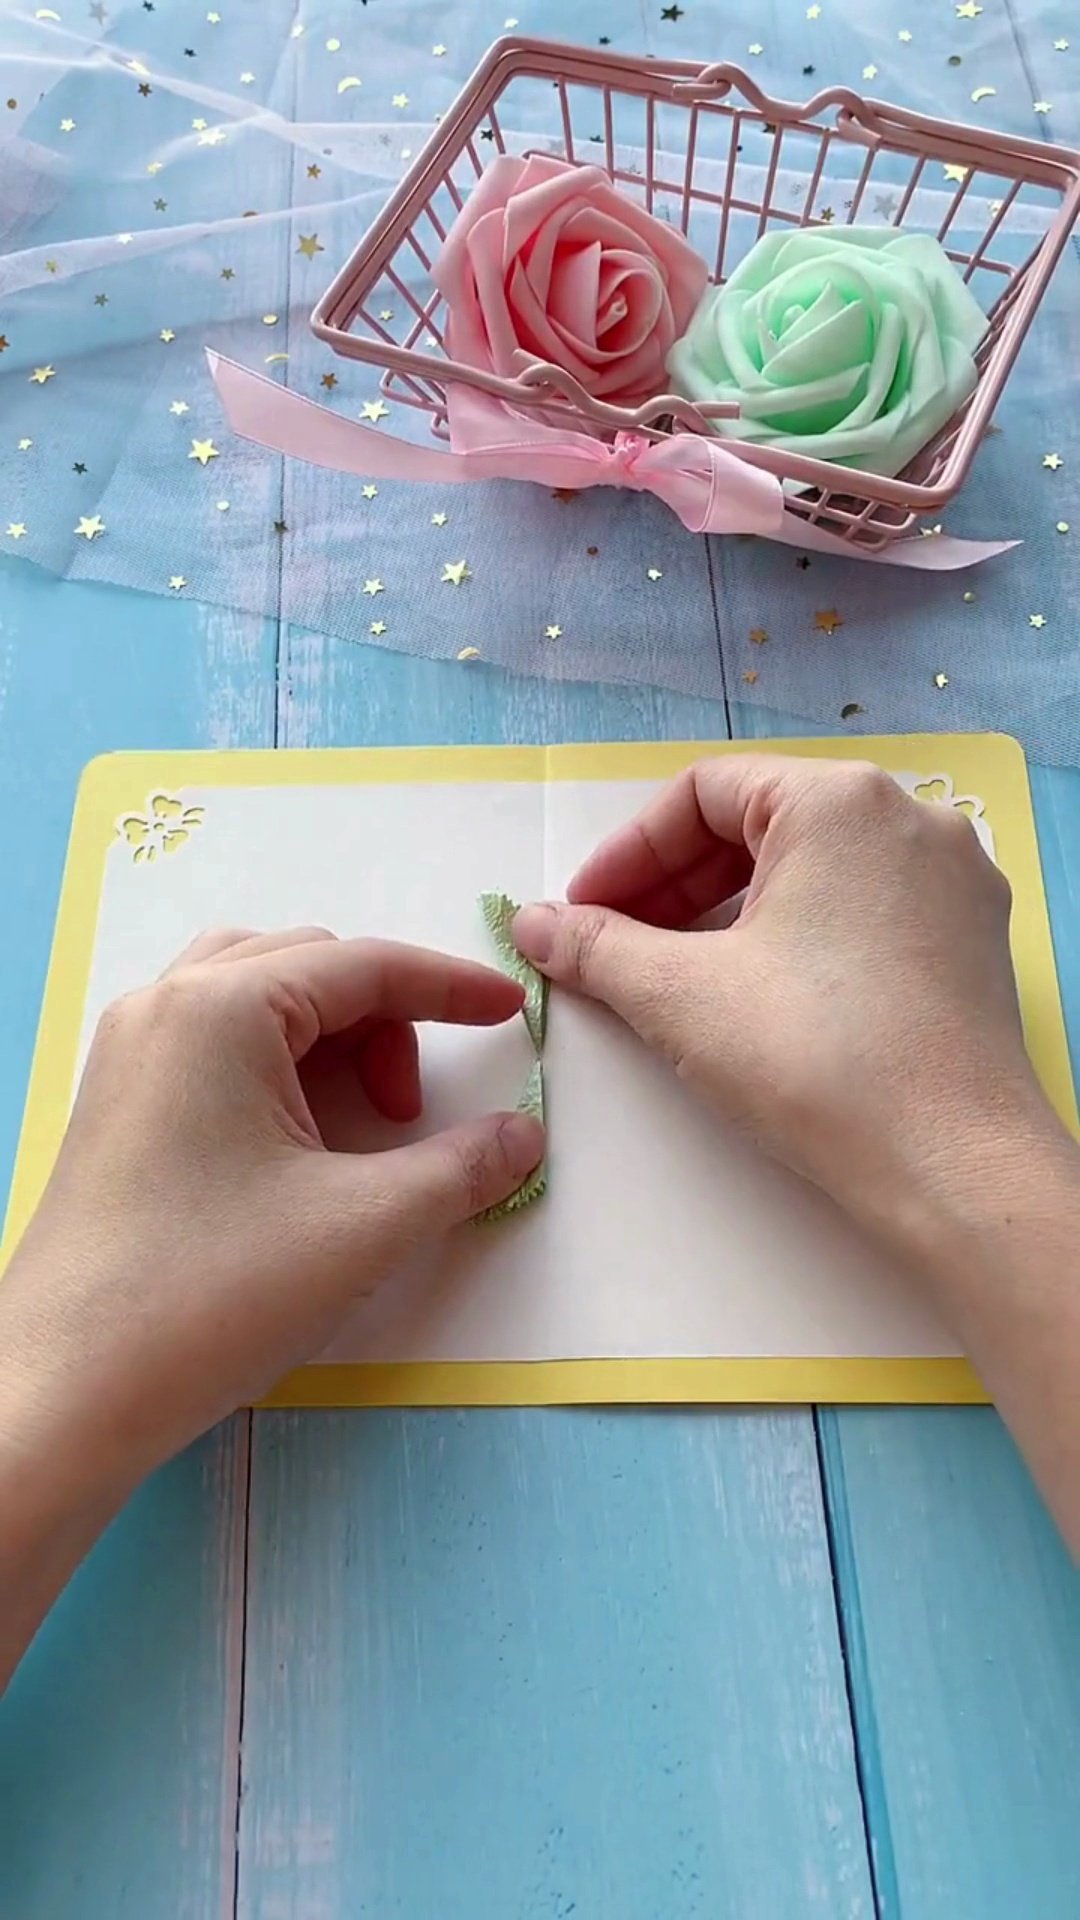
Step 4: Glue the Accordion Base to the Center Crease
Position the folded green fan directly along the center crease of your inner card and glue the outer tabs flat against both sides. Centering it precisely along the spine allows the mechanism to collapse flat when closed and pop open into 3D when opened.
Step 5: Open the Card to Reveal the Pop-Up Dome
Gently open the card to 90 degrees and watch the green pleats blossom into a full, rounded botanical dome. The accordion folds expand into a dense, honeycomb-like green base ready to hold all of your flower stems.
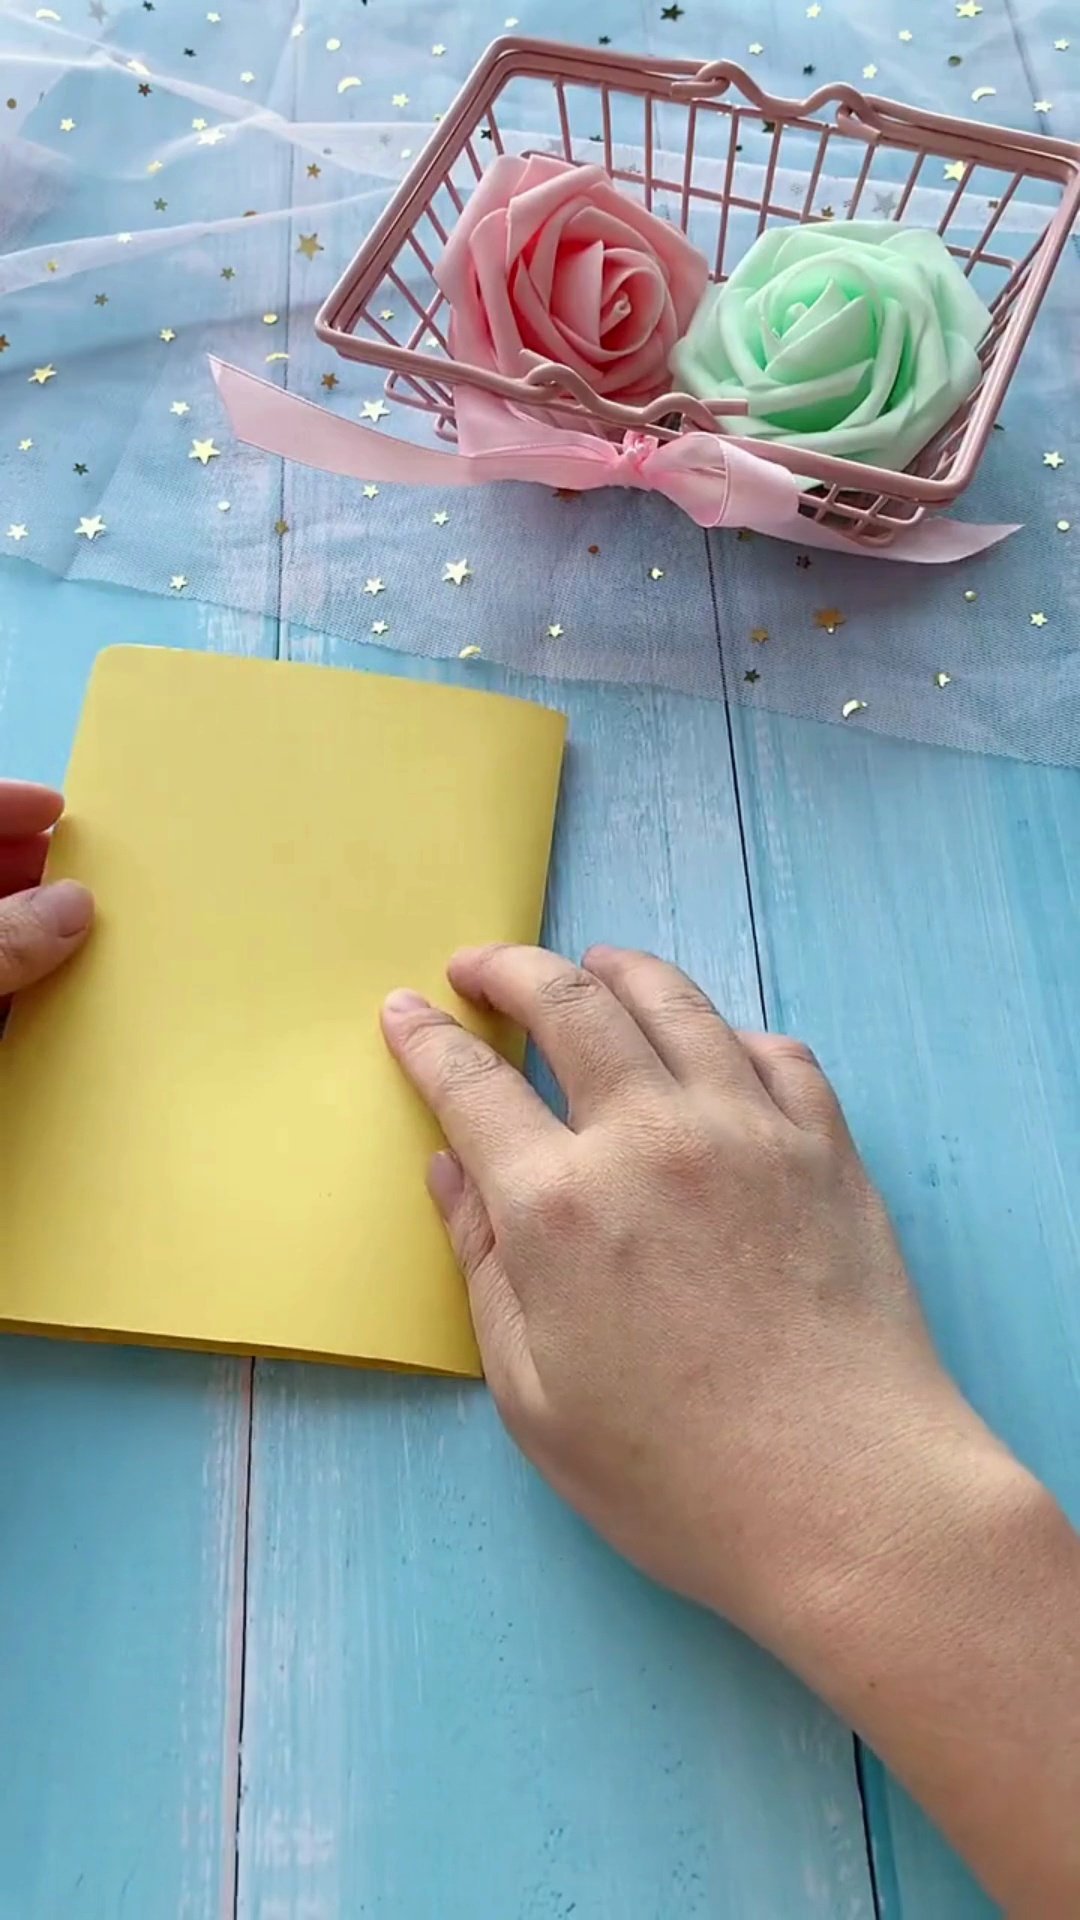
Step 6: Slot and Glue Flower Stems into the Dome
Apply a tiny drop of glue to the base of each stem and slide them one by one into the green accordion pleats, fanning them outward. Place the longer stems near the center and shorter stems around the perimeter to create a dramatic, spherical burst of flowers.
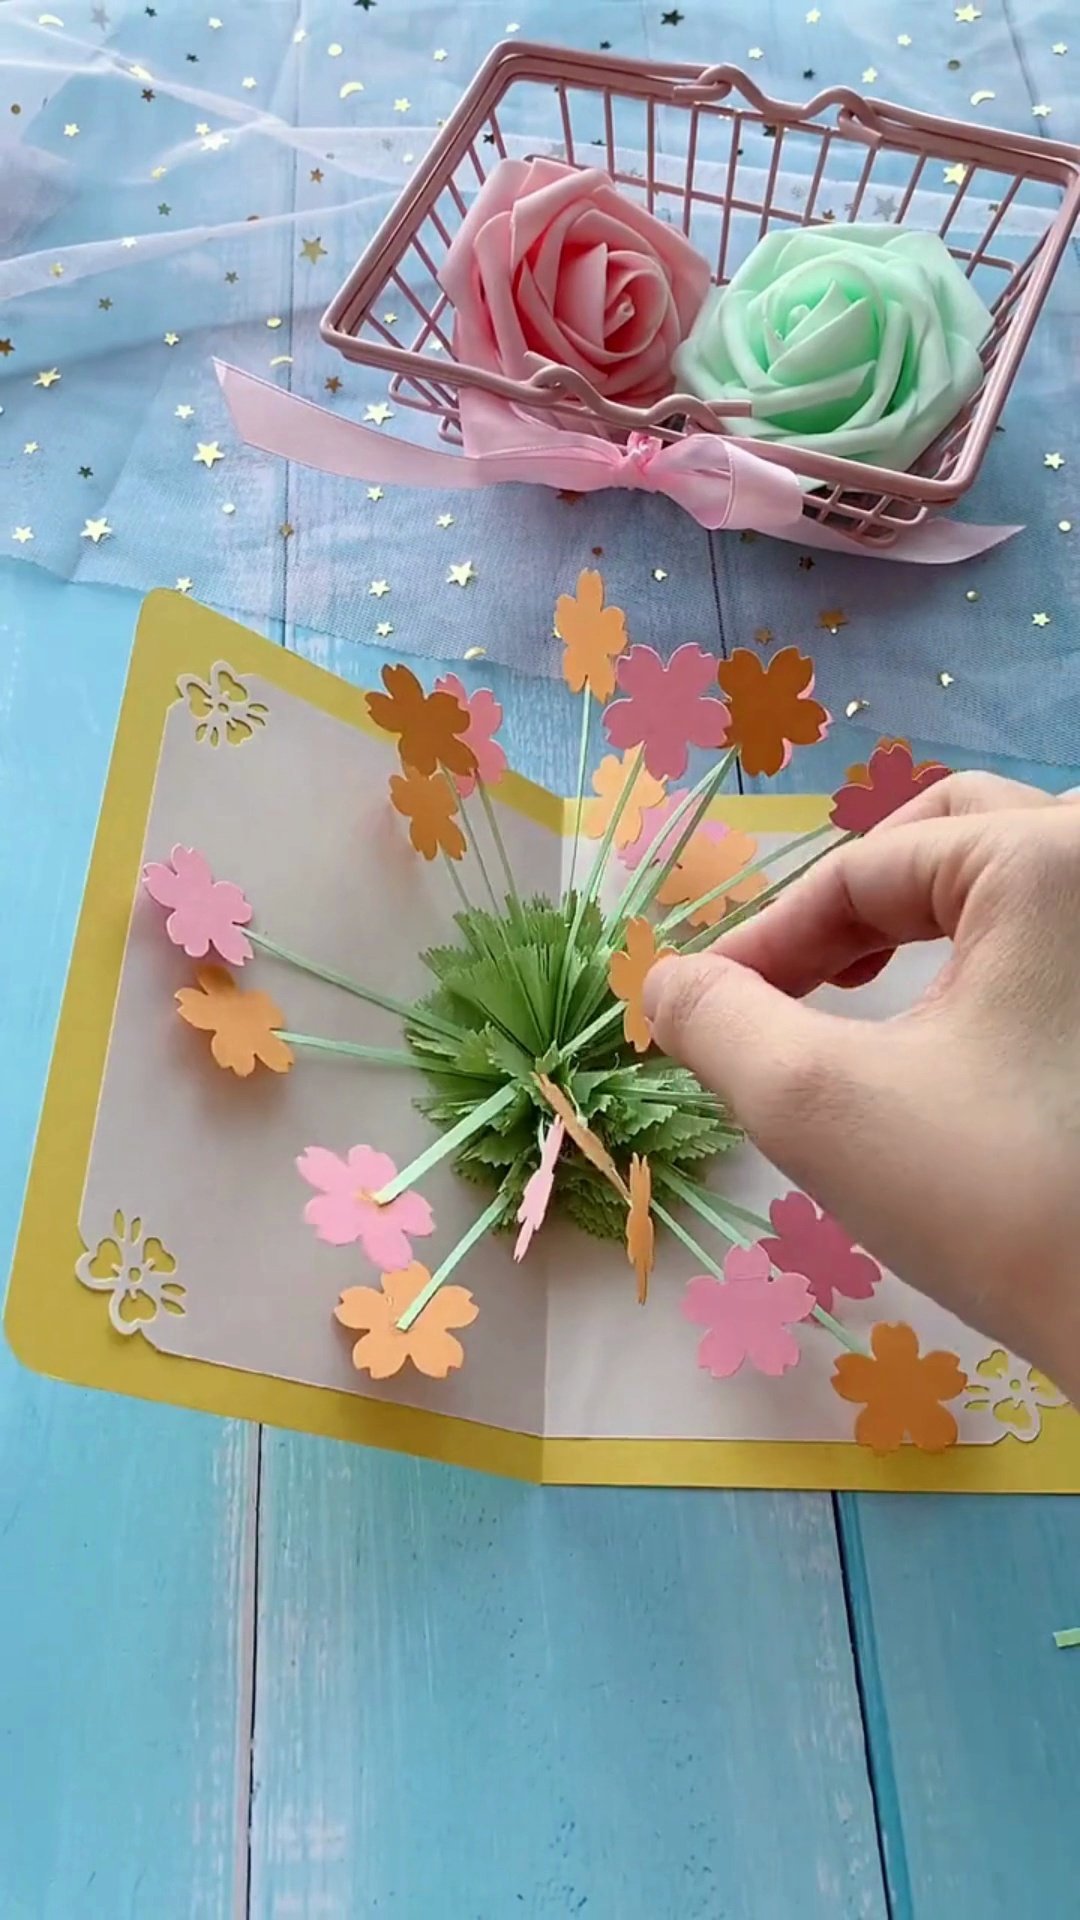
Step 7: Decorate the Front Cover with a Bouquet & Bow
Cluster a few remaining flower blossoms on the outer card cover and tie off the arrangement with a sheer mesh ribbon bow. This gives the outside of the card a polished, boutique look while hinting at the stunning 3D surprise waiting inside.

How to Style These Little Ghosts
- Unforgettable Mother’s Day Card: Write a sweet personal note on the white inner border around the blooming dome—moms cherish these for years.
- Freestanding Tabletop Display: The card stays open at 90 degrees all on its own, making it a gorgeous decorative centerpiece on a nightstand or desk.
- Spring Birthday Surprise: Personalize the flowers in the recipient’s favorite colors (vibrant purples, sunny yellows, or romantic blush pinks).
Looking for More Budget-Friendly Decor?
Don’t stop at ghosts! Check out these easy project guides to complete your cozy setup:
- Easy DIY Paper Sunflower Card (With Surprise Flip Message!) — Another interactive, cheerful paper card project that makes gifting memorable.
- DIY Halloween Paper Treat Bags Tutorial — Simple origami folds that turn paper into cute 3D character baskets.
- Easy DIY Paper Towel Ghosts (5-Minute Craft) — Budget-friendly holiday decor using simple household supplies.
Frequently Asked Questions
Does the card really close completely flat?
Yes! When properly aligned along the center spine, the green fan mechanism compresses flat when the card shuts, easily fitting inside a standard A5 envelope.
What paper is best for the pop-up dome mechanism?
Lightweight crepe paper, origami paper, or thin 60–80 GSM craft paper works best because it compresses with minimal bulk. Avoid heavy cardstock for the inner dome.
How long does it take for the flowers to stay securely attached?
Using standard craft PVA glue or tacky glue, the stems set in about 3 to 5 minutes. Make sure to let it dry completely before testing the fold repeatedly.
Final Thoughts
There is a unique kind of wonder in kinetic paper crafts. Taking everyday sheets of colored paper and folding them into a kinetic sculpture that springs to life in someone’s hands is what makes crafting so deeply rewarding.
If you make this 3D floral explosion card for someone special, we would love to see their reaction! Share your floral color palette on Instagram or Pinterest and tag us at @louvadecors.
Happy crafting, and keep spreading joy through handmade art!
