

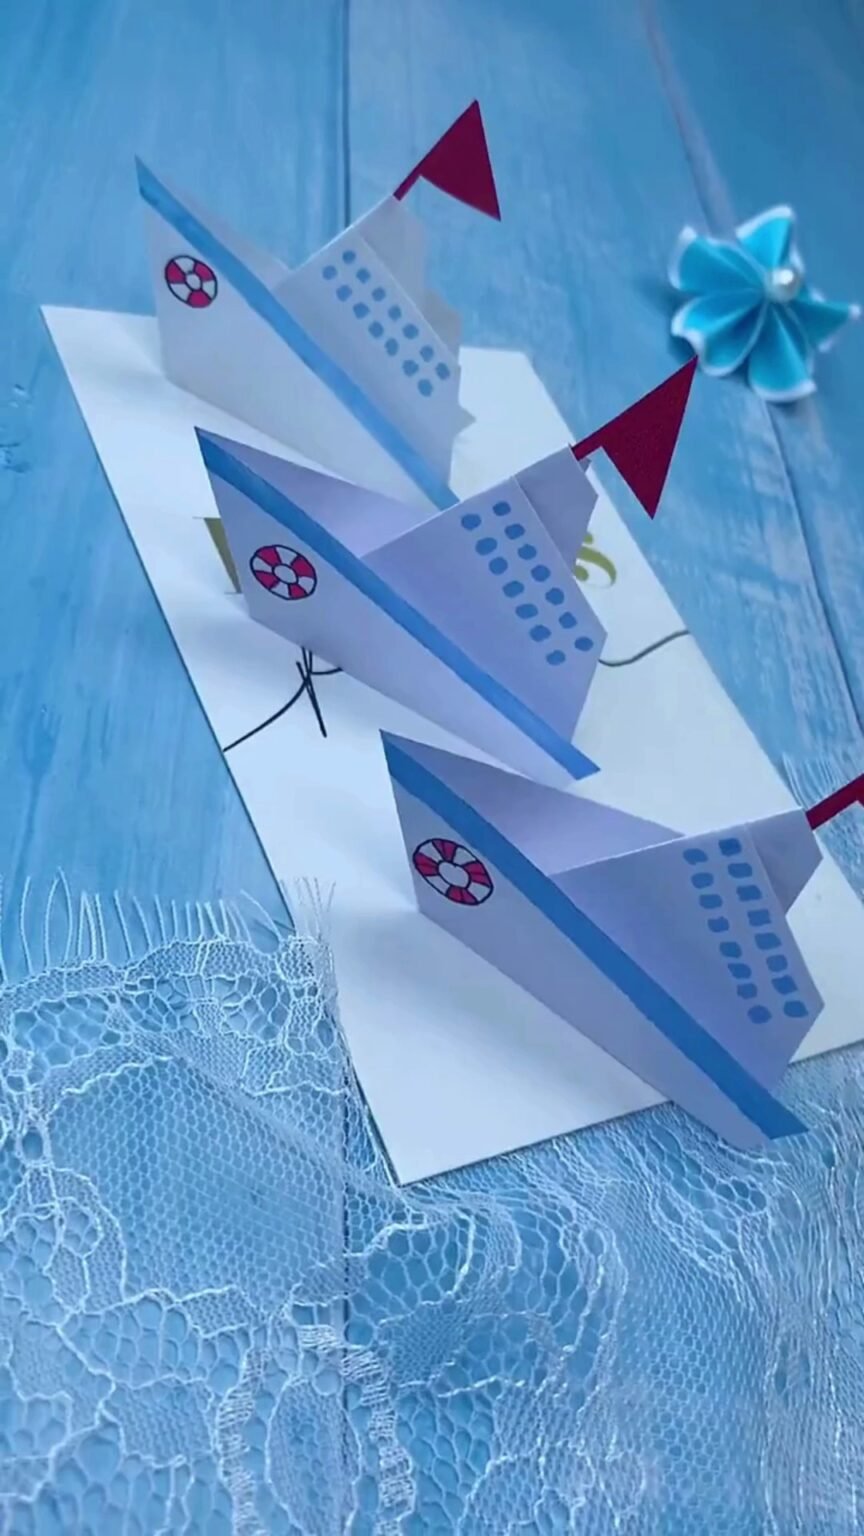
Ready to set sail on a quick, delightfully satisfying paper craft? This easy DIY origami cruise ship transforms a single square of white paper into a striking 3D ocean liner complete with a passenger cabin, smokestack, and fluttering red pennant flag.
Unlike traditional flat origami boats that tip over easily, this clever multi-layered fold features a broad, balanced base that stands proudly upright on tables, bookshelves, or handmade greeting cards. It takes only five minutes from start to finish—making it a perfect rainy-day activity for kids or nautical party favors!
⏱ Craft Time: 5 Minutes •
💰 Budget: Under $1 •
🎯 Skill Level: Beginner / Kid-Friendly

Supplies You Will Need
Simple materials you can grab right now with zero craft store trip:
- White Origami Paper or Printer Paper cut into a 6×6 inch square
- Scrap of Red Construction Paper — for the mast pennant flag
- Blue Felt-Tip Marker or Pen — for deck railing & windows
- Red Marker — for the miniature lifebuoy accents
- Glue Stick
Tools:
- Craft Scissors
Step-by-Step Instructions
Step 1: Establish the Center Diagonal Creases
Fold your square white paper in half diagonally point-to-point, crease sharply, and unfold. Repeat along the opposite diagonal. Having crisp, precise crease lines ensures all subsequent folds align symmetrically along the ship’s center keel.
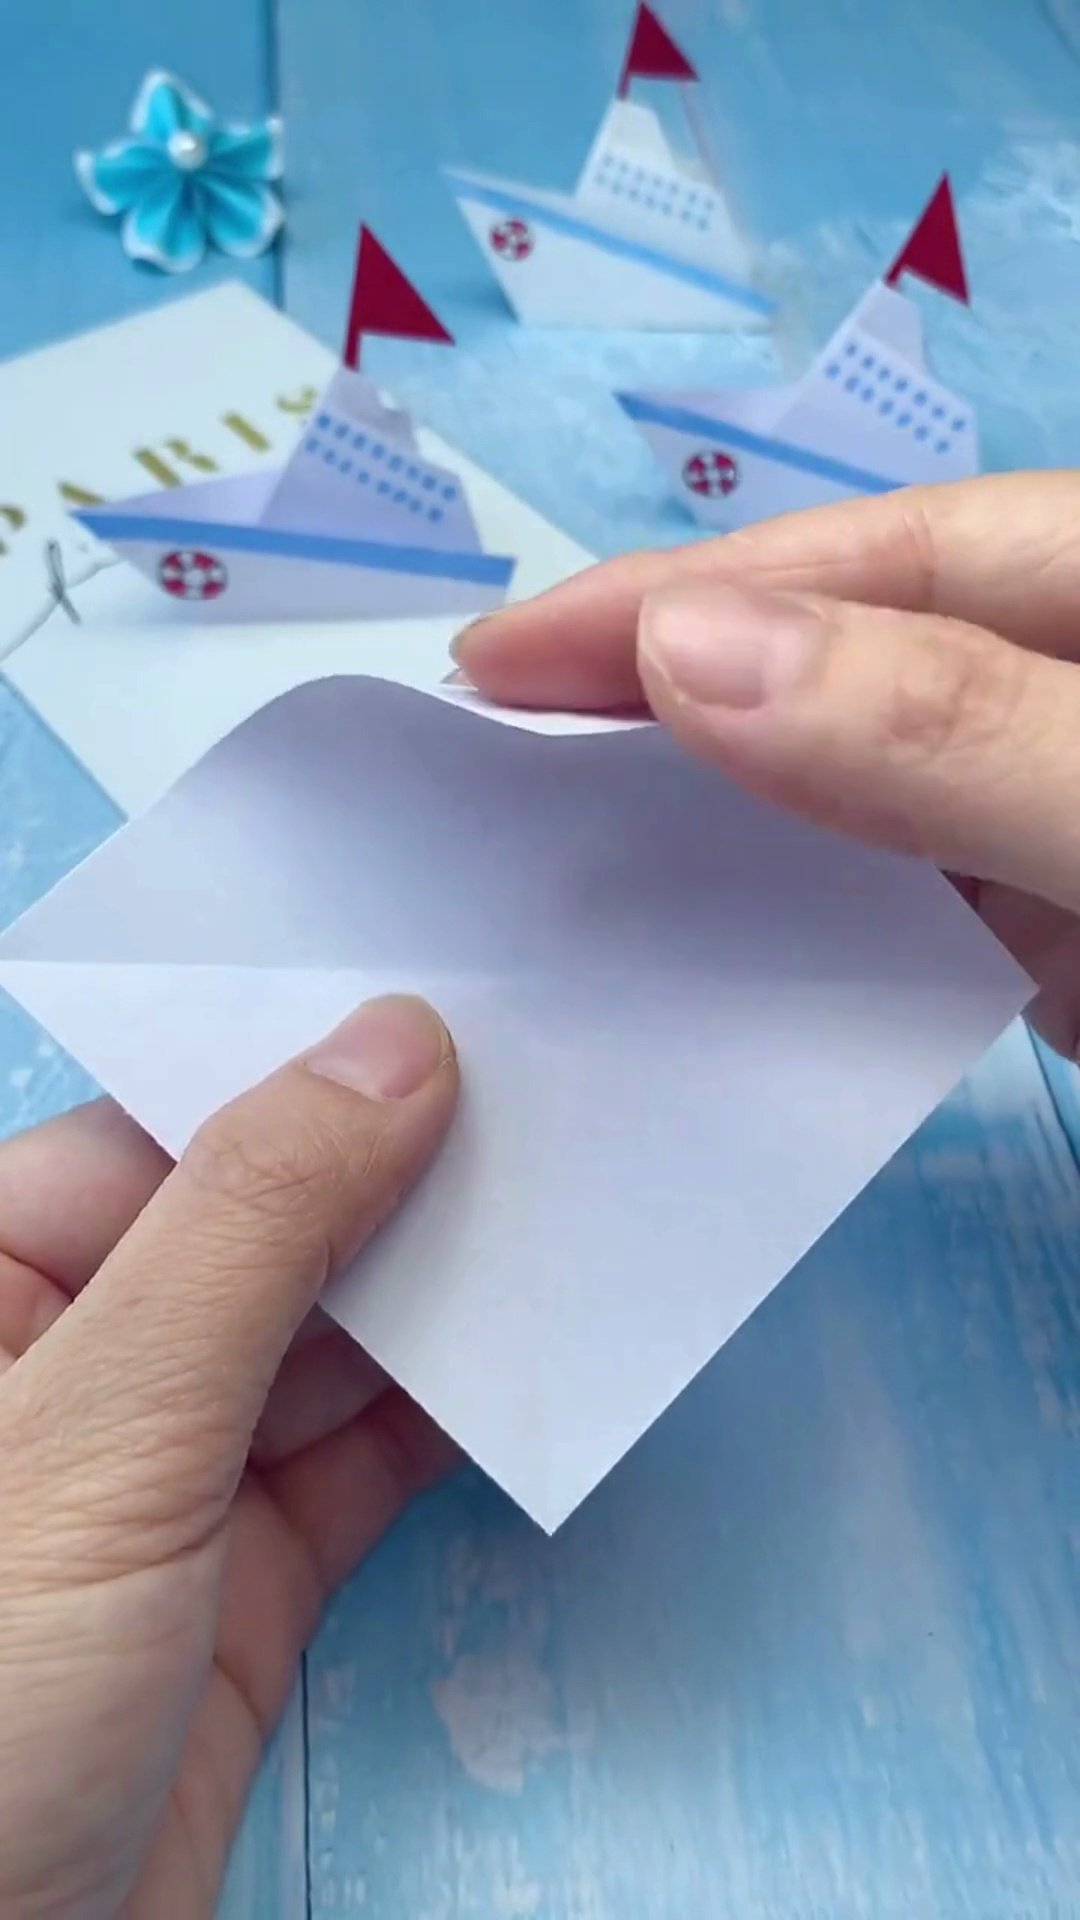
Step 2: Fold Down the Cabin Bridge Section
Position the paper in a diamond orientation and fold the top corner down slightly past the center fold. This initial fold establishes the upper observation deck and cabin structure of your luxury liner.

Step 3: Shape the Hull Sides & Center Funnel
Fold both the left and right corners inward toward the center, forming a tapered diamond kite shape. Firmly crease the outer edges to define the sleek, aerodynamic prow of the ship and the rising smokestack funnel.

Step 4: Fold the Bottom Keel for Freestanding Stability
Fold the lower pointed triangular base upward across the bottom edge of the hull. Crease it back and forth, then slightly open the bottom fold to create a flat, stable keel that allows your ship to stand freely on any flat surface without falling over.

Step 5: Illustrate Portholes, Windows & Nautical Trim
Use colored felt markers to draw cabin windows, a bold blue deck waterline, and a circular lifebuoy. Draw two rows of small square blue windows across the upper cabin. Add a bold waterline stripe along the top edge of the hull and sketch a red-and-white lifebuoy ring on the ship’s bow.
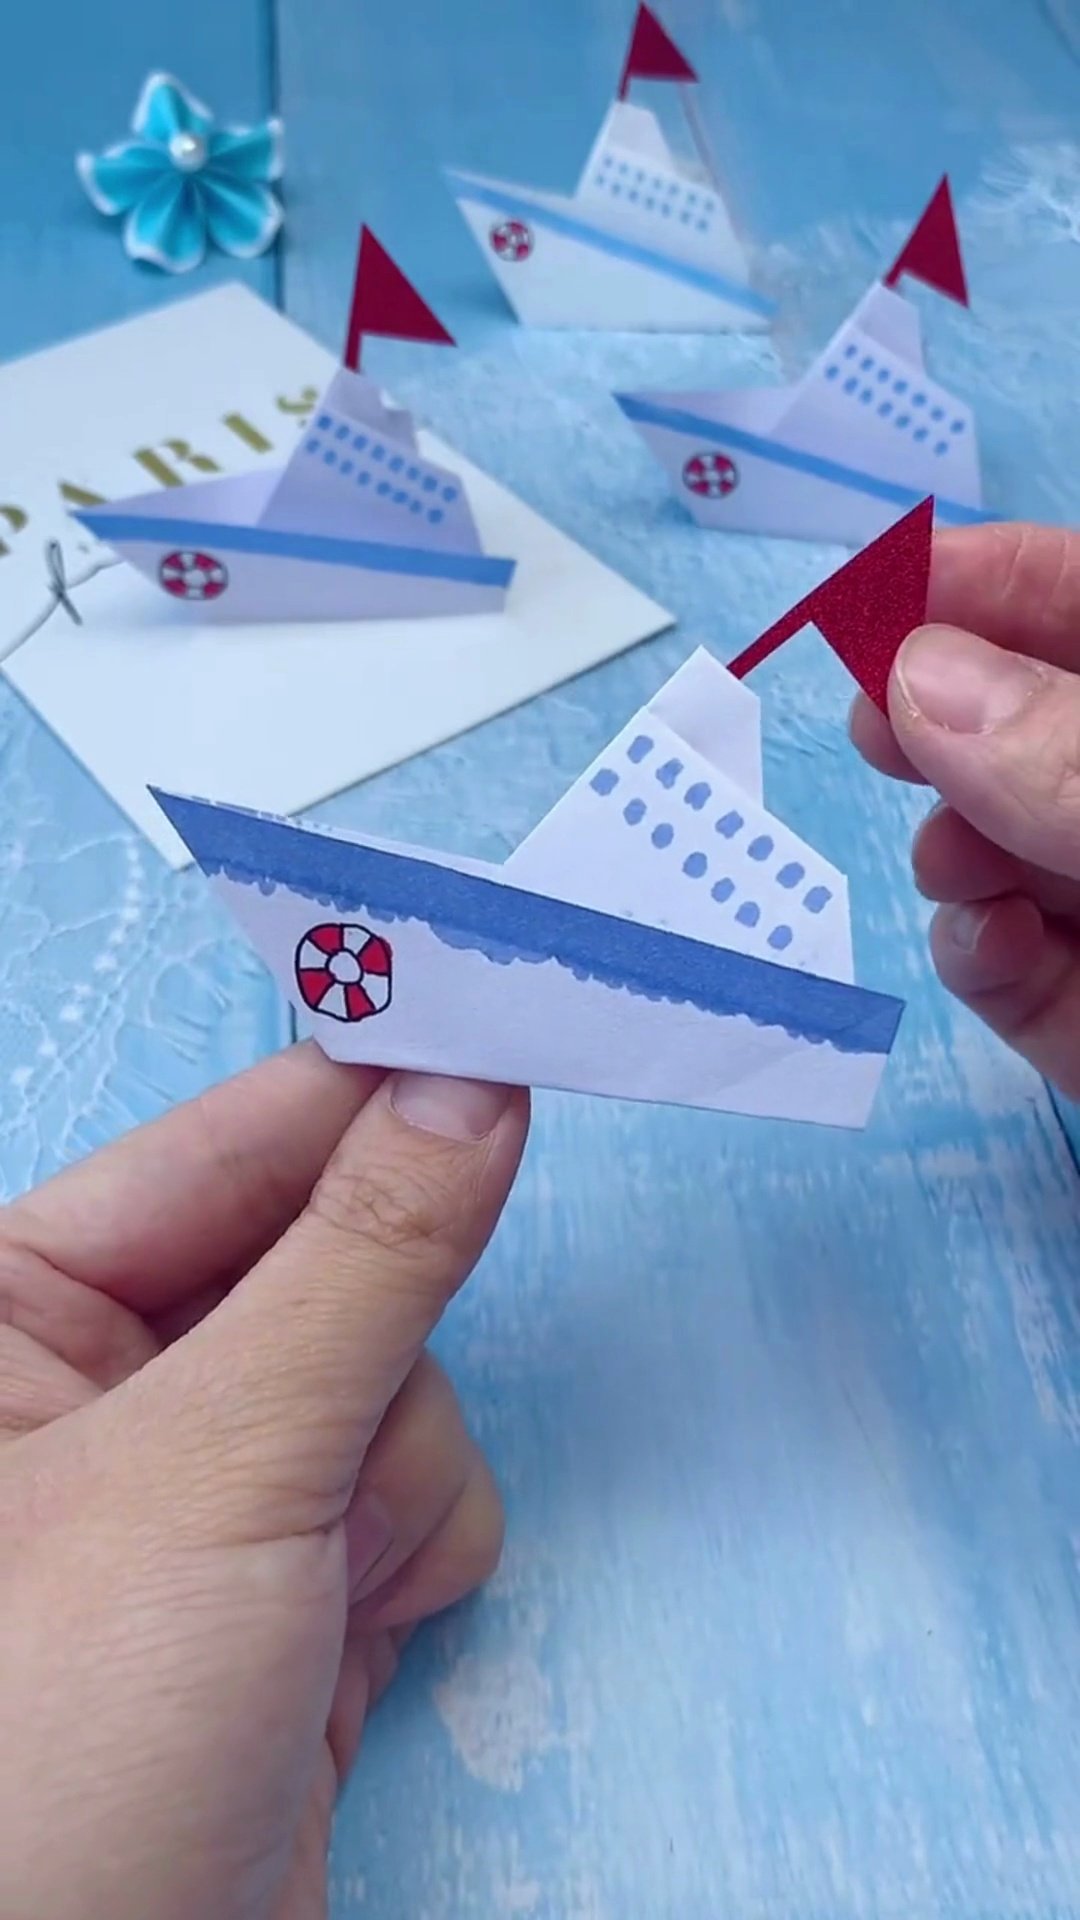
Step 6: Mount the Red Pennant Flag & Set Sail!
Cut a small triangular red paper flag and glue it neatly to the top point of the mast. Your finished cruise liner is ready to display! You can mount it onto a blue watercolor ocean card, float it gently in water (use waterproof waxed paper for real sailing!), or build an entire colorful naval fleet.
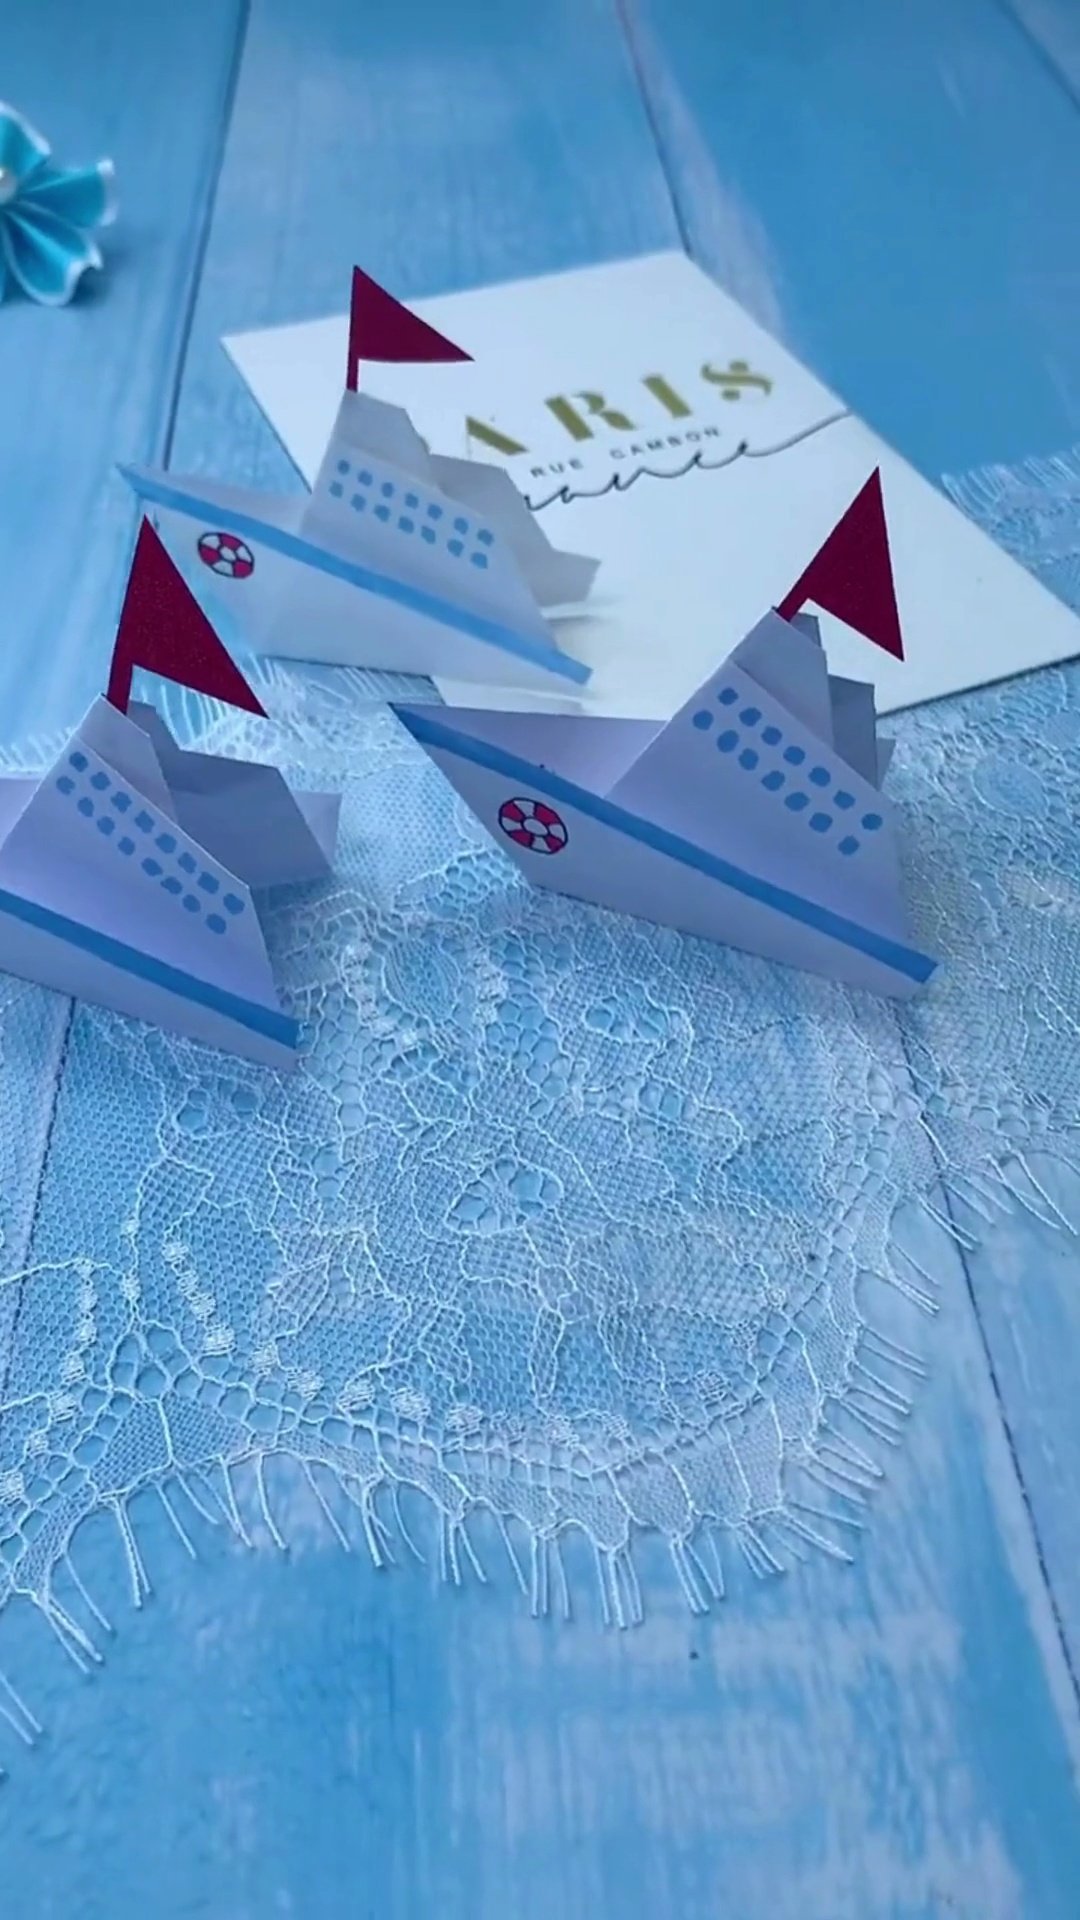
Ways to Style & Use
- Nautical Greeting Card: Glue the boat onto a pale blue cardstock background decorated with hand-drawn ocean waves and cotton-ball clouds.
- Nautical Party Place Cards: Write guests’ names on the white hull and use them as adorable tabletop place card holders for beach or pirate-themed birthdays.
- Waterproof Bath Toy: Fold this design using waterproof parchment paper, foil origami paper, or snack wrapper foil to make boats that genuinely float in water!
Explore More Paper Crafts
Keep the creativity flowing with our other easy DIY guides:
- Easy DIY 3D Paper Heart Hot Air Balloon — 10-minute colorful 3D balloon craft with popsicle stick tethers.
- DIY Halloween Paper Treat Bags — 5 cute origami candy pouches anyone can fold in minutes.
Frequently Asked Questions
Will this paper cruise ship actually float in water?
If folded from regular paper, it will float for 1-2 minutes before absorbing water. To make it truly float, fold it from parchment paper, wax paper, or spray it lightly with clear acrylic sealant!
Can beginners or toddlers make this craft?
Yes! This origami design requires only 4 major folds, making it ideal for kindergarteners, elementary schoolers, and complete beginners.
What size paper works best?
A standard 15×15 cm (6×6 inch) origami square produces a boat roughly 5 inches long—the perfect size for greeting cards and desk display.
Final Thoughts
This easy DIY origami cruise ship is proof that you can create charming, imaginative toys and decor with nothing more than a single sheet of paper and a little creativity.
Whether you fold one as a relaxing afternoon doodle or create an entire colorful flotilla with your kids, this breezy nautical project never fails to delight. Happy sailing!
