

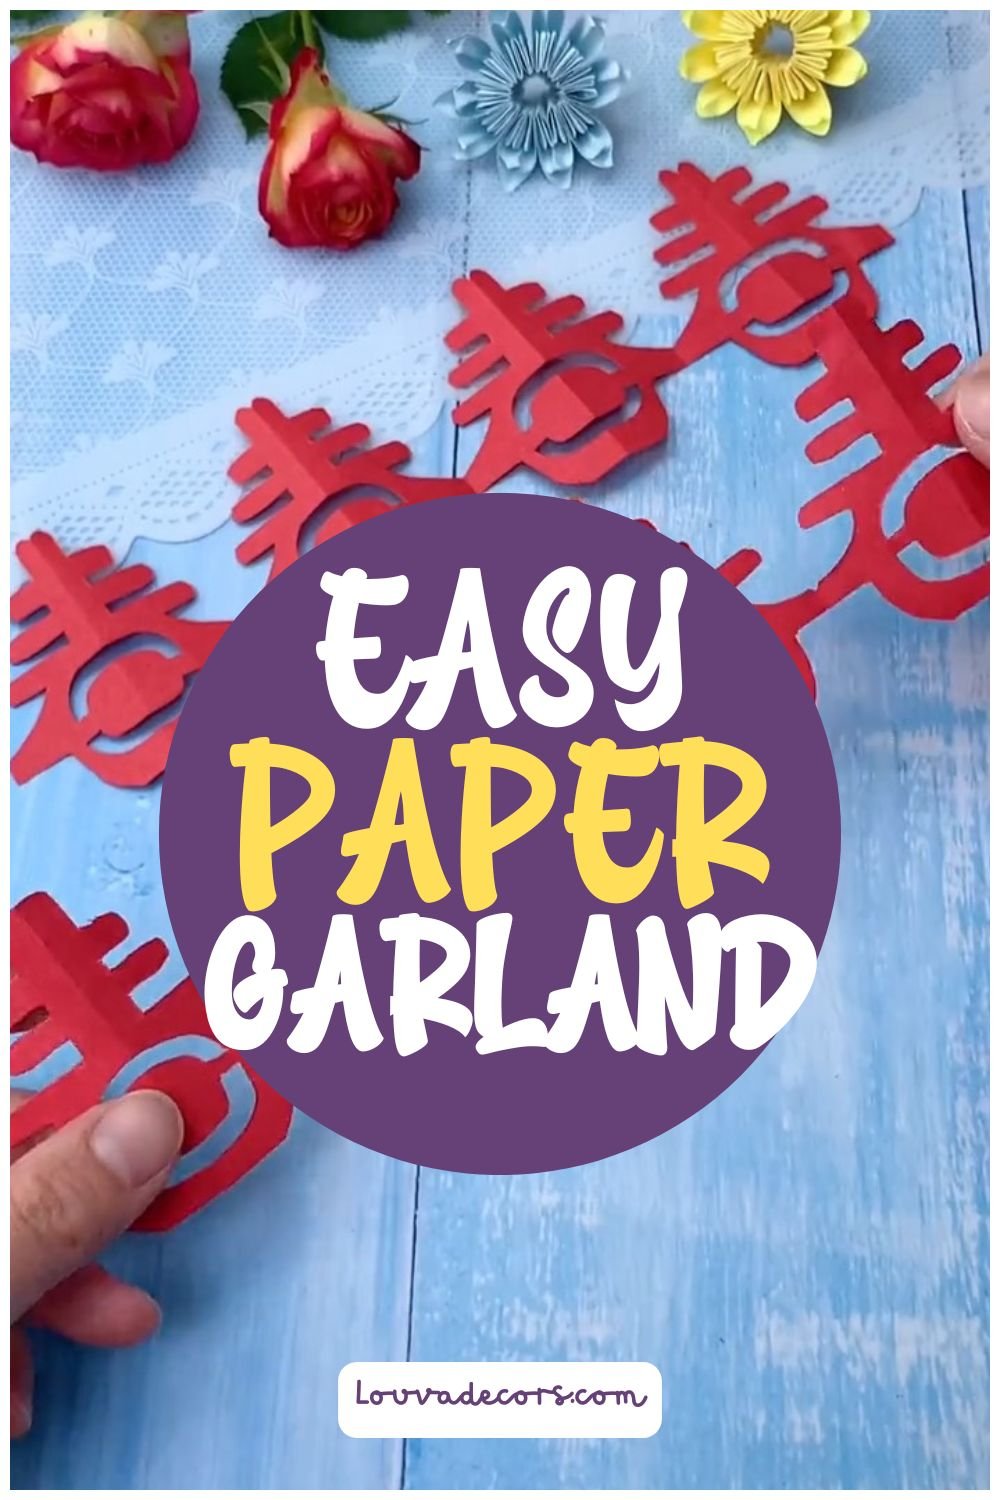
Brighten your home with a handmade red banner that adds instant festive charm to any space! This Chinese New Year paper garland features repeating traditional cutout shapes that unfold into a beautiful decorative banner. Learning paper crafts for beginners is a wonderful way to create personalized Lunar New Year decor without needing expensive crafting machinery. You can display these easy paper banners across mantels, doorways, or walls to welcome the season with vibrant color. Incorporating Spring Festival decorations brings warmth and celebration into every corner of your living area.
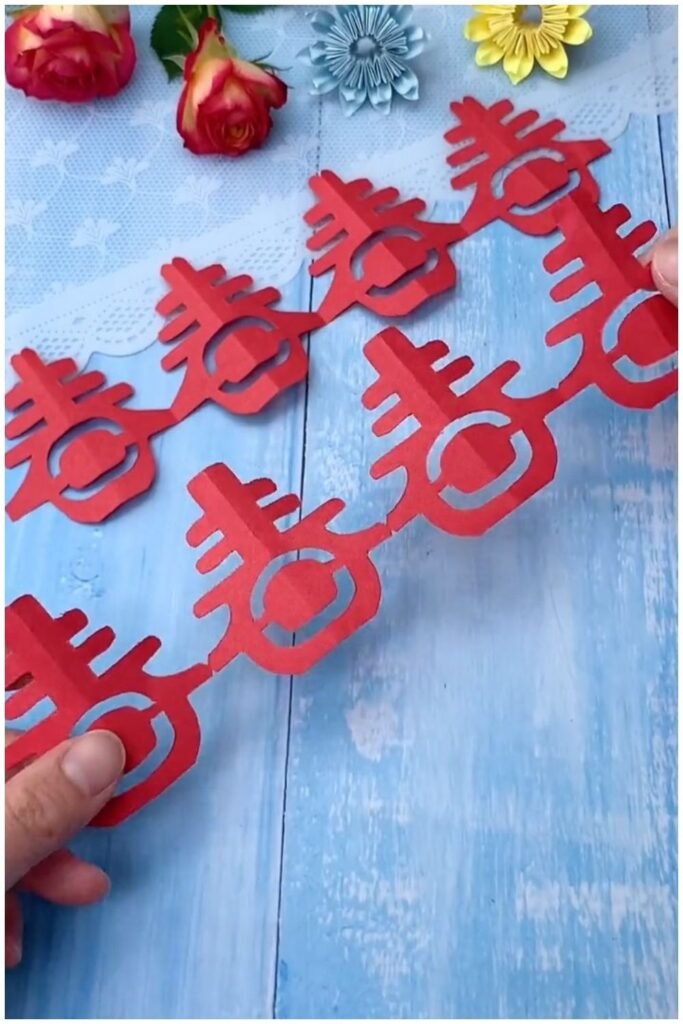
You do not need any experience to make this project turn out beautifully. Crafting should be a relaxing process, so take your time with each fold and cut. It is completely okay if your paper lines are not perfectly uniform, because handmade variations give paper garlands their unique character.
With just a single strip of red paper and a pair of craft scissors, you can complete this entire banner in under 10 minutes. This project offers a quick, budget-friendly way to explore seasonal home decor ideas.
WHY YOU WILL LOVE THIS PROJECT
This paper banner project looks intricate and store-bought, yet costs less than a cup of coffee to assemble. You only need basic household supplies to bring this festive design to life in minutes. It serves as an engaging craft for crafters of all skill levels, making it ideal for seasonal celebrations, cultural gatherings, or home decor accents.
WHAT YOU WILL NEED
- 1 strip of Red Craft Paper (12×4 inches) — [Standard red construction paper or origami paper]
- 1 pair of Precision Craft Scissors — [Standard household scissors]
- 1 Graphite Pencil — [Any standard writing pencil]
All materials can be found at your local craft store or ordered online.
VIDEO TUTORIAL
Watch the full tutorial above before reading the written steps. The steps below match the video exactly.
STEP-BY-STEP INSTRUCTIONS
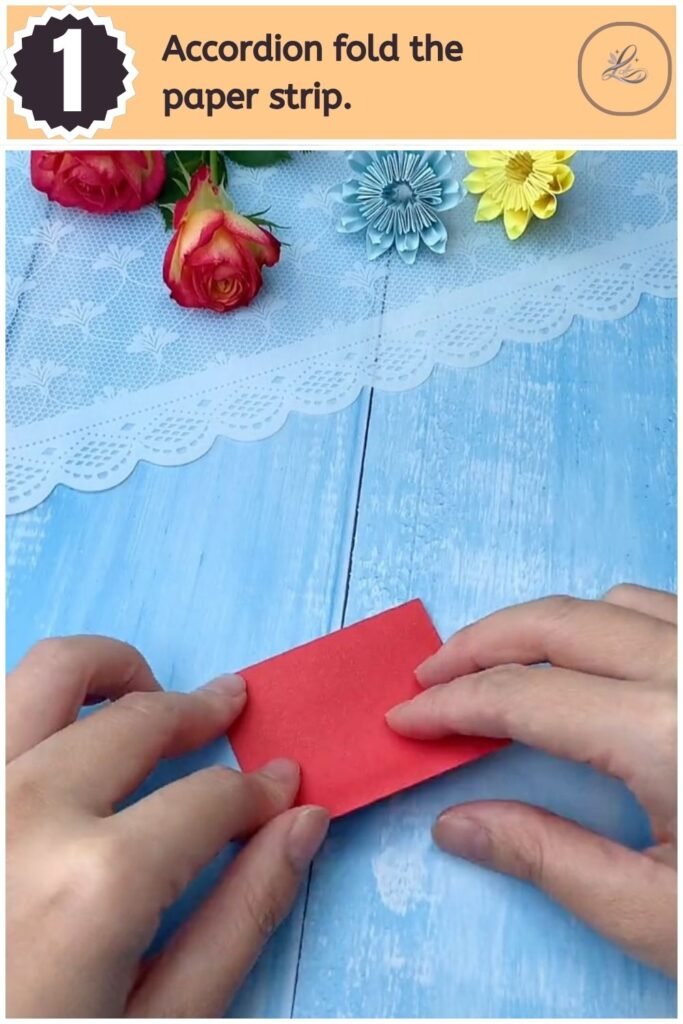
Step 1: Accordion fold the paper strip.
Begin by folding your red paper strip back and forth in equal sections. Create a classic accordion fold by flipping the paper direction with each crease. Keep your fold widths consistent, aiming for sections about two inches wide.
Pro Tip: Run your fingernail or a plastic ruler firmly along each folded edge to make crisp, flat creases that stay aligned.
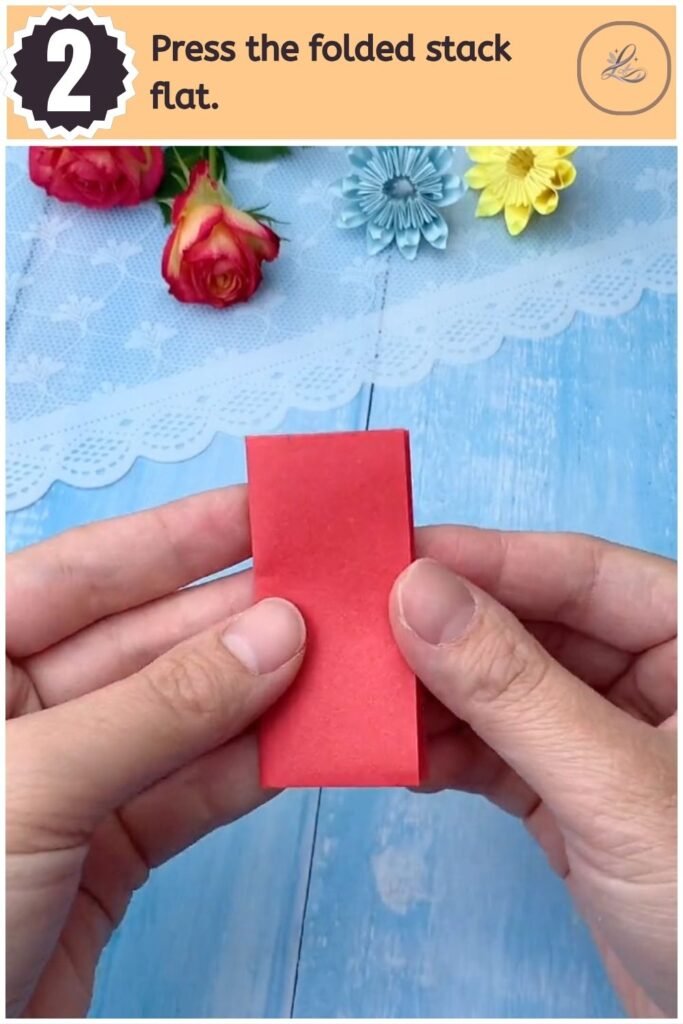
Step 2: Press the folded stack flat.
Compress the folded paper layers into a compact rectangular block. Hold the folded edges tightly together to ensure all paper sections line up neatly on top of one another. Inspect the sides to confirm no stray paper edges stick out.
Pro Tip: Aligning the outer edges perfectly during this step prevents the finished banner from looking crooked when unfolded.
Step 3: Draw the pattern outline.
Trace half of the character design onto the top layer of your folded paper stack. Draw your lines clearly with a pencil, making sure key parts of the design extend all the way to both side edges. Connecting the outer points to the folded sides ensures the banner stays linked together when opened.
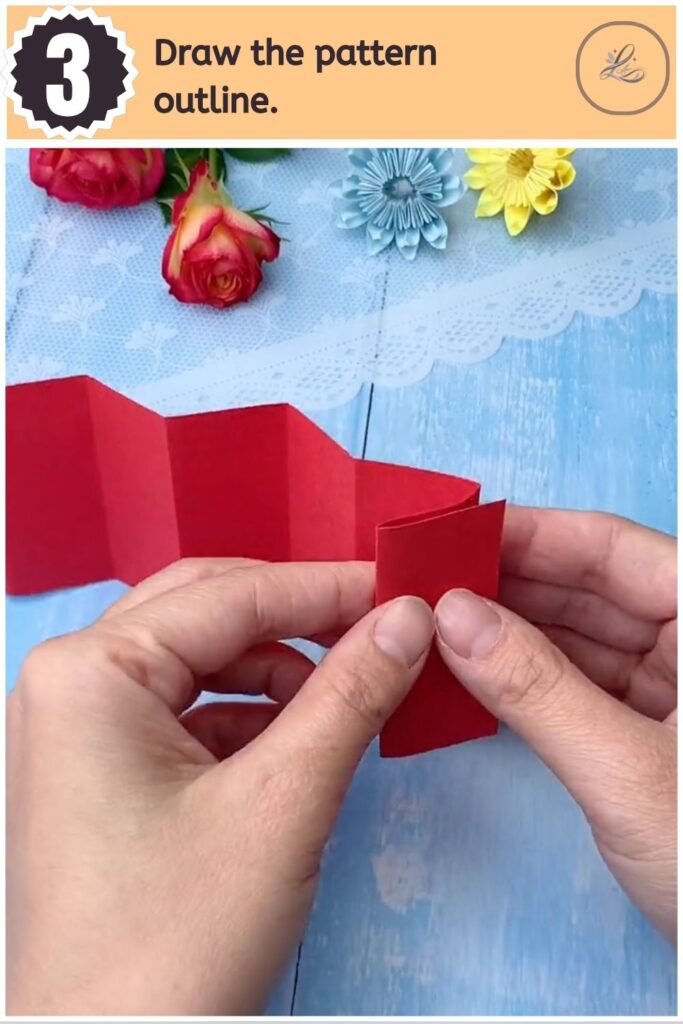
Pro Tip: Use light pencil strokes so you can erase any visible lines without leaving dark marks on your red paper.
Step 4: Cut out the paper design.
Trim carefully along your pencil guidelines using sharp scissors. Hold the paper stack securely near your cut line so the internal layers do not slip while you trim. Cut away the background negative space, leaving the main character shape intact.
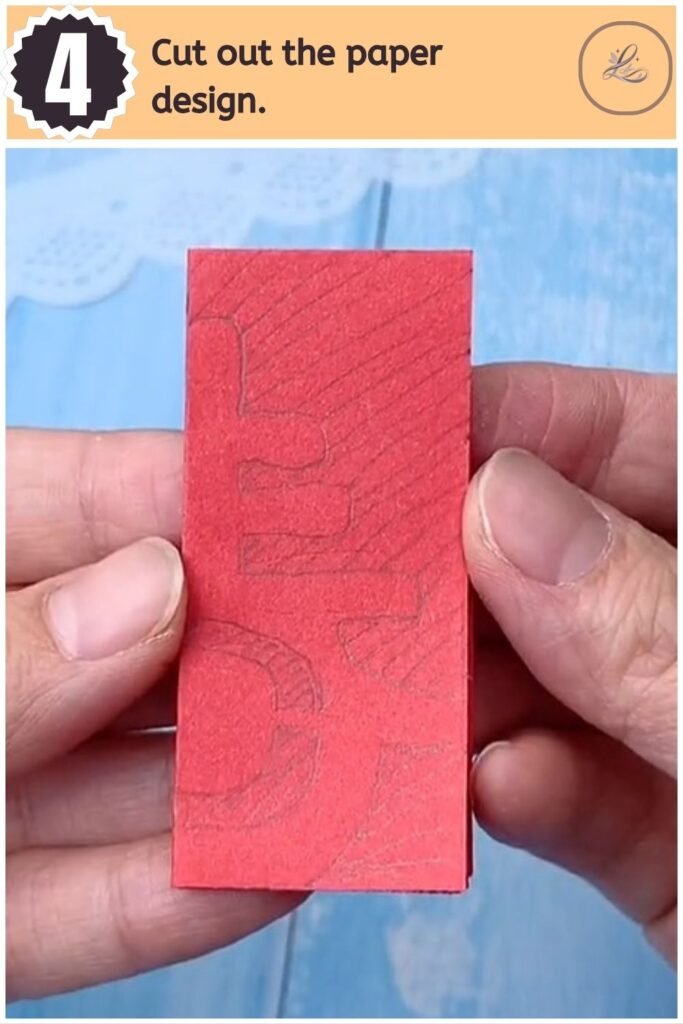
Pro Tip: Rotate the paper rather than your scissors when maneuvering around tight corners for smoother cuts.
Step 5: Separate the trimmed piece.
Remove the excess paper scraps from around your main cutout shape. Gently check the edges to confirm every cut went completely through all folded layers. Trim any tiny remaining paper bridges carefully before attempting to open the design.
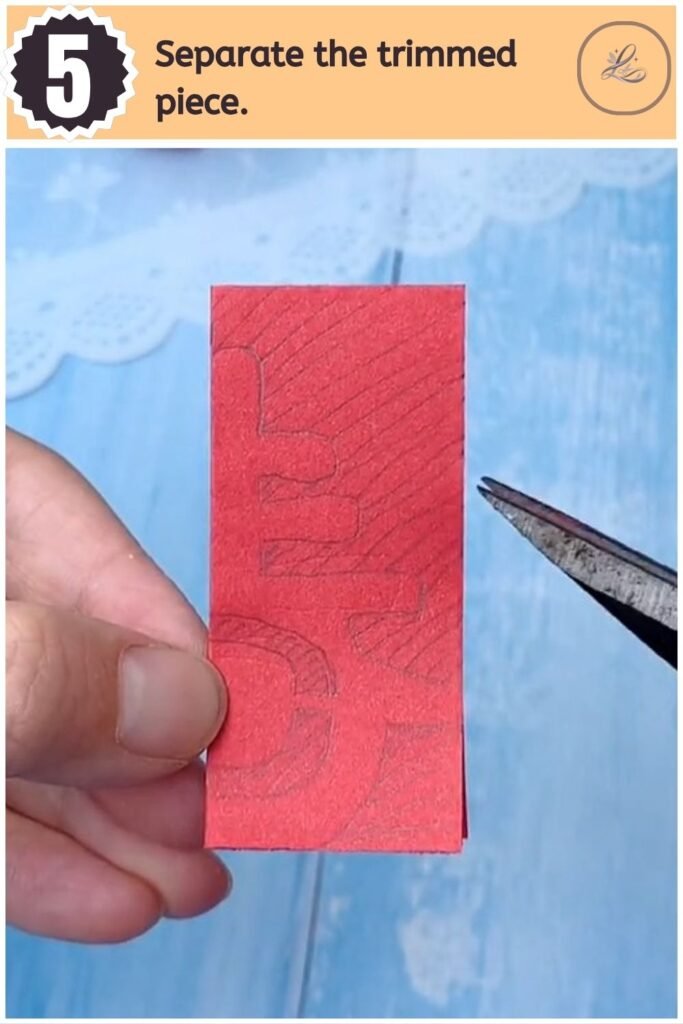
Pro Tip: If a cut feels stuck, snip it gently with the tips of your scissors instead of pulling, which can tear delicate paper corners.
Step 6: Unfold the paper garland.
Gently expand the folded paper layers outward to reveal your continuous banner. Unfold each panel slowly so the delicate connecting points do not snag or stretch. Lay the finished repeating pattern flat on your work surface to admire your completed banner.
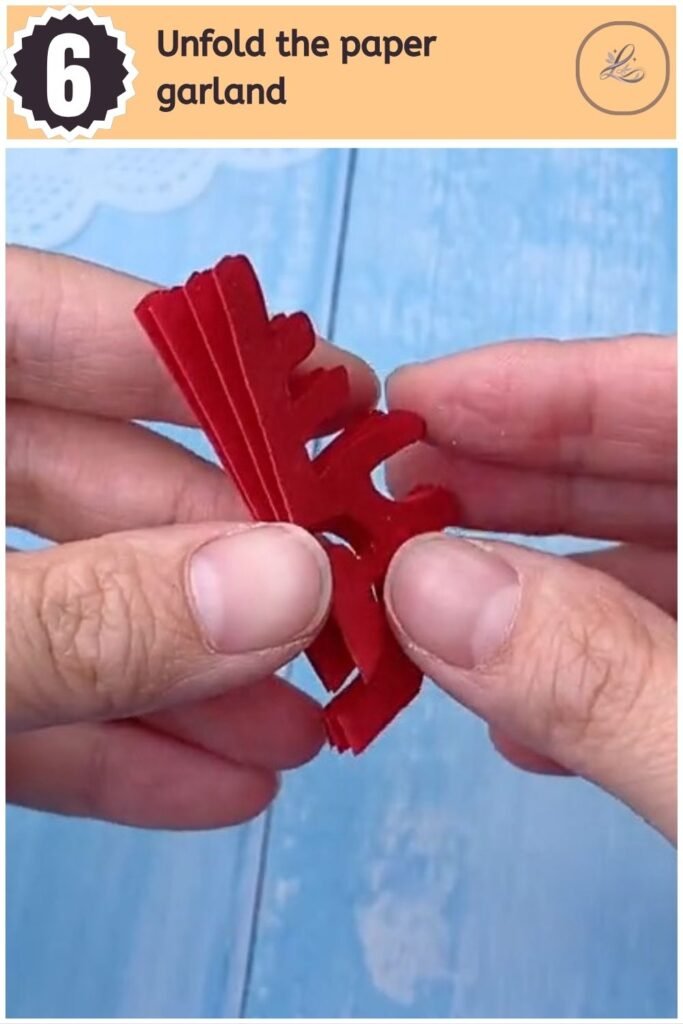
Pro Tip: Press the unfolded banner under a heavy book for five minutes to flatten out any raised accordion folds for display.
TIPS & TRICKS
- Choose Medium-Weight Paper: Avoid cardstock that is too thick, as cutting through multiple folded layers can strain your hands. Lightweight paper or standard 70gsm craft paper cuts smoothly.
- Keep Scissors Sharp: Dull scissor blades can crush paper folds instead of slicing through them cleanly. Small detail or embroidery scissors work exceptionally well for small cutouts.
- Maintain Connected Edges: Always leave at least two or three solid contact points on the outer left and right folds. If you cut away the entire outer border, your banner will separate into single pieces instead of remaining a garland.
- Chain Multiple Banners: You can glue or tape the ends of multiple paper banners together to span longer walls or large party backdrop areas.
WAYS TO USE THIS CRAFT
You can hang this red paper garland across a fireplace mantel or window frame to introduce festive color into your holiday room setup. Try attaching the ends to wooden dowels or string to create hanging wall art.
If you enjoy making handmade decorations for celebrations, explore our guide on Beautiful Air Dry Clay Flower Wall Decor for Beginners. You can also pair this paper banner with small gift boxes by checking out our DIY Birthday Paper Gift Bag You Can Make in 20 Minutes (No Experience Needed!) to create meaningful holiday gift presentations.
FREQUENTLY ASKED QUESTIONS
-
How long does this project take to complete?
This paper garland takes approximately 5 to 10 minutes from start to finish. Because the steps are straightforward, you can quickly make several banners in one session.
-
What paper weight is best for making accordion paper garlands?
Lightweight craft paper between 60gsm and 80gsm works best for accordion paper cutting. It folds easily and allows scissors to slice through multiple layers without tear risks.
-
How do you cut paper banners without tearing the folded edges?
Use small detail scissors with sharp tips and hold the paper stack firmly near your cutting area. Cutting with short, controlled snips prevents the inner paper layers from shifting or tearing.
-
What does the red paper Chun character mean in holiday decor?
The character “春” translates to “Spring” and symbolizes renewal, growth, and good fortune for the Lunar New Year. Displaying red paper cutouts of this character is a traditional way to welcome spring into the home.
CLOSING
Congratulations on making your very own handmade red paper banner! You took basic supplies and created something truly decorative and festive. Display your new creation proudly or share the process with friends for your next crafting afternoon. Ready for your next project? Try DIY Home Decor Ideas next!
Happy crafting! — LOUVADECORES
Follow us on: Pinterest
