

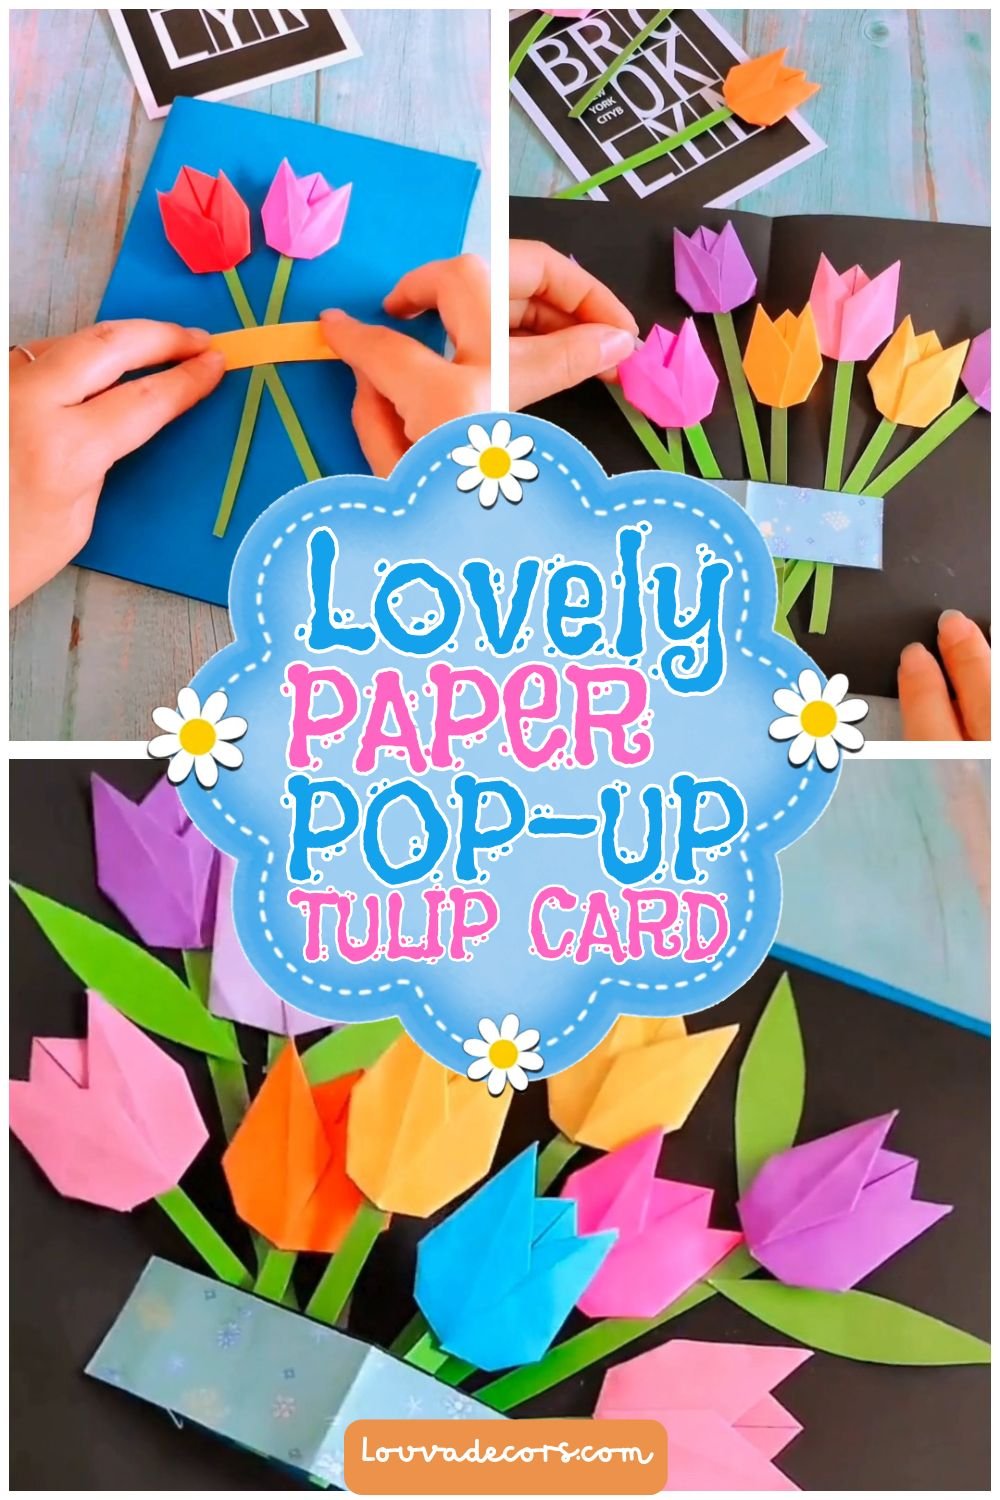
Surprise your loved ones with a colorful 3D bouquet that springs to life the moment they open your greeting card! Making a DIY pop up tulip card allows you to combine folding techniques with vibrant paper colors. Learning origami paper crafts opens up creative possibilities for personalized seasonal crafts. These handmade Mother’s Day cards make heartfelt keepsakes that brighten any room. Adding pop-up greeting cards to your gift list brings a touch of wonder to birthday and holiday celebrations.
You do not need any experience to create this paper craft. Take your time with each fold, and remember that it is okay if your paper tulips are not identical. Every handmade detail gives your card its own unique charm.
WHY YOU WILL LOVE THIS PROJECT
This pop-up tulip card delivers a high-impact 3D visual surprise while using low-cost craft paper. You can customize the tulip colors to match anyone’s favorite flowers or seasonal themes. It is beginner-friendly, relaxing to assemble, and serves as a thoughtful handmade gift for Mother’s Day, birthdays, or thank-you notes.
WHAT YOU WILL NEED
- 6-8 Square Sheets of Colored Craft Paper (3×3 inches) — [Origami paper or colored copy paper]
- 1 Sheet of Heavy Black Cardstock (A5 size) — [Construction paper or poster board]
- 1 Sheet of Heavy Blue Cardstock (A5 size) — [Colored cardstock or heavy paper]
- Green Paper Strips — [Pre-cut green paper strips or rolled tissue paper]
- Green Paper Cutouts for Leaves — [Scrap green paper]
- 1 Strip of Decorative Patterned Paper — [Washi tape or printed paper strip]
- Glue Stick or Liquid Craft Glue — [Double-sided tape]
- Precision Scissors — [Household craft scissors]
All materials can be found at your local craft store or ordered online.
VIDEO TUTORIAL
Watch the full tutorial above before reading the written steps. The steps below match the video exactly.
STEP-BY-STEP INSTRUCTIONS
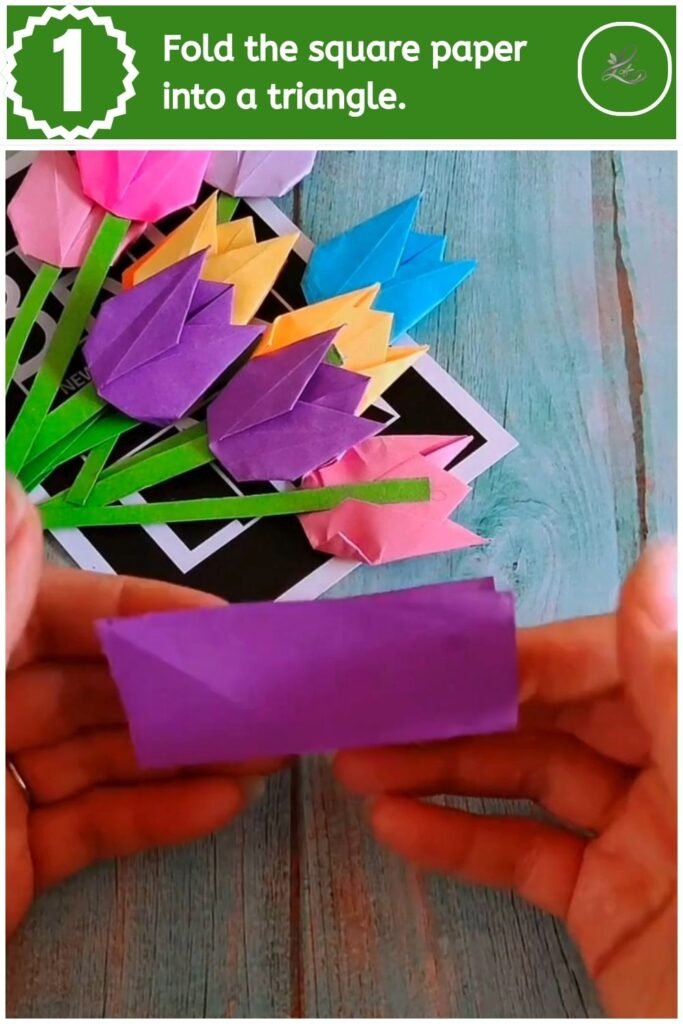
Step 1: Fold the square paper into a triangle.
Orient a square piece of colored paper as a diamond and fold it diagonally in half. Press firmly along the bottom folded crease to form a neat triangle. Ensure the corner tips line up precisely before pressing down.
💡 Pro Tip: Use crisp origami paper or lightweight paper so your folds stay sharp without springing open.
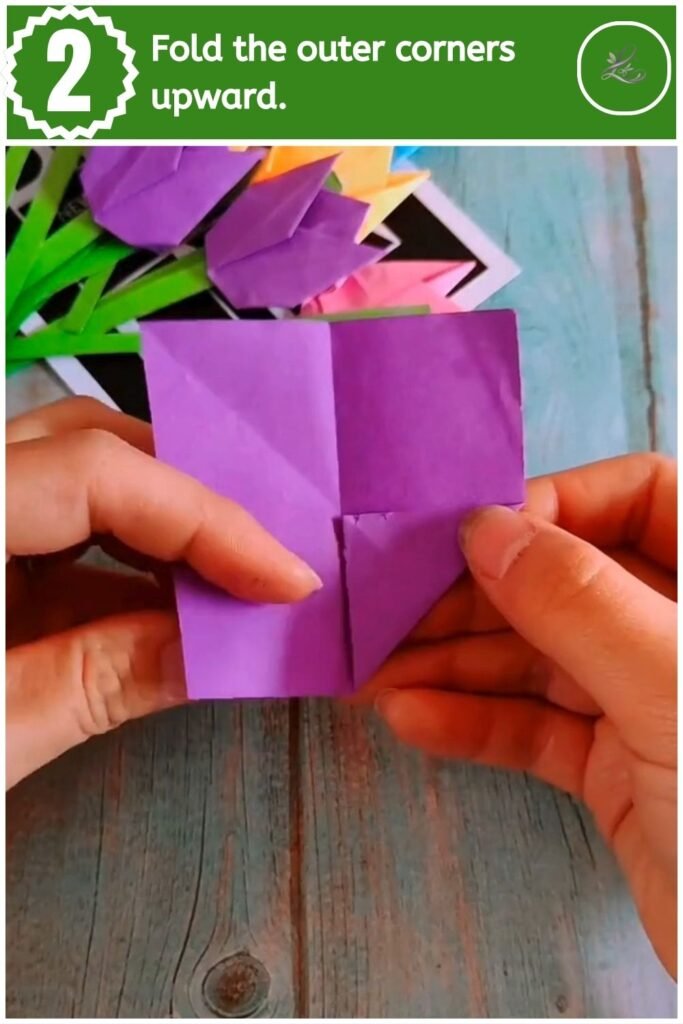
Step 2: Fold the outer corners upward.
Take the left and right bottom corners of the triangle and fold them upward at an angle. Angle the tips slightly outward beyond the center point to resemble opening flower petals. Crease the base of each fold securely with your thumb.
💡 Pro Tip: Angle both side petals symmetrically to give your tulip head a balanced shape.
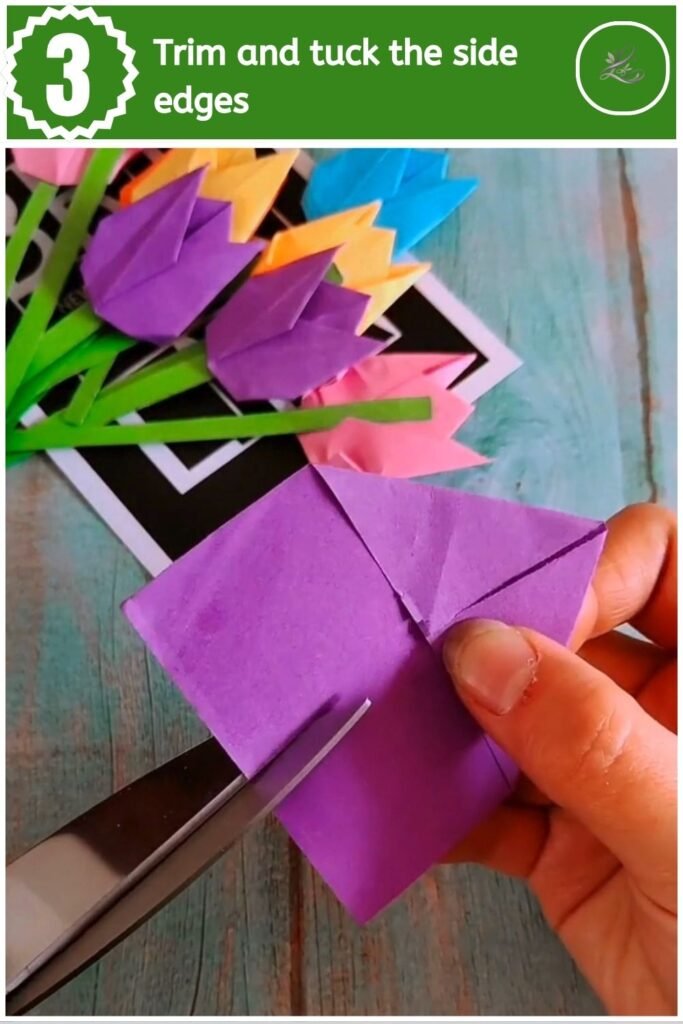
Step 3: Trim and tuck the side edges.
Trim a small straight line across the sharp bottom tip using scissors. Fold the outer side corners slightly backward to round out the flower silhouette. Repeat these steps with different colored papers to make six to eight tulip heads.
💡 Pro Tip: Trimming the bottom point creates a flat base that fits cleanly onto your paper stem.
- Easy DIY 3D Origami Christmas Tree (Cute Folded Holiday Decor)

- Easy DIY Origami Cruise Ship (5-Minute Paper Boat Tutorial)

- Easy DIY 3D Paper Heart Hot Air Balloon (5-Minute Kids Craft & Gift Card)

- Easy DIY 3D Pop-Up Flower Card (Exploding Floral Bouquet Tutorial)

- Easy DIY Paper Sunflower Card (With Surprise Flip Message!)

Step 4: Attach the paper stem.
Apply a drop of glue to the back base of your tulip head and press a thin green paper strip onto it. Hold the stem in place for three seconds to secure the bond. Assemble stems on all of your prepared paper flowers.
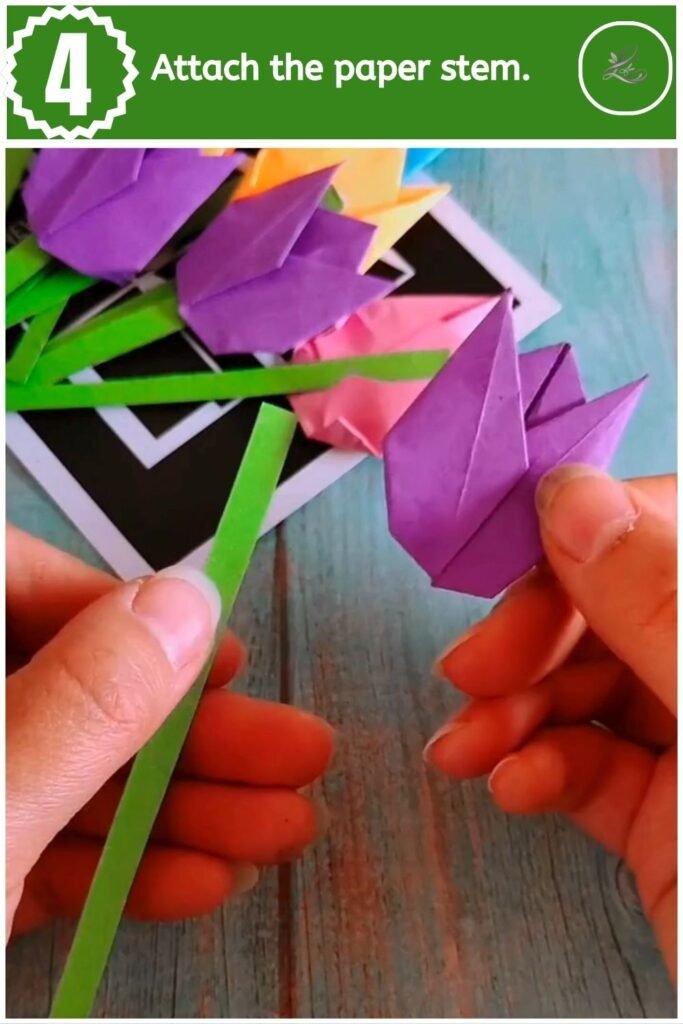
💡 Pro Tip: Cut your green stems in slightly varying lengths so the tulips sit at different heights in the finished bouquet.
Step 5: Create the pop-up step mechanism.
Fold your black cardstock sheet in half and make two parallel cuts across the center crease. Cut two straight slits about one inch deep and one inch apart along the folded fold line. Push the cut paper tab inward toward the inside of the card to form a box-like pop-up step.
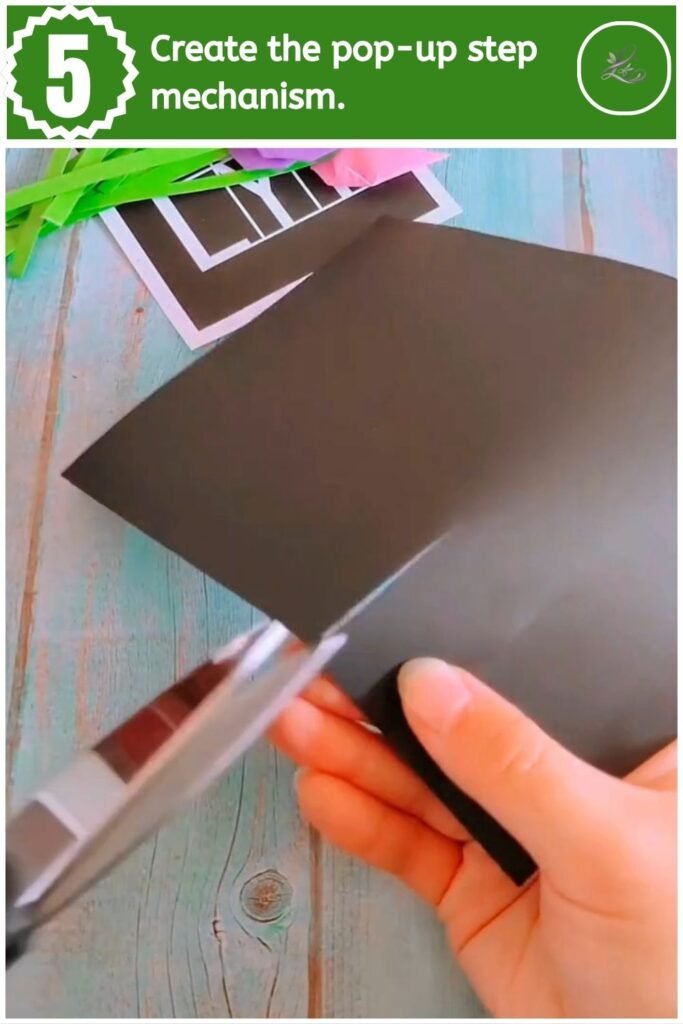
💡 Pro Tip: Crease the pop-up tab in both directions before pushing it inward so the step pops out smoothly when opened.
Step 6: Decorate the pop-up flower vase.
Glue a decorative blue patterned paper strip across the front face of your pop-up step. Press the paper down flat against the pop-up bridge. This patterned strip acts as a decorative vase or flower box holder for your tulips.
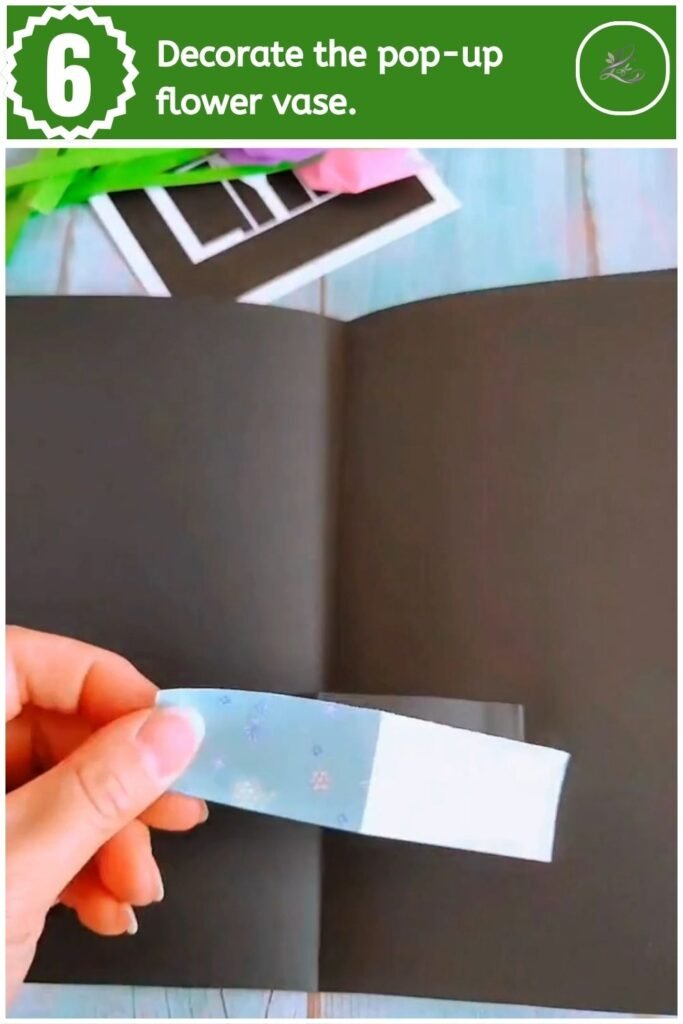
💡 Pro Tip: Apply glue only to the pop-up step tab itself, making sure no excess glue spills onto the back card surface.
Step 7: Assemble the tulip bouquet inside the card.
Insert your stemmed paper tulips behind the blue vase strip and glue them at different angles. Layer shorter tulips in front and taller tulips behind to build a full bouquet look. Add green paper leaf cutouts around the sides to complete the floral arrangement.
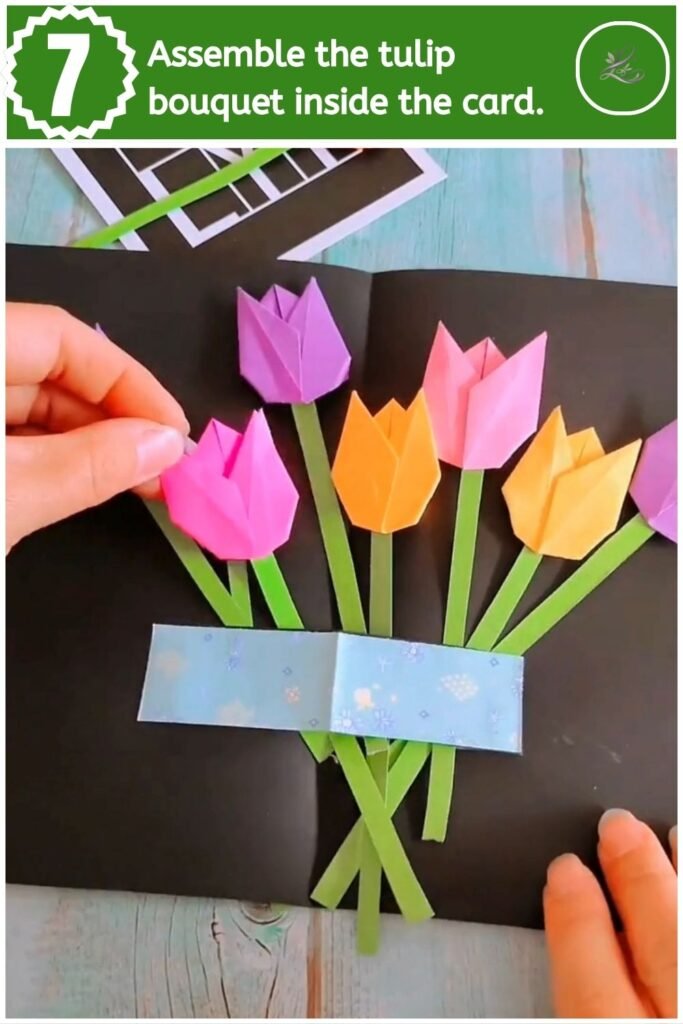
💡 Pro Tip: Close the card periodically while glueing to verify that no tulip tips stick out past the card edges.
Step 8: Attach the outer card cover.
Apply glue over the back outer surfaces of your black inner card and adhere it inside a blue cardstock cover. Press down firmly on both outer sides to seal the card layers. The solid blue cover hides the cut pop-up slits on the back fold.
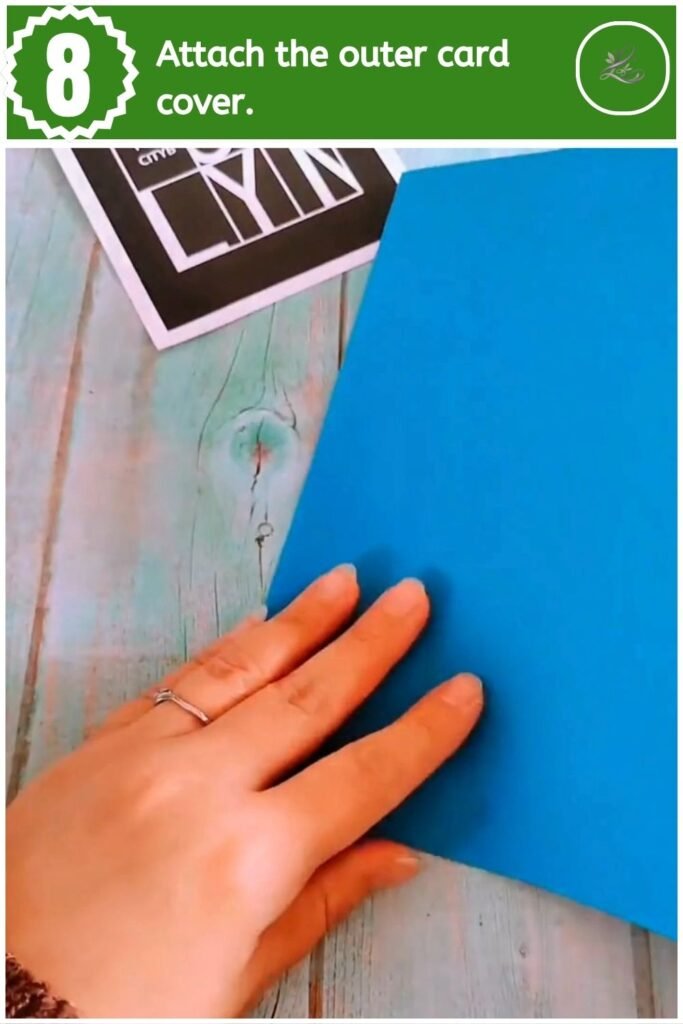
💡 Pro Tip: Keep the card closed flat while pressing the cover in place so the outer spine seals cleanly.
Step 9: Decorate the front card cover.
Glue two paper tulips and a decorative yellow greeting banner onto the front blue cover. Position the tulips diagonally across the center and press the banner strip over the stems. Write a custom message like “Happy Mother’s Day” or “Best Wishes” on the banner.
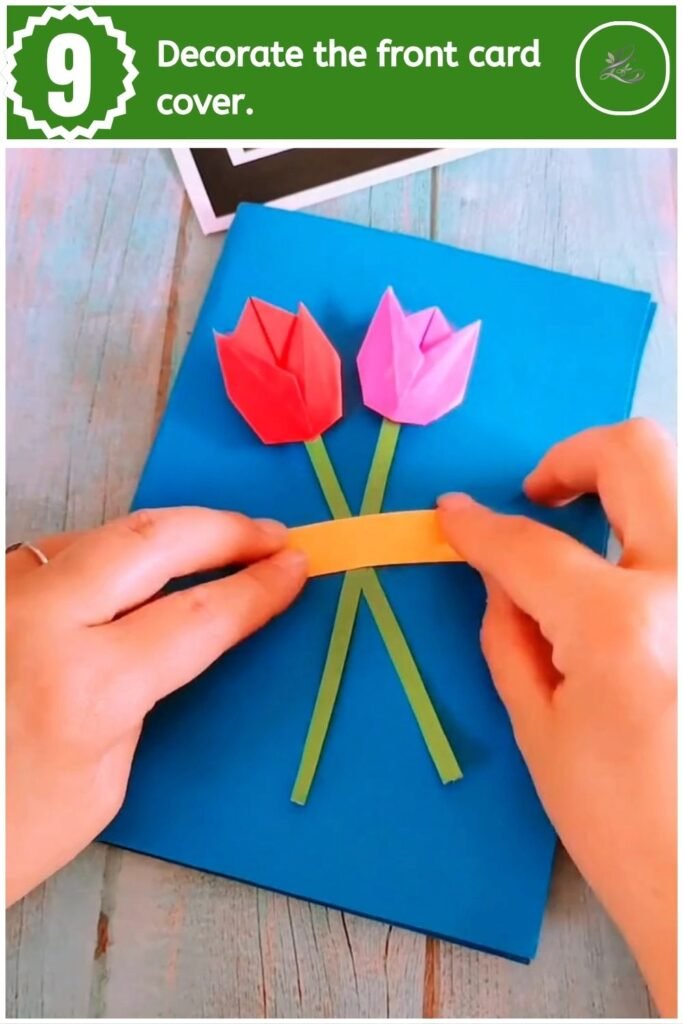
💡 Pro Tip: Use double-sided foam tape behind the cover tulips to give the front design an extra pop of dimension.
TIPS & TRICKS
- Use Quality Cardstock for the Base: Lightweight paper can buckle under the weight of the glued bouquet. Heavy cardstock (200gsm+) ensures your card stays sturdy when opened and closed repeatedly.
- Mix Bright Color Combinations: Combine complementary colors like purple, yellow, pink, and cyan to make your pop-up tulip bouquet stand out against dark card backgrounds.
- Test the Pop-Up Fold Before Glueing Flowers: Open and shut the base card a few times to ensure the internal pop-up tab flexes smoothly without catching.
- Add Personalized Written Messages: Write your personal greeting inside the side panels of the card around the pop-up bouquet for a heartwarming touch.
WAYS TO USE THIS CRAFT
You can give this handmade 3D tulip card as a thoughtful gift for Mother’s Day, Women’s Day, teacher appreciation, or birthdays. The finished card can also sit open on a desk, bookshelf, or side table as a charming floral display.
FREQUENTLY ASKED QUESTIONS
-
How long does this project take to complete?
This project takes about 15 to 20 minutes to complete. Folding the individual tulips takes just a few minutes, and assembling the pop-up bouquet comes together quickly.
-
How do you make a pop-up mechanism in a greeting card?
You make a pop-up mechanism by cutting two parallel slits along the center fold of a card and pushing the cut section inward. This creates a box-like step tab inside that pops forward whenever the card is opened.
CLOSING
Congratulations on making your own DIY pop up tulip card! You transformed simple sheets of paper into a colorful 3D bouquet that brings joy to anyone who opens it. Display your creation proudly or give it to someone special. Ready for your next project? Try Colorful Paper Peacock Craft Anyone Can Make next!
Happy crafting! — LOUVADECORES
Follow us on: Pinterest
