

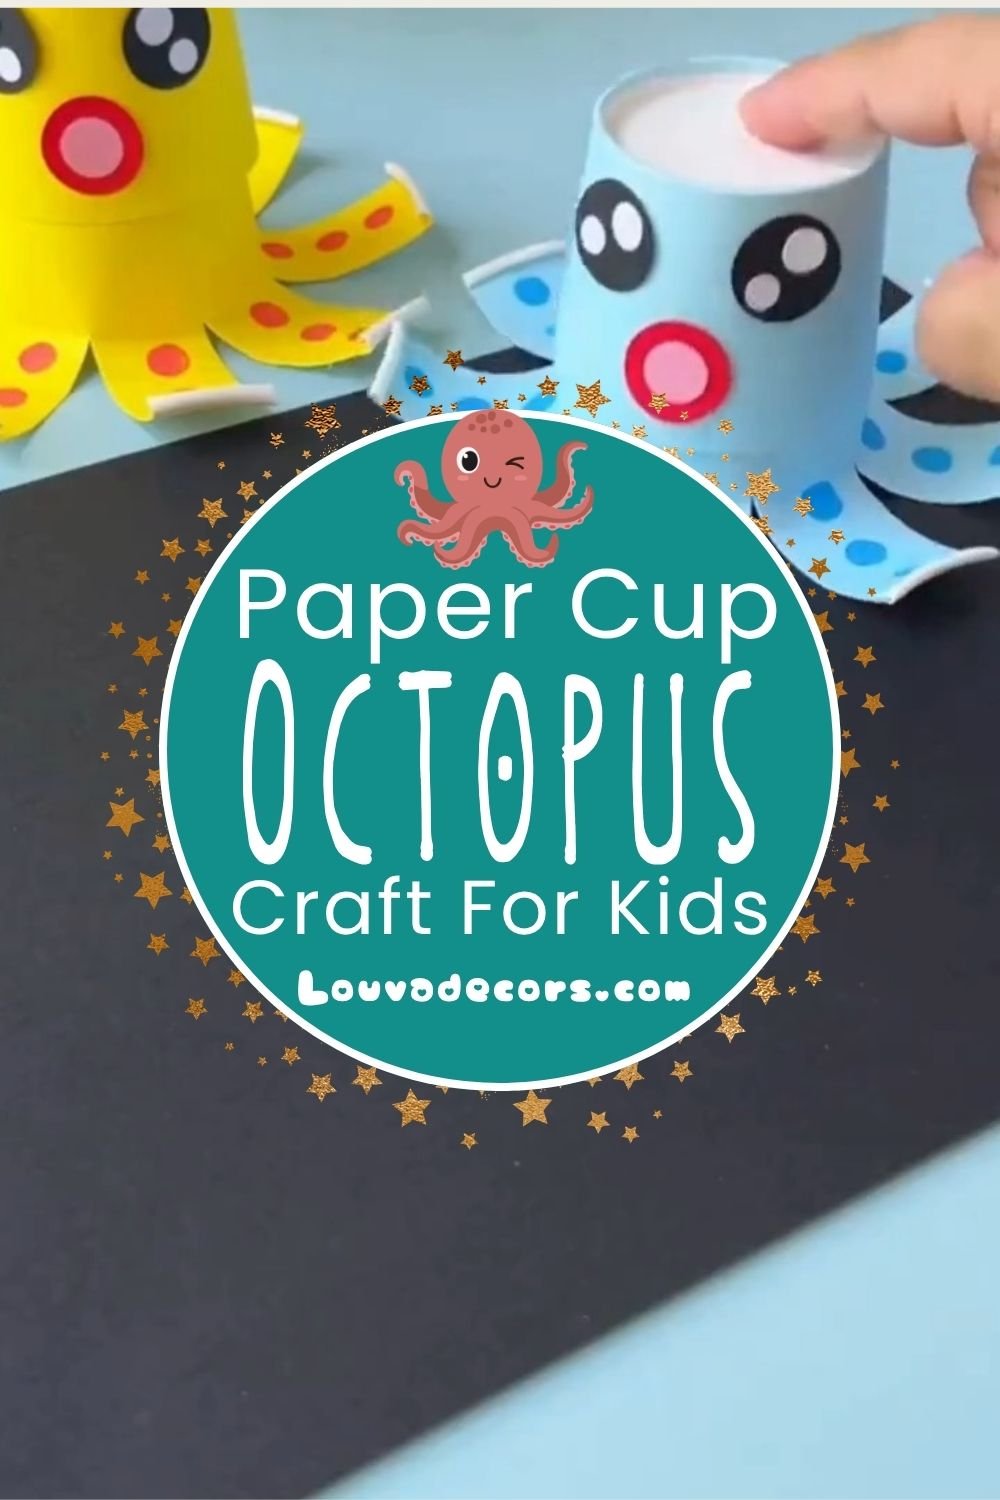
Imagine turning a simple disposable cup into a colourful sea creature that bounces and smiles. This paper cup octopus craft lets you create a cheerful under-the-sea companion using items you likely already have in your cupboard. It is an excellent way to bring marine life to your crafting table while exploring bright colors and unique shapes.
You do not need any experience with crafting to complete this successfully. Many beginners worry about cutting straight lines or getting the decorations symmetrical, but minor imperfections give your sea creature its own distinct personality. Take your time with each cut, and remember that every octopus in the ocean looks a little different.
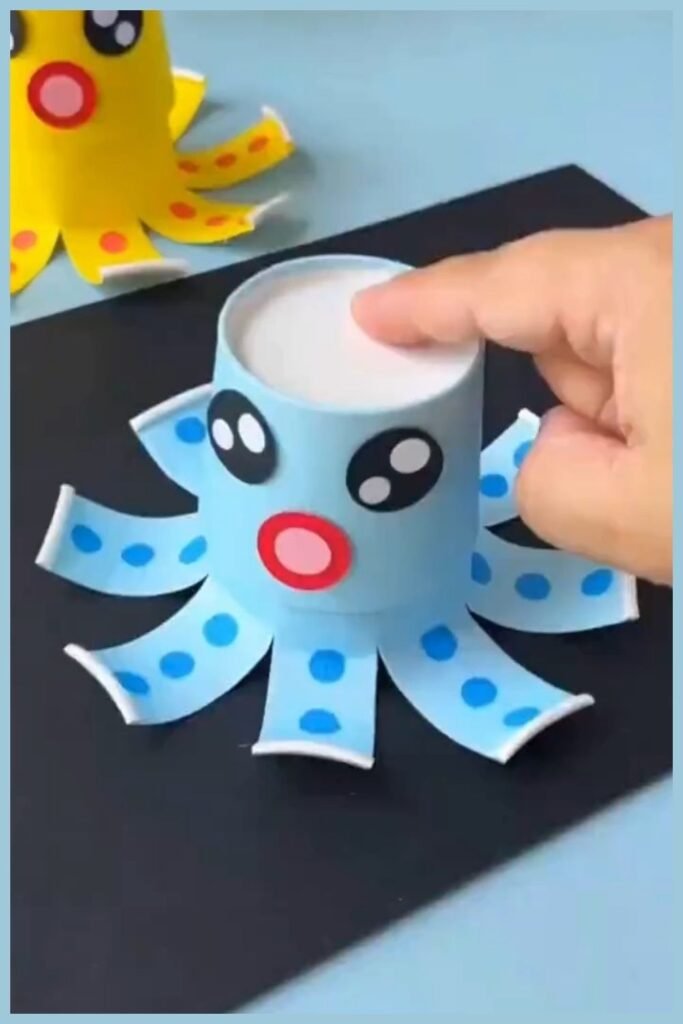
For this project, you will spend about 15 minutes working with a few basic supplies. It serves as a fantastic gateway into kid-friendly home decor or an interactive classroom activity.
WHY YOU WILL LOVE THIS PROJECT
This ocean-themed craft costs almost nothing to make because it relies on standard everyday items. It provides a wonderful opportunity for young crafters to practice their fine motor skills through cutting and folding. The finished octopus makes a lively addition to any bedroom shelf or playroom shelf. It is a fantastic option for an afternoon activity on a rainy day.
WHAT YOU WILL NEED
- Light blue paper cup — [Sturdy plastic cup or a painted paper cup]
- Coloured markers (blue, red, black) — [Craft paint with a small brush]
- Scissors — [Safety scissors for younger children]
- Pre-cut paper eyes and mouth pieces — [Draw directly onto the cup with markers]
- Yellow paper strip assembly — [Accordion-folded scrap paper strips]
- Craft glue — [Double-sided tape or glue dots]
All materials can be found at your local craft store or ordered online.
VIDEO TUTORIAL
Watch the full tutorial above before reading the written steps. The steps below match the video exactly.
STEP-BY-STEP INSTRUCTIONS
Step 1: Slice the Cup Openings
Hold the paper cup upside down and make vertical cuts from the rim upward. Stop cutting about halfway up the side of the cup. Space the cuts roughly one inch apart around the entire perimeter to form eight distinct segments.
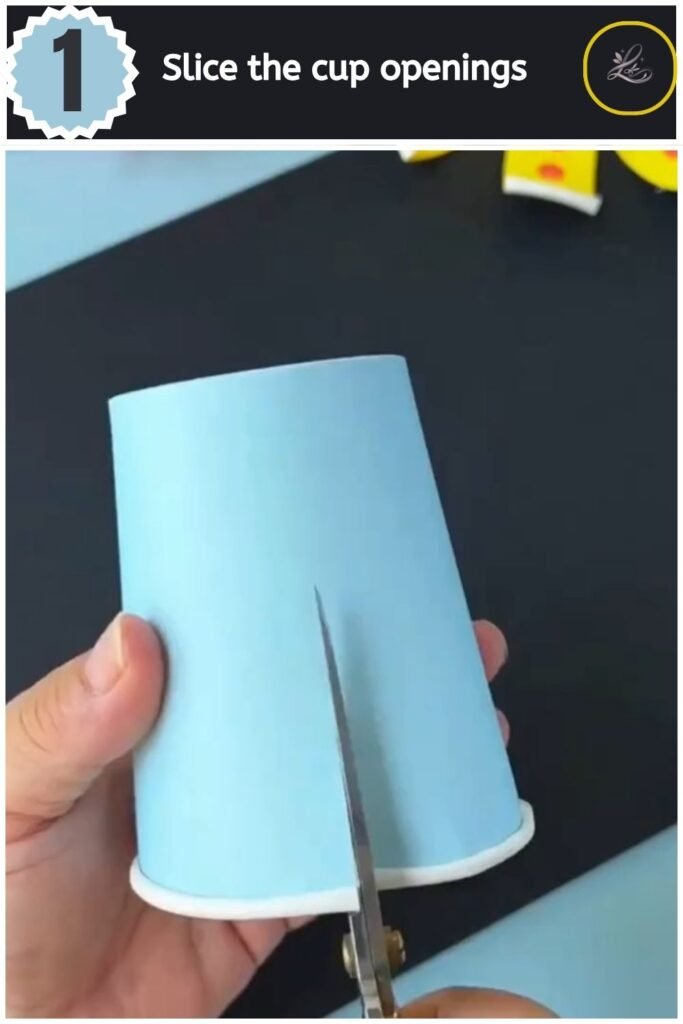
Pro Tip: Mark the halfway line with a faint pencil trace beforehand to keep your cut lengths consistent.
Step 2: Curl the Octopus Legs
Wrap each cut segment tightly around a marker or pen to create a curl. Roll the paper strip outward and upward toward the base of the cup, then release it gently. Repeat this action for all eight strips to give your sea creature its bouncy tentacles.
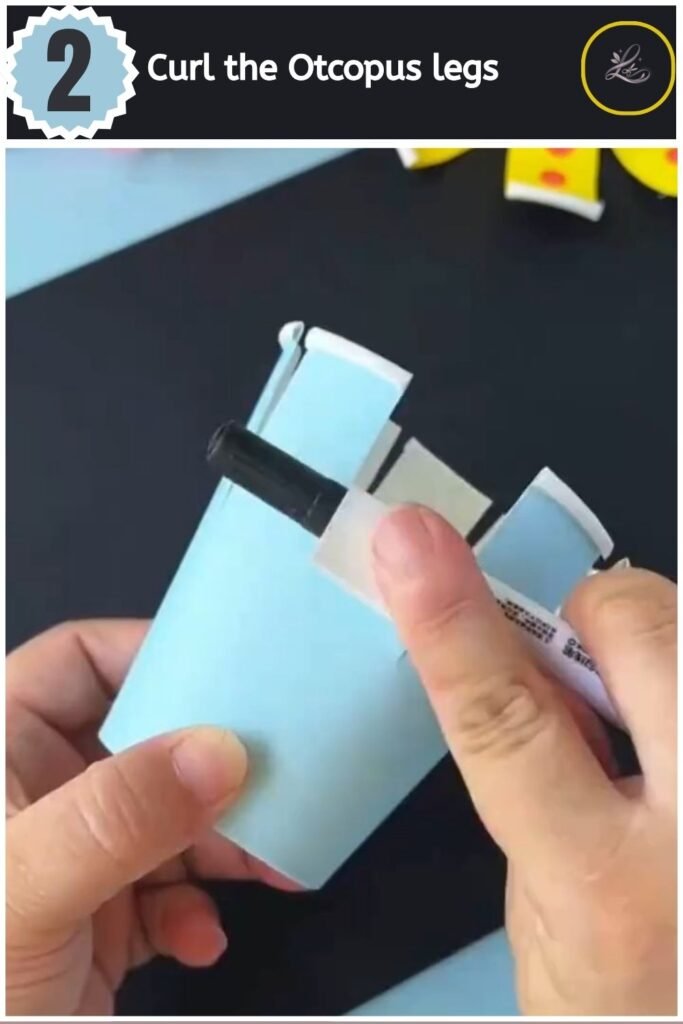
Pro Tip: Hold the paper around the marker for three seconds to help the curl set firmly.
Step 3: Draw the Suction Cups
Press down on the curled legs and draw colourful spots on each tentacle. Use a contrasting marker to place small dots along the top surface of the curled paper strips. These spots mimic the natural look of real octopus suction cups.
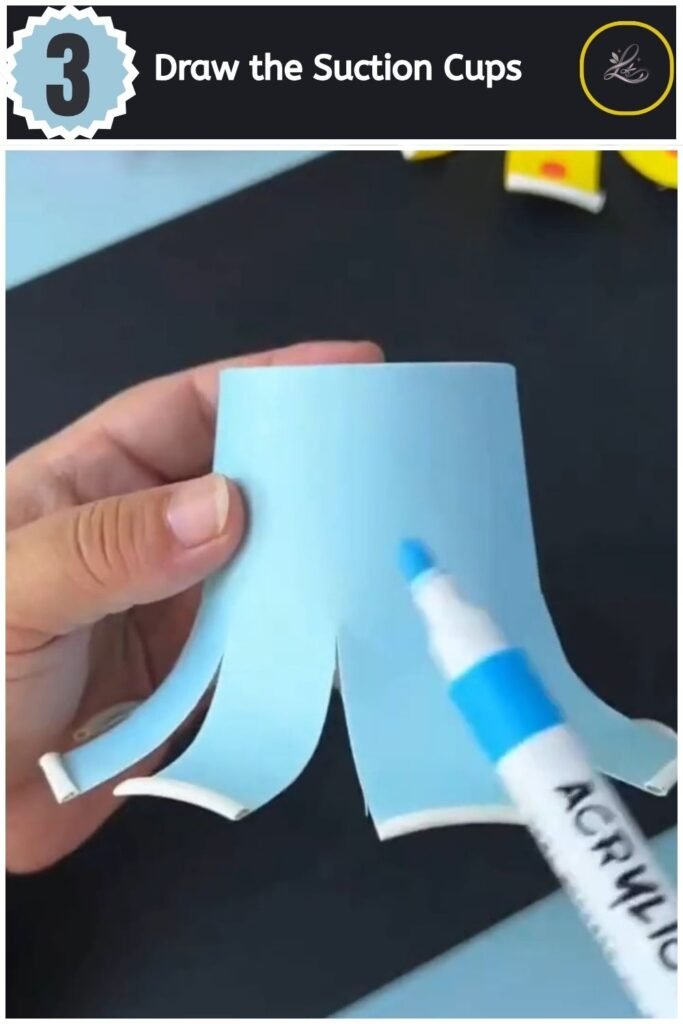
Pro Tip: Let the marker ink dry fully before moving to the next section to prevent smudging on your fingers.
More DIY Content for You:
- 20 Easy DIY Santa Crafts to Make This Christmas (Cheap & Adorable)
- Lovely Paper Pop Up Tulip Card Anyone Can Make
- Cute Paper Chinese New Year Garland Anyone Can Make
- Adorable Halloween Paper Hat Craft for Beginners

- Make Sweet DIY Flower Greeting Card for Loved Ones
Step 4: Attach the Face Features
Apply glue to the paper eyes and mouth, then position them on the smooth front of the cup. Place the large decorative eyes near the middle of the un-cut cup surface. Center the round red mouth directly underneath the eyes to build an expressive face.
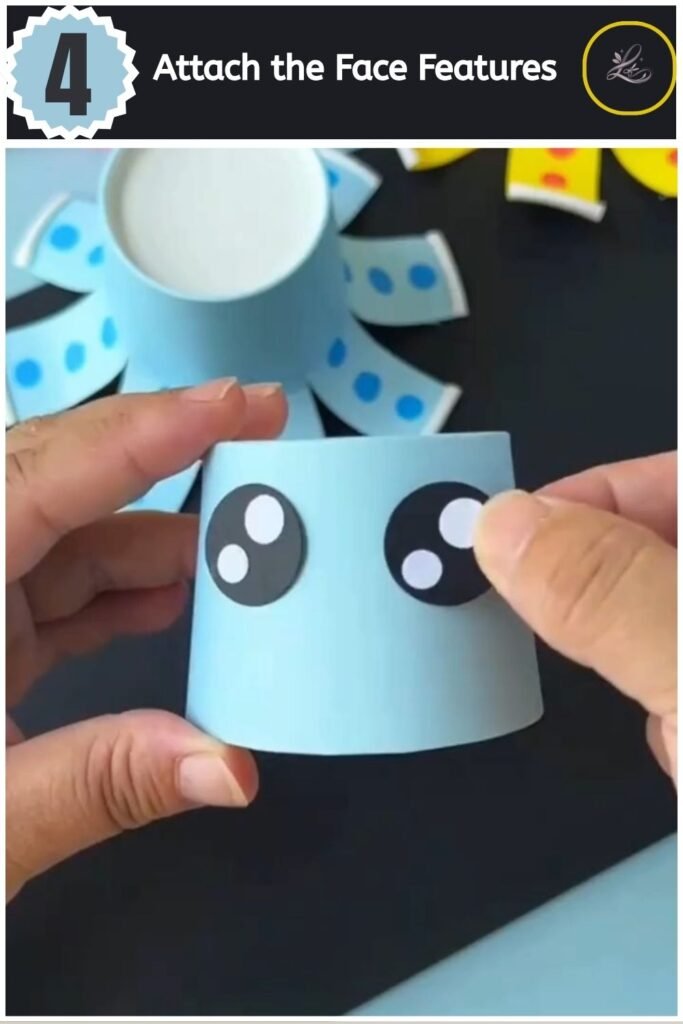
Pro Tip: If you prefer, substitute the paper eyes with plastic googly eyes for an extra bit of dimension.
Step 5: Fold the Spring Mechanism
Interlock two yellow paper strips at a right angle and fold them over each other repeatedly. Alternate folding the bottom strip over the top strip in an accordion pattern until you reach the end of the paper. Secure the loose ends with a tiny dab of glue to create a bouncy paper spring.
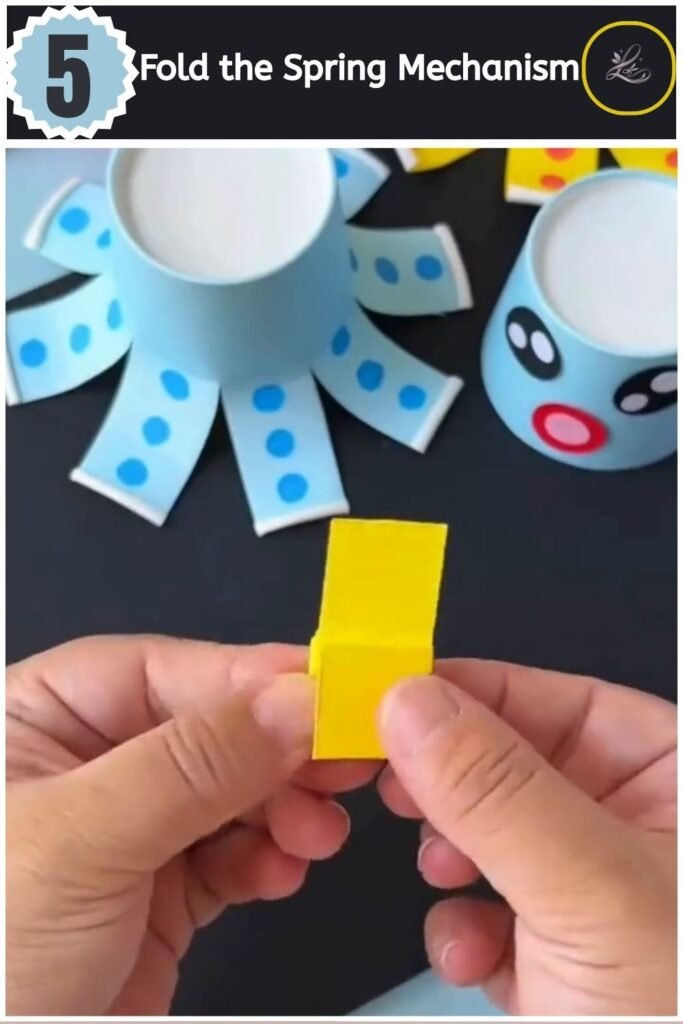
Pro Tip: Keep your folds tight and flush against each other to maximize the bounce of your paper spring.
Step 6: Install the Spring
Glue one end of your paper spring inside the inner base of the cup. Press the spring firmly against the bottom surface so it sits hidden inside the octopus body. When you push down on the top of the cup, this internal spring allows the entire craft to bounce playfully.
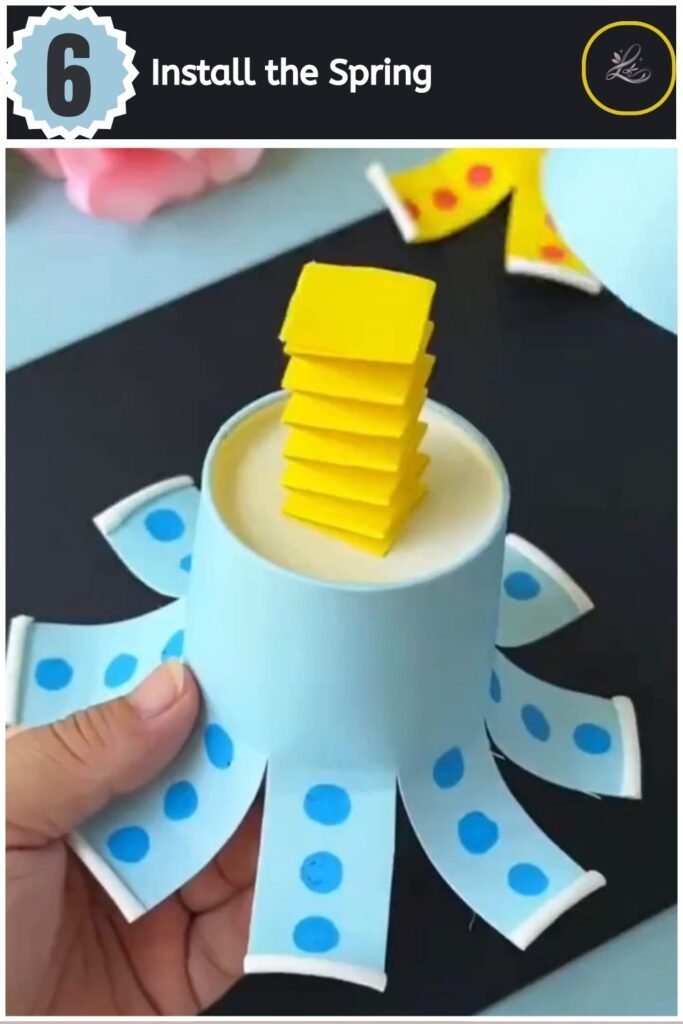
Pro Tip: Give the glue a minute to cure completely before tapping on the craft to test its movement.
TIPS & TRICKS
- Fixing uneven legs: If your tentacles look uneven after cutting, check the spacing between your vertical slices. You can trim the wider strips slightly with your scissors to make them uniform.
- Managing stiff cups: Some heavy-duty paper cups resist curling at first. Work the paper gently with your fingers to soften the fibers before wrapping them around the marker.
- Preventing colour bleeding: Water-based markers can smear if they touch fresh glue. Keep your adhesive centered behind your paper cutouts to stop any moisture from bleeding through to the front decoration.
- Enhancing the bounce: If your spring feels too stiff, stretch the accordion folds out gently by hand before gluing the spring inside the cup.
WAYS TO USE THIS CRAFT
This delightful marine project serves multiple purposes around your home or classroom. Set several completed pieces on a shelf to design an underwater themed bedroom display. They also make wonderful interactive party favours for an ocean theme birthday party. If you are preparing an educational lesson about sea creatures, use this craft as a hands-on activity to reinforce the learning experience.
FREQUENTLY ASKED QUESTIONS
-
How long does this project take to complete?
This project takes roughly 15 minutes from setup to cleanup. Cutting the legs and assembling the spring requires the most focus, but the process moves swiftly.
-
What if I make a mistake — can I fix it?
You can fix most issues with ease. If a leg tears during the curling process, simply secure it back in place with a small piece of clear tape on the underside.
-
What kind of cups work best for octopus paper crafts?
You can find paper cups, markers, and colored paper at any local grocery store, dollar shop, or craft supply outlet. They are widely available online as well.
-
Can toddlers make a paper cup octopus?
Toddlers can participate by coloring the cup and adding stickers for the face features. An adult should handle the scissor work to cut the tentacles and assist with the accordion paper folding.
CLOSING
You have successfully built your very own bouncing sea companion out of an ordinary cup. It is amazing what a little imagination, some clever folds, and a pair of scissors can achieve. Display your new friend proudly on your desk or share the creation with someone who needs a smile today.
Ready for your next project? Try our Cute Paper Mushroom DIY for Beginners next!
Happy crafting! — LOUVADECORES
