

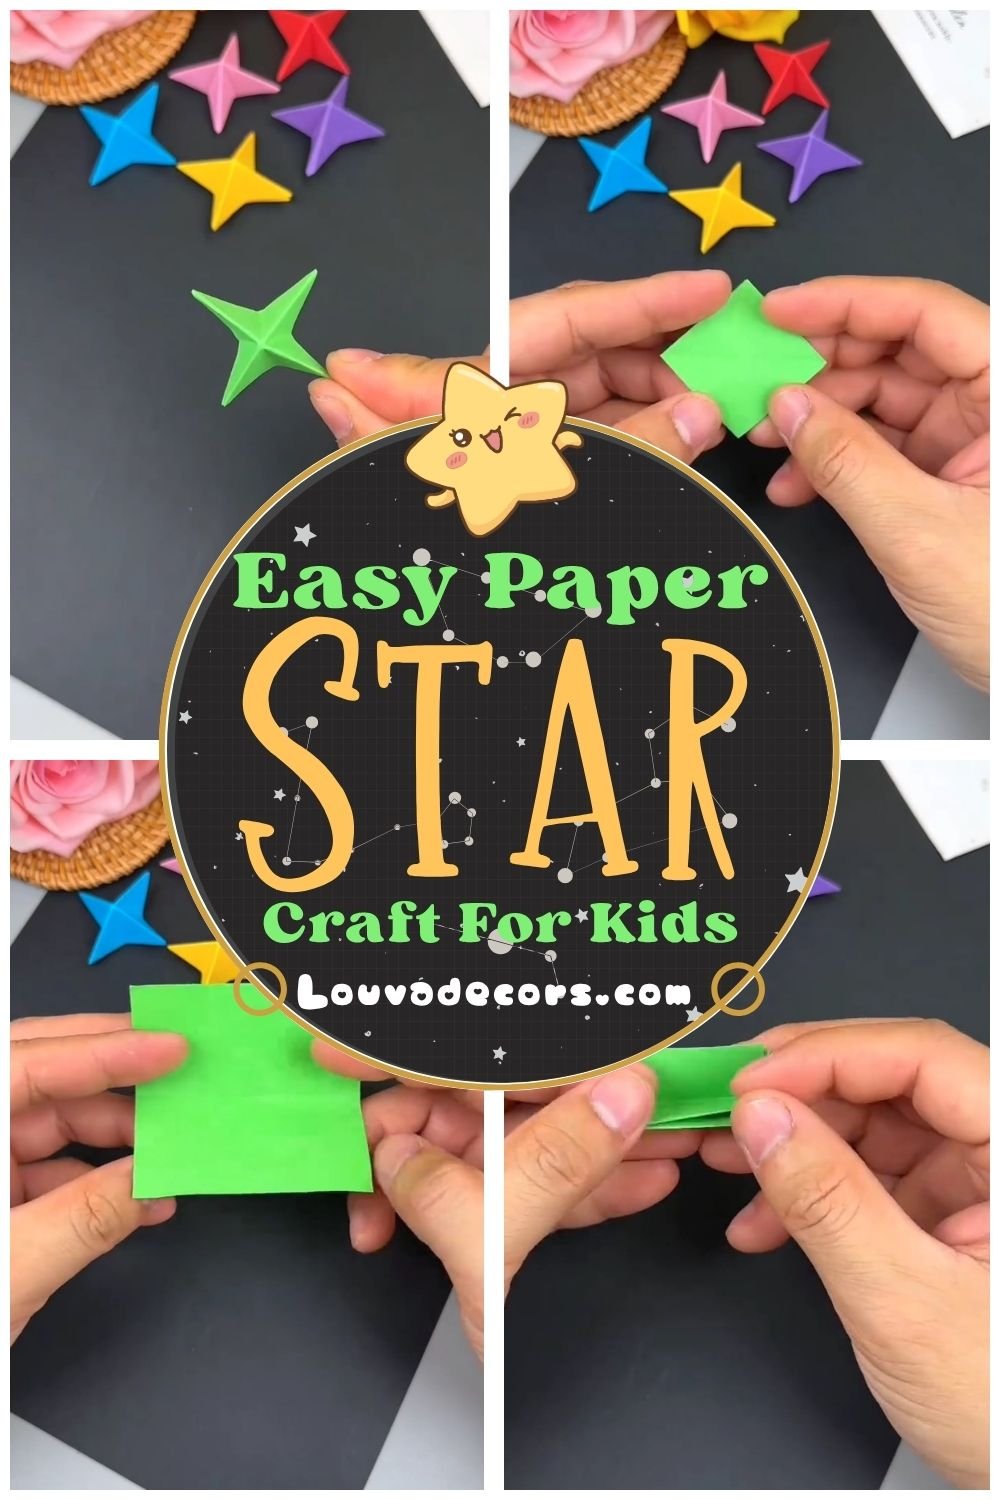
Transforming a flat sheet of material into a striking geometric shape feels like magic, and this vibrant 3D paper star is the ultimate way to experience it. You can craft an entire collection of these dimensional star accents to scatter across your desk, brighten up a shelf, or string into a playful banner. By choosing bright, contrasting colours, you create eye-catching desk ornaments that instantly lift the mood of any room.
You do not need any experience with complex folding techniques to master this design. Many beginners worry that their folds will look messy or crooked, but this shape is incredibly forgiving. Take your time with each crease, and you will see how beautifully the paper locks into place.
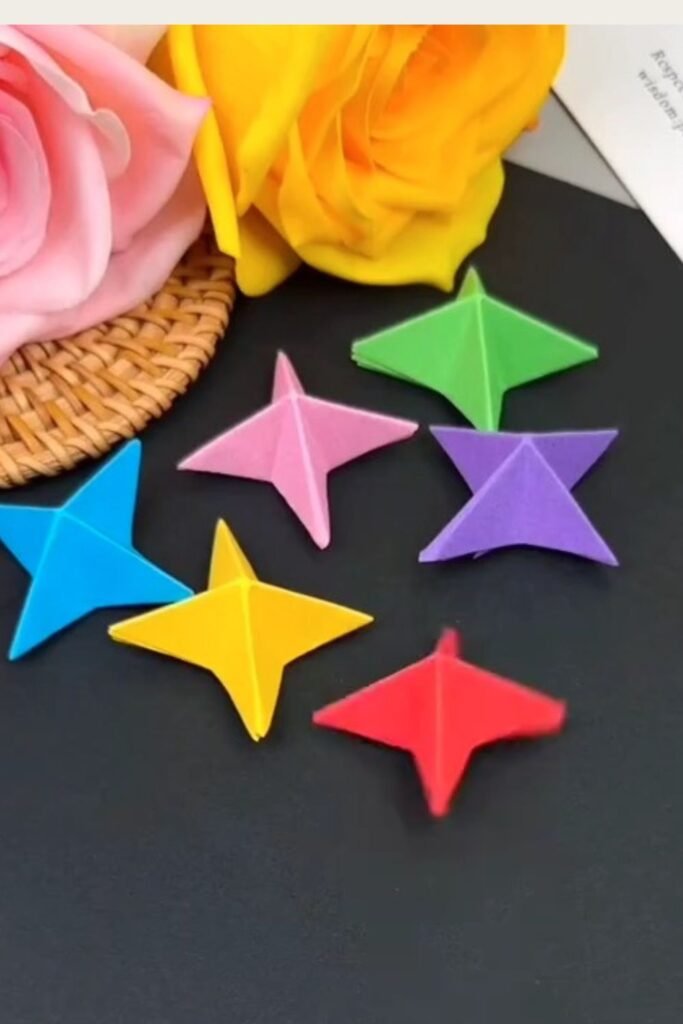
All you need is a rectangular piece of craft paper and a couple of minutes to spare. This quick project is a wonderful introduction to paper crafts, allowing you to create beautiful decor pieces without buying expensive supplies. Let us dive into the quick folding process together.
WHY YOU WILL LOVE THIS PROJECT
This project requires absolutely no cutting tools or messy adhesives, making setup and cleanup a breeze. It looks intricate and expensive once finished, yet it relies on basic folds that anyone can master. You can adapt it to any color scheme to match your seasonal holiday decorations or bedroom palette.
WHAT YOU WILL NEED
- Coloured Craft Paper (cut into a 1:2 ratio rectangle, e.g., 2 inches by 4 inches) — [Any colorful construction paper or origami paper scraps]
All materials can be found at your local craft store or ordered online.
VIDEO TUTORIAL
Watch the full tutorial above before reading the written steps. The steps below match the video exactly.
STEP-BY-STEP INSTRUCTIONS
Step 1: Fold the Paper Lengthwise
Start by placing your rectangular paper strip flat on your work surface. Bring the bottom edge up to meet the top edge perfectly, aligning the corners carefully before pressing down. Run your fingernail along the bottom edge to create a sharp, permanent crease.
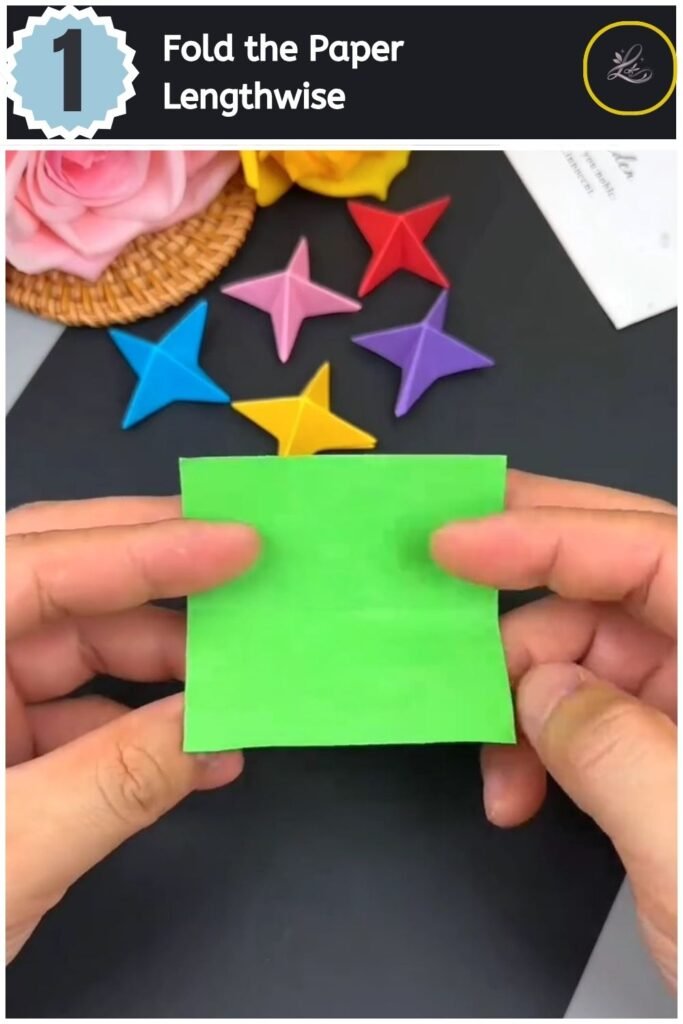
Pro Tip: Pressing your creases firmly with a fingernail or a bone folder ensures the paper retains its springy structure for the final 3D shape.
Step 2: Fold in Half Widthwise
Fold the long rectangle in half from left to right to find the exact center point. Align the short outer edges precisely, then pinch the fold on the left side to mark the middle line. Unfold this specific step immediately so you are left with your long creased strip.
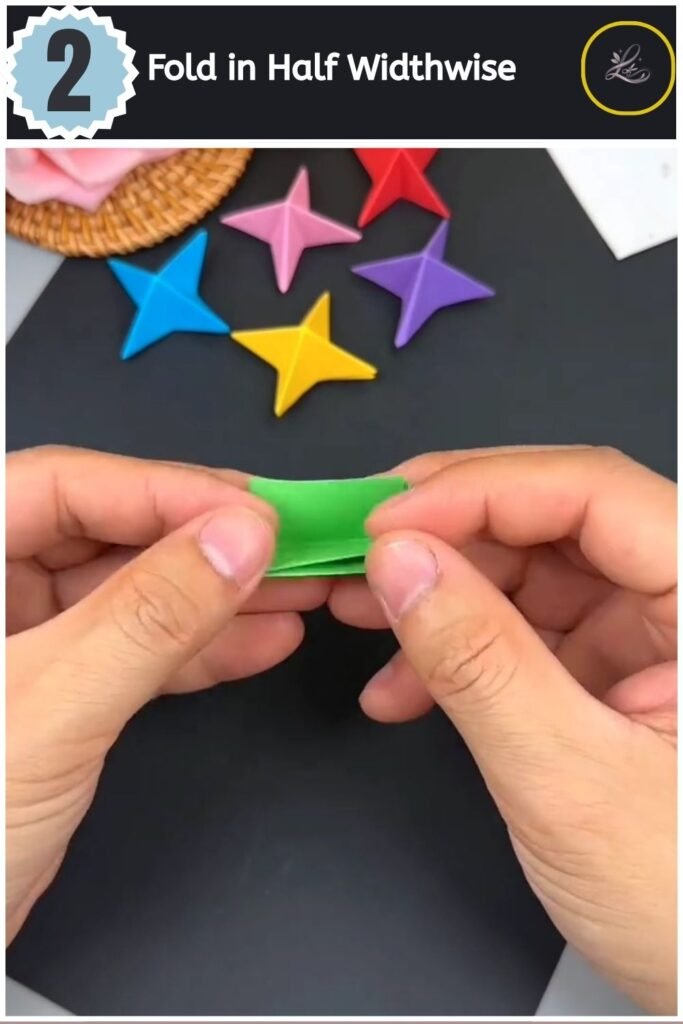
Pro Tip: Do not over-flatten this center crease, as it serves primarily as a visual guide for your next diagonal folds.
- 20 Easy DIY Santa Crafts to Make This Christmas (Cheap & Adorable)

- Lovely Paper Pop Up Tulip Card Anyone Can Make
- Cute Paper Chinese New Year Garland Anyone Can Make
- Adorable Halloween Paper Hat Craft for Beginners

- Make Sweet DIY Flower Greeting Card for Loved Ones
Step 3: Create the Diagonal Corners
Fold the top left corner down diagonally toward the center line, then repeat with the opposite side. Bring the corners down until they align perfectly along the central horizontal fold line, creating a clean diamond shape at the top. Press firmly along both diagonal edges to secure the angles.
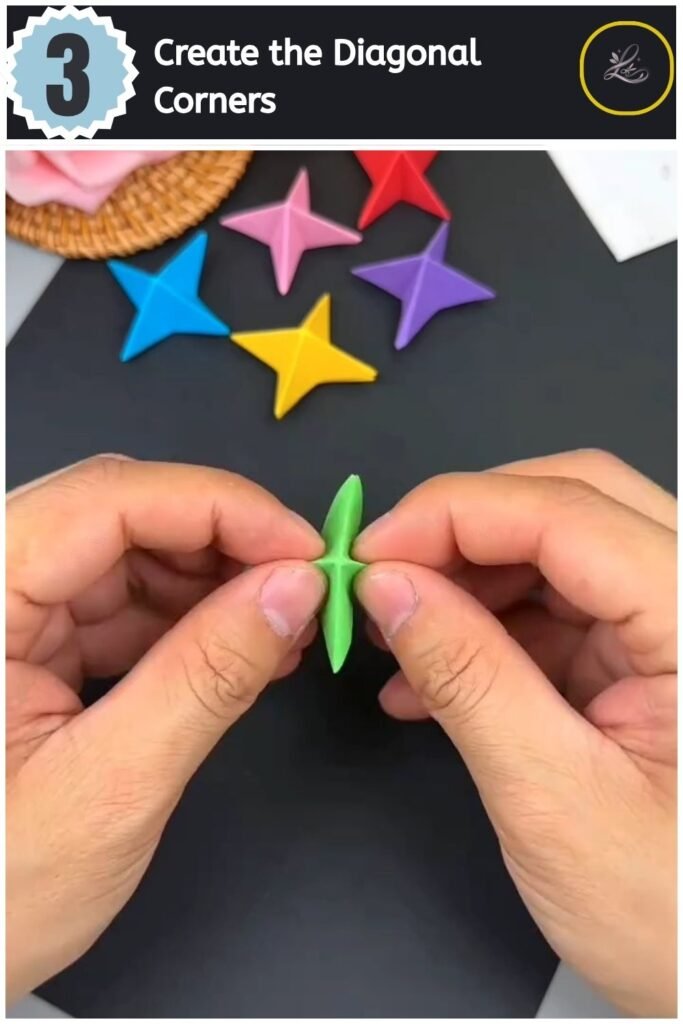
Pro Tip: Make sure the diagonal edges meet closely at the center line without overlapping, which prevents buckling later.
Step 4: Shape the Dimensional Wings
Gently push the outer flaps inward along the creases to pop the star into a dimensional form. Grip the central points with your fingers and pull the folds toward each other, causing the paper to expand into a four-pointed star. Make minor adjustments to ensure each point stands out symmetrically.
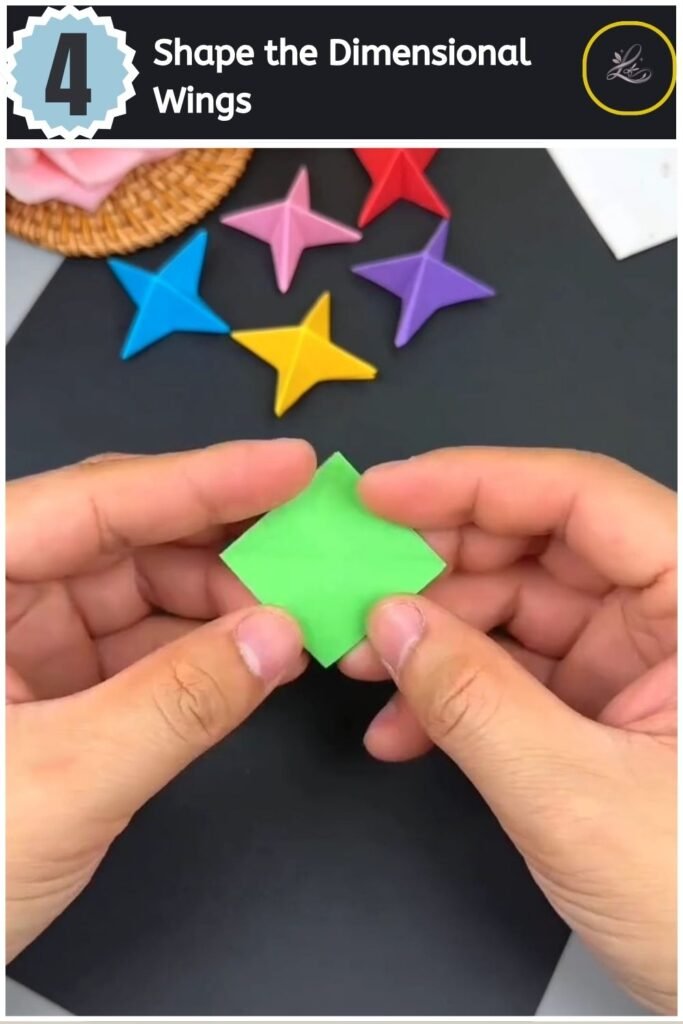
Pro Tip: If the points do not pop up immediately, gently run your fingertip along the inner seams to encourage the paper to curve outward.
TIPS & TRICKS
- Choose the Right Paper Weight: Standard origami paper or lightweight copy paper works best because heavy cardstock resists these small, precise folds.
- Keep Hands Clean: Wash and dry your hands before starting to prevent oil or moisture from softening the paper edges.
- Fixing Soft Points: If the tips of your star look blunt, use a toothpick inserted gently from the underside to poke the points outward.
- Batch Folds: Fold all your base lines for multiple stars at the same time to speed up the process when creating garlands.
WAYS TO USE THIS CRAFT
These geometric stars make excellent festive table scatter for modern party decor, especially when mixed across different color families. You can attach them to gifts using a small loop of baker’s twine for a gorgeous alternative to traditional plastic bows.
For a stunning seasonal display, thread a needle with clear fishing line and pass it through the top points of several stars to build a whimsical hanging mobile.
FREQUENTLY ASKED QUESTIONS
-
How long does this project take to complete?
Once you understand the basic folding sequence, each star takes less than two minutes to make. It is a fantastic repetitive craft for watching your favorite show.
-
What is the best paper size for making a 3D paper star?
An ideal size for beginners is a 2-inch by 4-inch rectangle. Maintaining a consistent 1:2 width-to-length ratio ensures all your corner folds line up perfectly without leaving awkward gaps.
-
Can you make these paper stars waterproof for outdoor decorations?
You can protect your finished stars by spraying them with a light coat of clear acrylic sealer. Apply the spray in a well-ventilated area and let it dry completely before hanging the stars outside.
CLOSING
Creating your own vibrant 3D paper star is a rewarding way to bring color and personality into your space. Play around with different color combinations and paper textures to see what unique variations you can create. Ready for your next project? Try Pretty Paper Daisy Flower Craft for Kids next!
Happy crafting! — LOUVADECORES
Follow us on: Pinterest
