

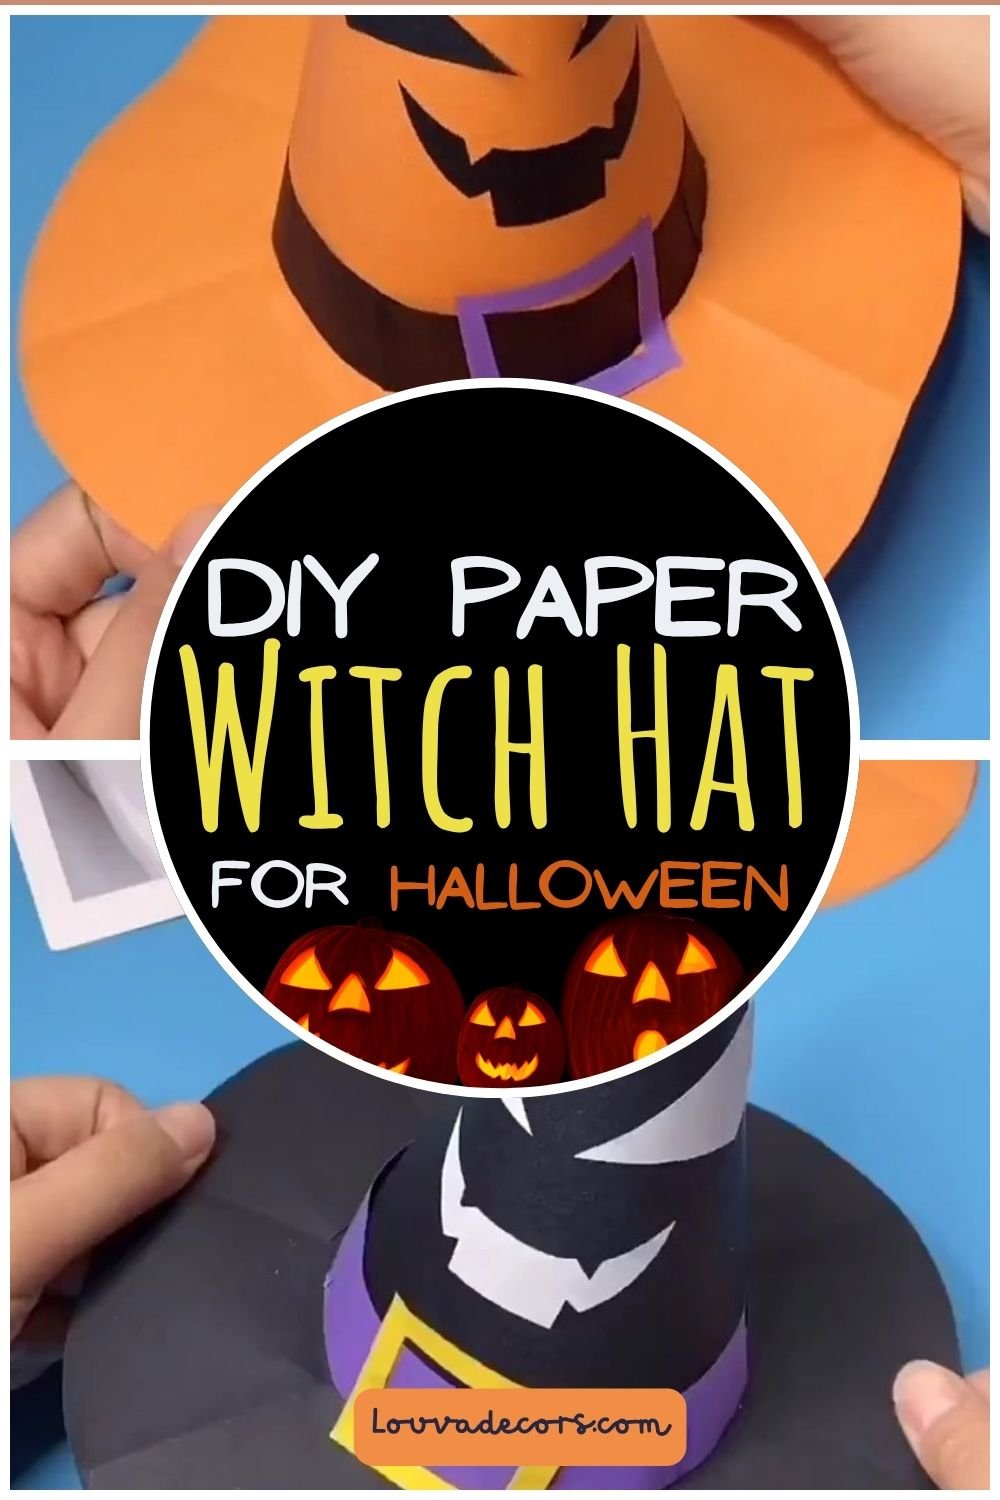
Picture a small cone shaped witch hat sitting on your Halloween table, its scalloped brim catching the light and a grinning jack-o’-lantern face peeking out from the orange cardstock. This Halloween paper hat craft starts as a few flat sheets and ends as a display piece that looks like it came from a party store. Between the folded brim, the belt style buckle band, and the carved pumpkin face, this project brings real seasonal decor charm without a single power tool. It fits right into fall crafting, kids’ Halloween activities, and quick handmade party decor.
You do not need any experience to make this. If you have never folded cardstock into a cone before, that is okay. Take your time with the folds, and know that a slightly uneven seam will still look great once the belt band covers it.
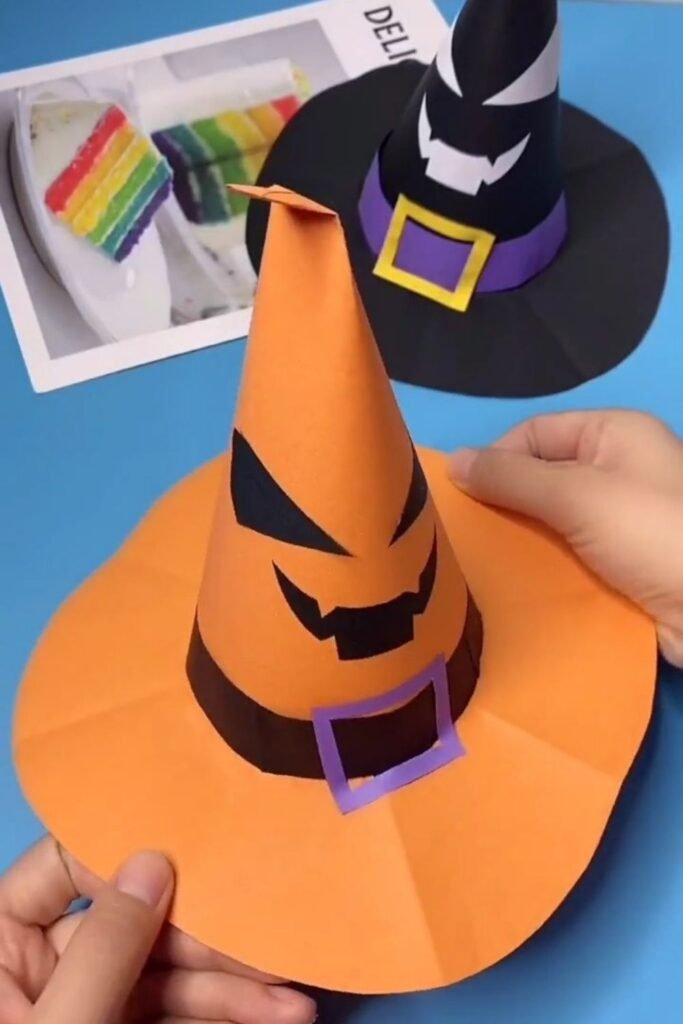
You will need a handful of colored cardstock sheets, scissors, and tape or glue, and the whole hat comes together in under an hour. This kind of project is a great entry point into home decor crafting if you enjoy making your own seasonal pieces instead of buying them.
WHY YOU WILL LOVE THIS PROJECT
This little witch hat looks like it belongs on a store shelf, but it costs a fraction of what you would pay for one. It is beginner-friendly enough for a first-time paper crafter, and the folding technique carries over to plenty of other paper projects. It works as a standalone decoration, a photo prop, or a fun addition to a Halloween themed gift. If your household leans into seasonal decor, this hat is a satisfying, low-cost way to add handmade charm to the mix.
WHAT YOU WILL NEED
- Orange cardstock, 2 sheets [Budget alternative: construction paper]
- Black cardstock, 1 sheet [Budget alternative: black construction paper or a black marker outline]
- Purple cardstock, 1 small piece [Budget alternative: yellow or gold cardstock scrap]
- Yellow cardstock, 1 small piece (optional accent) [Budget alternative: skip and use purple only]
- Scissors
- Tape or glue stick
All materials can be found at your local craft store or ordered online.
VIDEO TUTORIAL
Watch the full tutorial above before reading the written steps. The steps below match the video exactly.
STEP-BY-STEP INSTRUCTIONS
Step 1: Gather Your Materials and Pick a Style
Lay out your cardstock sheets so you can see your color options before you start cutting. This hat uses orange cardstock as the base, with black, purple, and yellow accents for the belt and buckle. If you want a different color scheme, this is the moment to decide, since the folding steps stay the same no matter which color you choose.
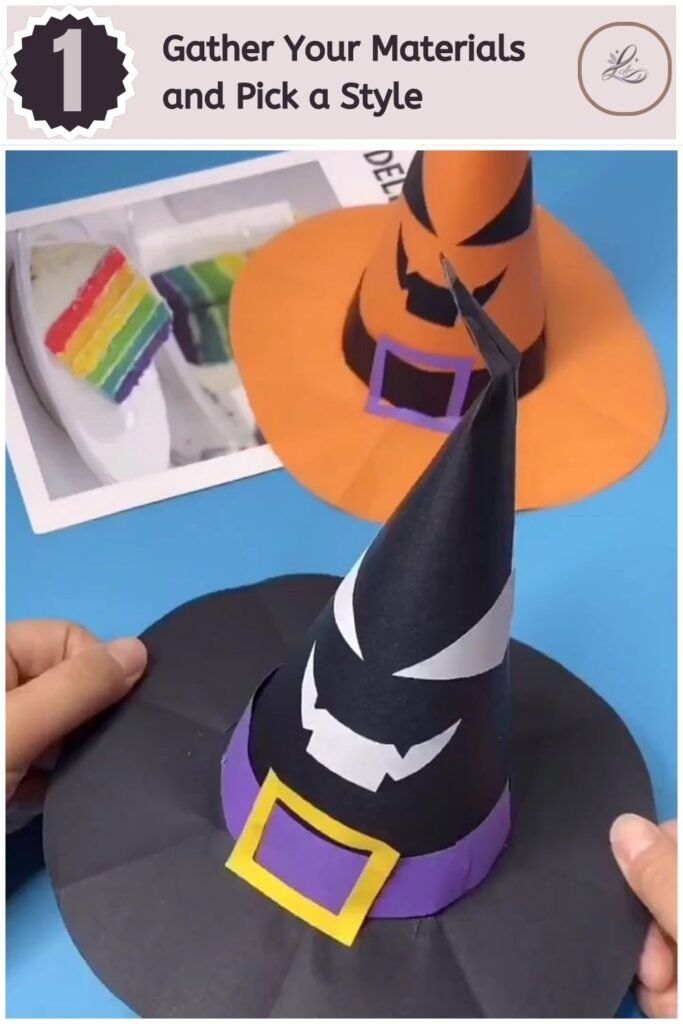
Pro Tip: Cardstock holds a crease better than regular printer paper, so stick with cardstock weight if you want the cone to hold its shape without collapsing.
Step 2: Fold and Shape the Cone
Take your square sheet of orange cardstock and fold it diagonally into a tall cone shape. Overlap the edges until the point is narrow and tight, then hold the seam in place. Secure the overlapped edge with tape or glue along the full length of the seam.
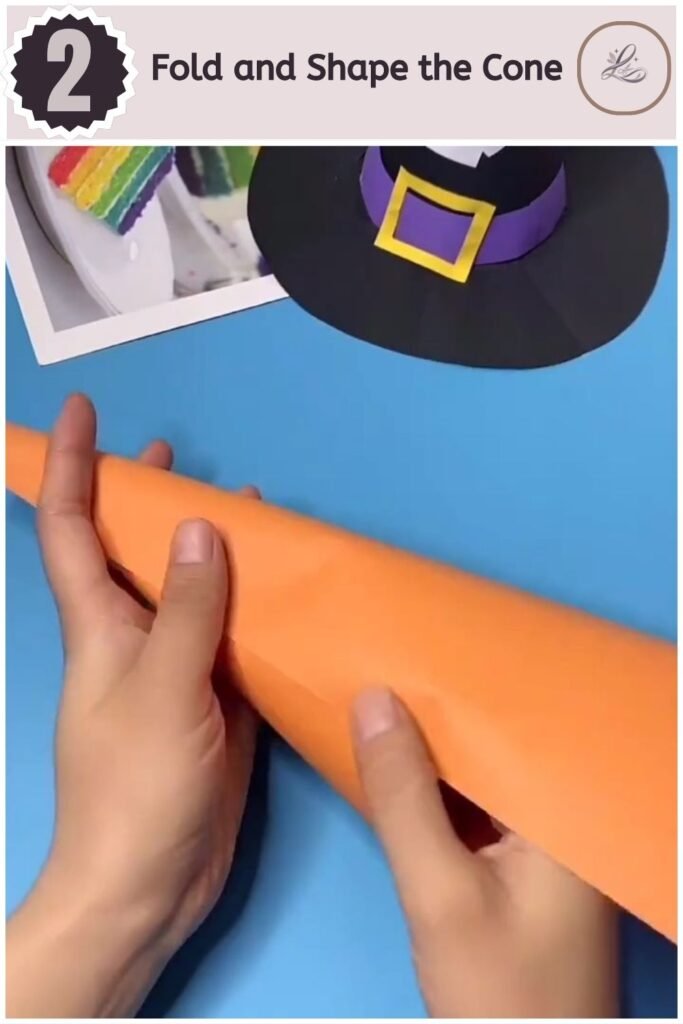
Pro Tip: Roll the cone a little tighter than you think you need. It is easier to widen the base later than to fix a cone that came out too loose.
Step 3: Cut and Crease the Brim Piece
Fold your second sheet of orange cardstock in half, then fold it again to find the center point. Use this center point as your guide for cutting the brim shape. Cut carefully along your fold lines so the brim stays symmetrical once it opens up.
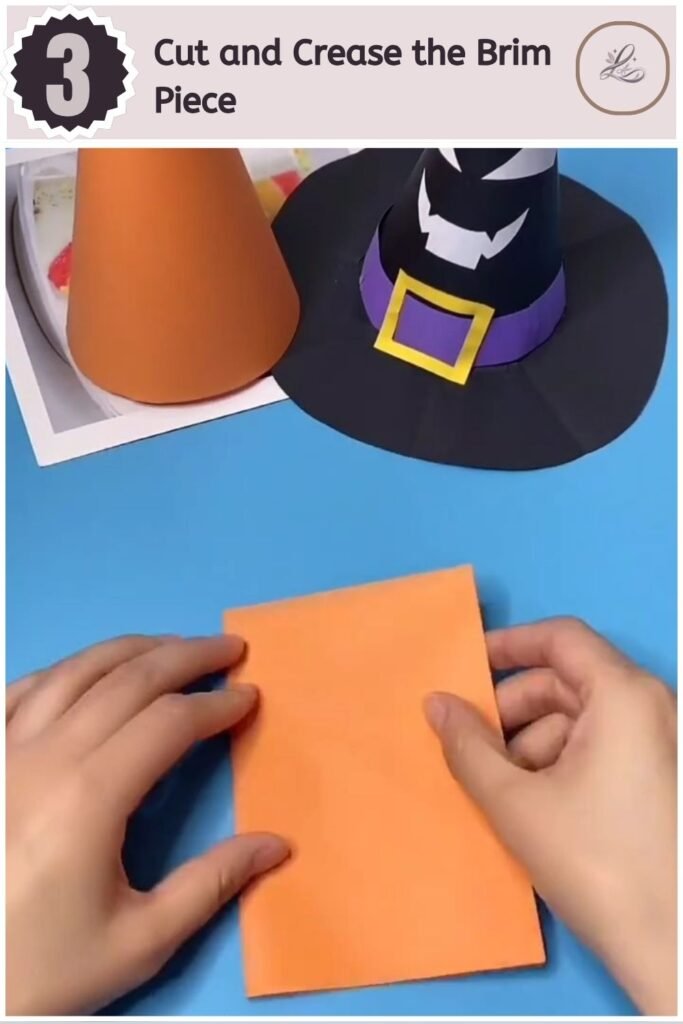
Pro Tip: Small, controlled scissor cuts give you a cleaner scalloped edge than one long cut. It’s okay if your edges are not perfectly even. The hat will still look great.
Step 4: Open the Brim Into a Full Circle
Unfold the cut cardstock carefully to reveal the wide, scalloped brim shape. Smooth out the fold lines with your fingers so the brim lies mostly flat. Leave a small hole in the center where the cone will sit.
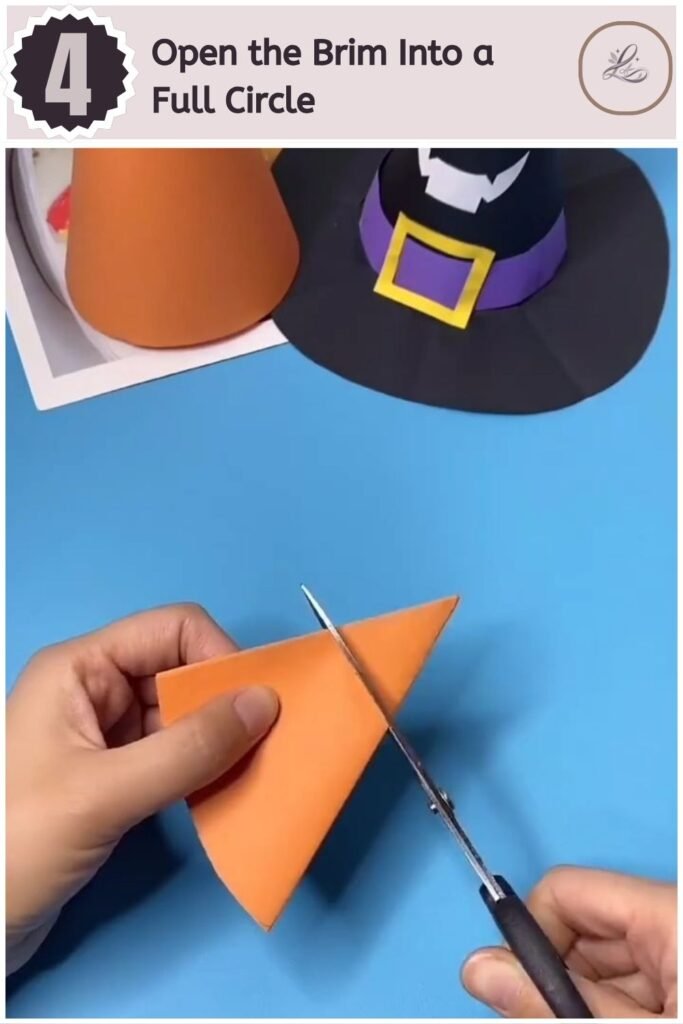
Pro Tip: If the center hole is too small once the brim is open, trim it in small increments. You can always cut more, but you cannot add paper back.
Step 5: Fit the Brim Onto the Cone
Slide the pointed cone through the center hole of the brim until the brim sits at the base. Adjust the cone so it stands upright and the brim sits evenly around it. Secure the cone to the brim from the underside with tape or glue.
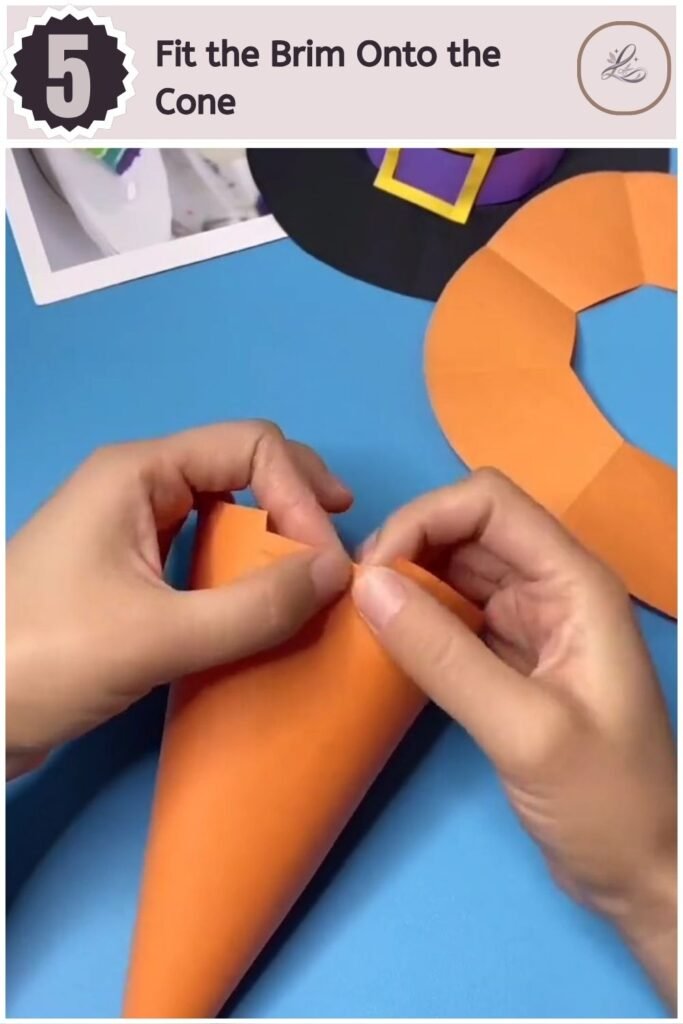
Pro Tip: Work on a flat surface while you glue this joint. It gives the hat a stable base to dry against instead of tipping over.
Step 6: Add the Belt Band and Buckle
Cut a black strip of cardstock and wrap it around the base of the cone to form a belt. Glue the strip in place so it sits snugly against the paper. Cut a small square buckle shape from your purple (or yellow) cardstock and glue it to the center of the black band.
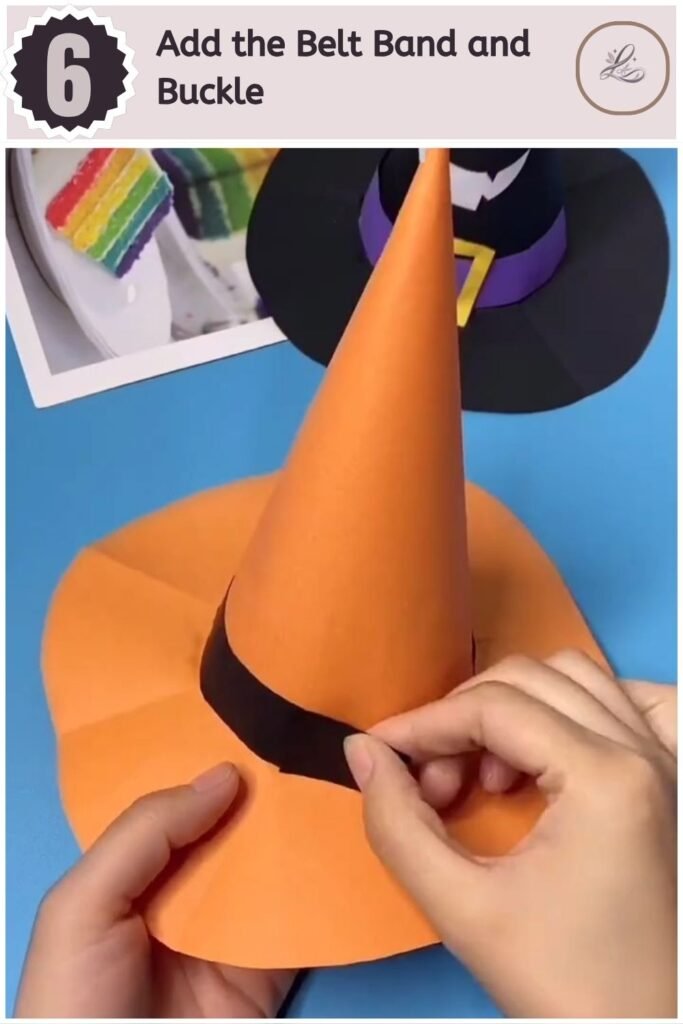
Pro Tip: Cut the buckle outline as an open square instead of a solid shape. It reads more like a real belt buckle and adds contrast against the black band.
Step 7: Add the Face and Finish the Hat
Cut a jack-o’-lantern face from black cardstock and glue it onto the front of the cone above the belt band. Add a small twisted or folded point to the very tip of the cone for a finished, storybook look. Set the hat aside and let the glue fully dry before moving or displaying it.
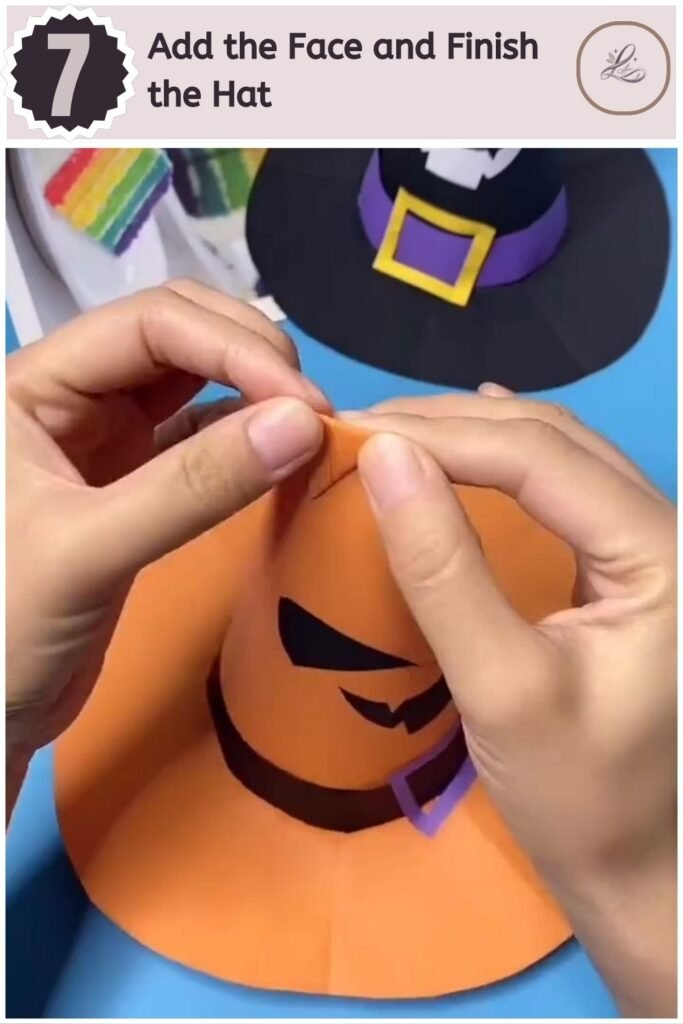
Pro Tip: Cut the face pieces slightly smaller than you think you need. A face that is too large can crowd the cone and make the hat look off balance.
TIPS & TRICKS
- If your cone will not stand up straight, the base seam is likely too loose. Add a second strip of tape along the inside seam to reinforce it.
- Working with two layers of cardstock (a lighter base layer and a colored top layer) gives the hat more structure if your paper feels flimsy.
- If the scalloped brim looks uneven after cutting, a light trim around the whole edge will clean it up without starting over.
- For a glossy finish, a light coat of clear craft varnish over the dried hat adds shine without changing the colors.
- If you are making several hats for a party table, cut all your brim and belt pieces in a batch first, then assemble each hat one at a time.
WAYS TO USE THIS CRAFT
This Halloween paper hat craft works well beyond a single display piece. Set a few of them along a mantle or table runner for instant seasonal home decor, or shrink the size down to top off a Halloween themed gift box or treat bag. Around fall and garden season, group these hats with pumpkins, dried leaves, or a fall wreath for a cohesive porch display.
For more paper craft ideas that pair well with this project, see our paper craft Ideas:
- 20 Easy DIY Santa Crafts to Make This Christmas (Cheap & Adorable)
- Lovely Paper Pop Up Tulip Card Anyone Can Make

- Cute Paper Chinese New Year Garland Anyone Can Make
- Adorable Halloween Paper Hat Craft for Beginners

- Make Sweet DIY Flower Greeting Card for Loved Ones
FREQUENTLY ASKED QUESTIONS
-
How long does this project take to complete?
Once your materials are ready, the hat itself comes together in under an hour. Most of that time goes into cutting and gluing, so if you are making several hats, batch-cutting the pieces first will speed things up.
-
Can you make a witch hat out of paper without a template?
Yes, this hat is built entirely by folding and freehand cutting, no printed template required. Once you fold the cone and crease the brim, the shapes come from your own cuts rather than a traced pattern.
-
What size cardstock do you need for a witch hat craft?
A standard 8.5 by 11 inch sheet of cardstock works for the cone, and a similar size sheet works for the brim once it is cut into a scalloped shape. If you want a taller hat, start with a larger square sheet for the cone.
CLOSING
You built a full Halloween paper hat craft from a few flat sheets of cardstock, and it shows. That scalloped brim, the belt band, and the jack-o’-lantern face all came from your own folds and cuts, and that is worth being proud of. Set it on your table, add it to a gift, or make a second one now that you know the steps by heart.
Ready for your next project? Try Beautiful Handmade Paper Lantern Craft next!
Happy crafting! LOUVADECORES
Follow us on: Pinterest
