

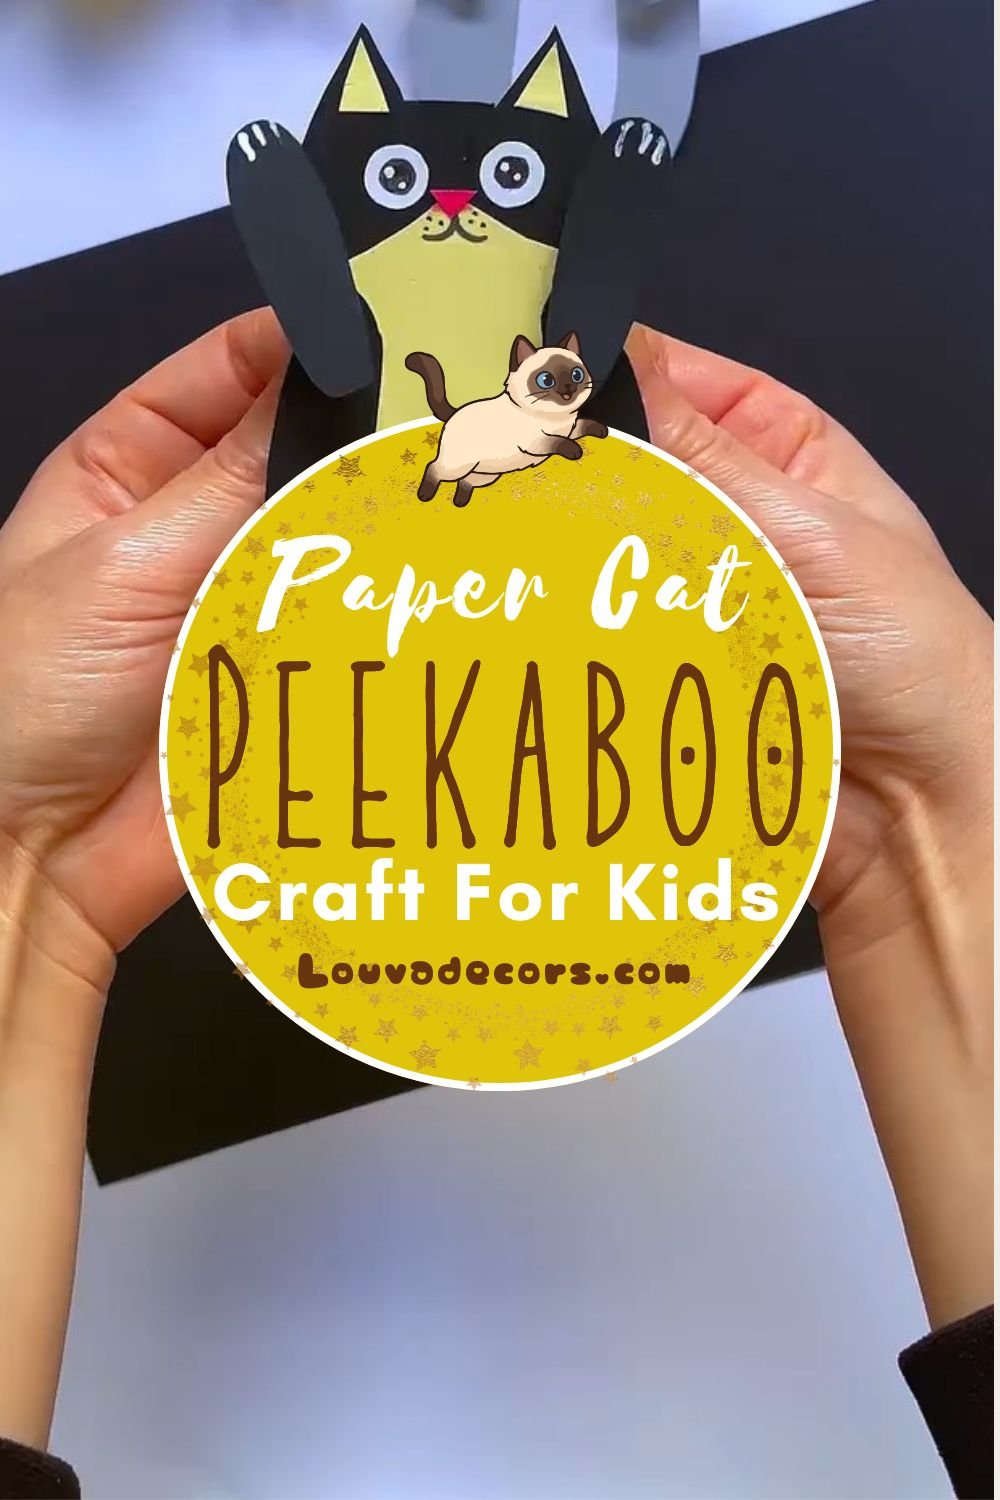
Imagine crafting a sweet, interactive kitty that actually plays peek-a-boo with you. This adorable moving cat paper toy is the perfect weekend activity to bring some handmade joy to your desk or playroom. By using basic cutting techniques, a few pieces of coloured paper, and small rotating joints, you can bring this little feline to life.
You do not need any experience to create this delightful project. It is completely okay if your paper cuts are not perfectly straight or your hand-drawn details look a little organic. Crafting is all about having fun and learning as you go, so take your time and enjoy the process.
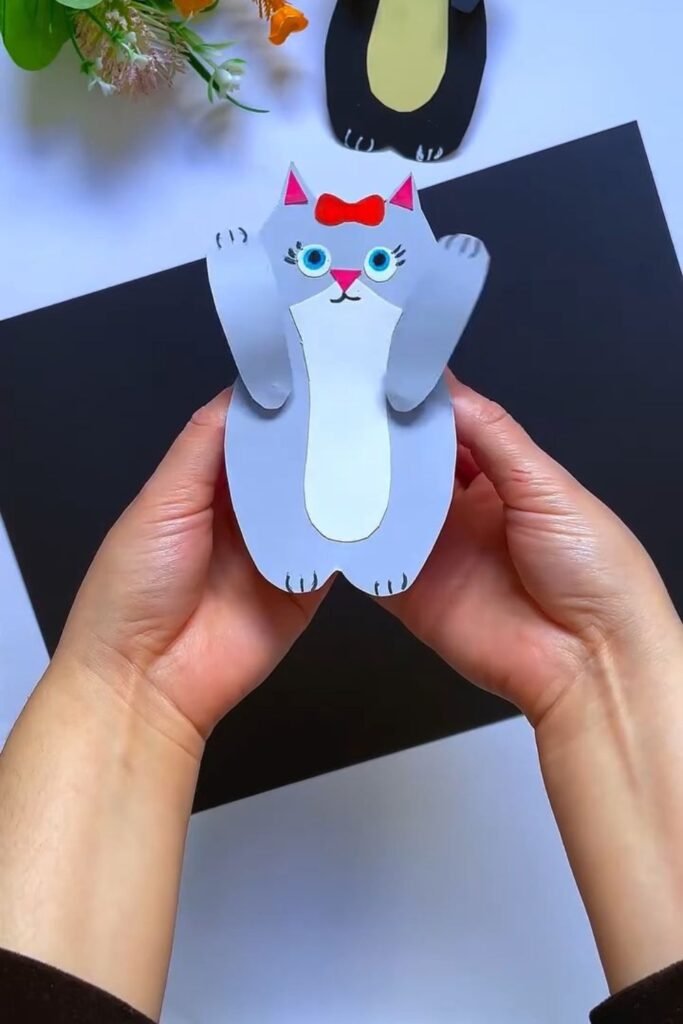
With just a few basic sheets of cardstock and under fifteen minutes of crafting time, you will have a beautiful piece of DIY paper art. This interactive toy makes a fantastic personalized gift or a cute addition to your home decor. Let’s gather our supplies and start making this playful kitty!
WHY YOU WILL LOVE THIS PROJECT
This interactive paper cat looks incredibly clever and custom-made, yet it costs next to nothing to assemble. It is highly beginner-friendly, requiring zero specialized machinery or expensive tools to achieve a moving kinetic effect. Plus, it is a fantastic way to engage kids in screen-free, creative play that they can proudly show off to friends.
WHAT YOU WILL NEED
- Grey Cardstock Sheet [Grey construction paper] — 1 sheet for the main cat body and paws
- White Paper [Light grey or cream paper] — Small scrap for the tummy patch
- Pink Scrap Paper [Pink marker or crayon] — Scrap piece for the inner ears and nose
- Red Scrap Paper [Red felt or ribbon] — Small scrap for the bow
- Black Marker [Fine-tip black pen] — 1 marker for drawing the face and claws
- Blue Gel Pen [Blue crayon or marker] — 1 pen for the eyes
- White Gel Pen [White paint dot] — 1 pen for the eye highlights
- Two Paper Fasteners / Brads [Small wire pieces or buttons] — 2 fasteners to make the arms rotate
- Drafting Compass [Thick needle or toothpick] — 1 tool to pierce holes for the fasteners
- Glue Stick [School glue or double-sided tape] — 1 glue stick for attaching paper layers
- Scissors [Craft knife with adult supervision] — 1 pair of scissors
All materials can be found at your local craft store or ordered online.
VIDEO TUTORIAL
“Watch the full tutorial above before reading the written steps. The steps below match the video exactly.”
STEP-BY-STEP INSTRUCTIONS
Step 1: Prepare and Glue the Cat Body Parts
Cut out the cat’s body from your grey cardstock and glue the white tummy piece onto the lower half of the torso. Position the tummy piece symmetrically so that it lines up nicely with the bottom edge. Press down firmly across the entire white patch to prevent any edges from lifting.
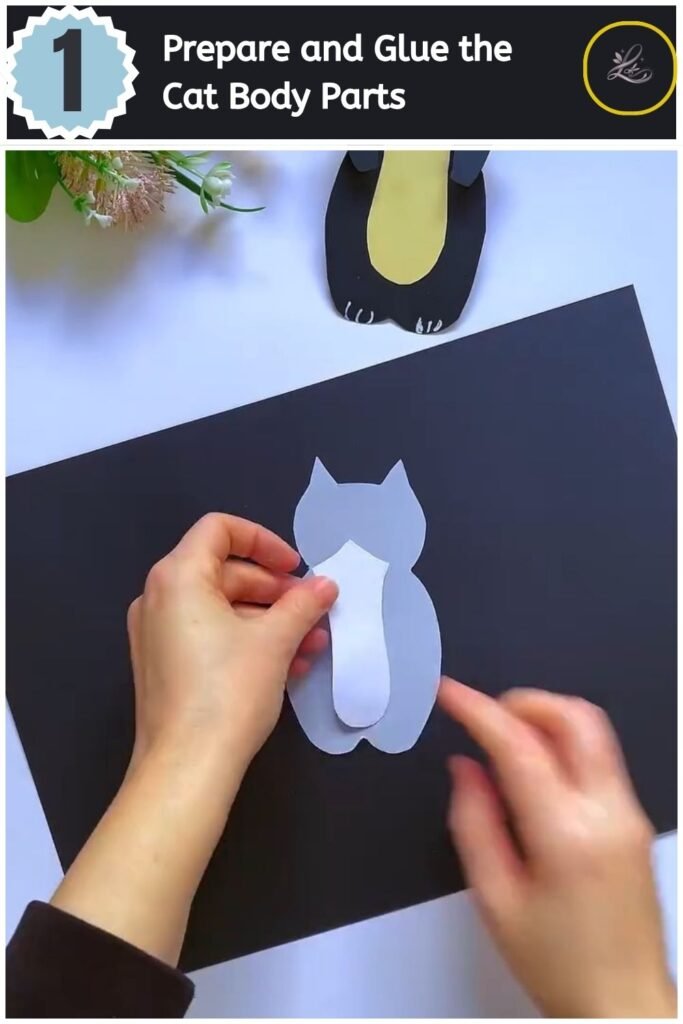
Pro Tip: Use a dry glue stick rather than wet liquid glue to prevent the paper from warping or bubbling as it dries.
Step 2: Assemble the Face Details
Glue on the pink inner ear triangles, the pink nose, and the small red bow on top of the cat’s head. Position the nose right in the center of the face area, slightly above the tummy patch. Place the ears at the very tips of the paper points to give your kitty its classic alert look.
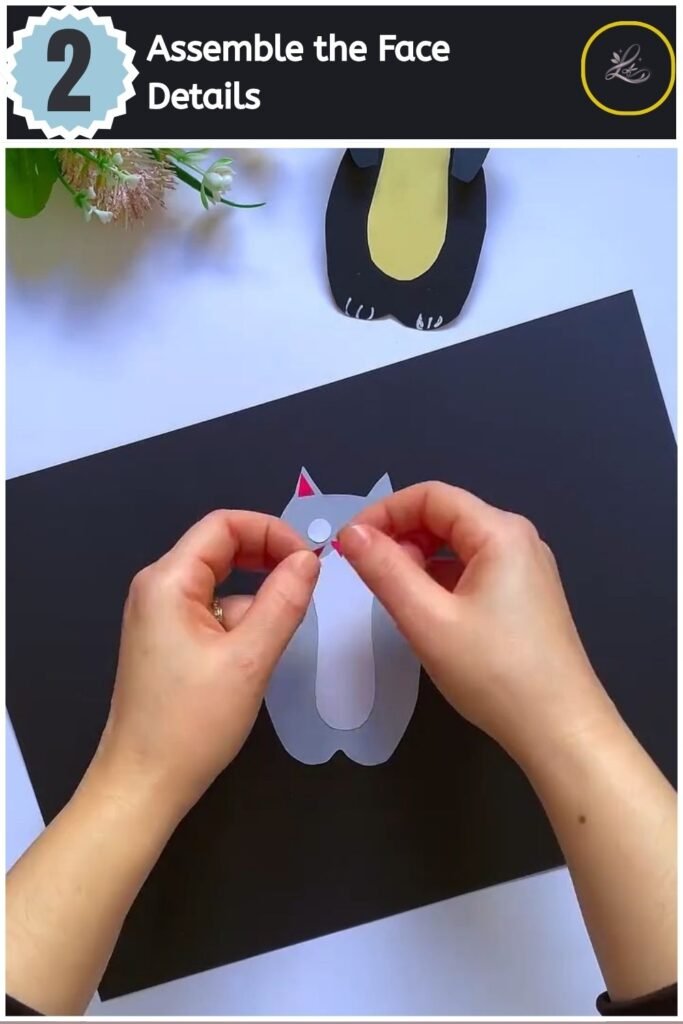
Pro Tip: Use tweezers to pick up and place the tiny pink ear triangles and nose precisely without getting glue on your fingers.
Step 3: Draw the Eyes and Whiskers
Draw two white circles for the eyes, fill them in with blue centers, and add the whiskers, eyelashes, and mouth using your black marker. Use your white gel pen to place two tiny reflection dots inside each blue iris to give the cat a lively expression. Take your time drawing the delicate whiskers extending out from the nose area.
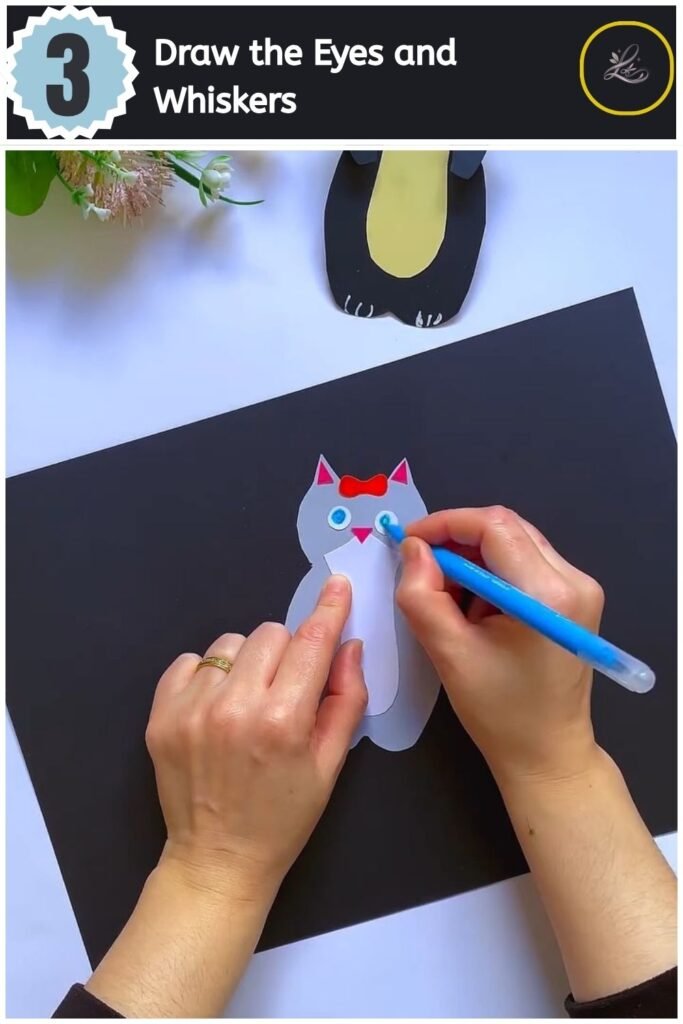
Pro Tip: Let the gel pen dry for a full minute before drawing over or near it with your black marker to avoid smudging the ink.
- 20 Easy DIY Santa Crafts to Make This Christmas (Cheap & Adorable)

- Lovely Paper Pop Up Tulip Card Anyone Can Make

- Cute Paper Chinese New Year Garland Anyone Can Make

- Adorable Halloween Paper Hat Craft for Beginners

- Make Sweet DIY Flower Greeting Card for Loved Ones

Step 4: Add the Claws and Prepare the Arms
Draw three small black claws on the bottom feet of the body, then cut out two matching grey arm shapes. The arms should be long, rounded rectangles that are wide enough to cover the cat’s eyes when folded inward. Put a tiny dot of glue on the back-tip of each arm and place a small circular white patch on each to represent the inner paws.
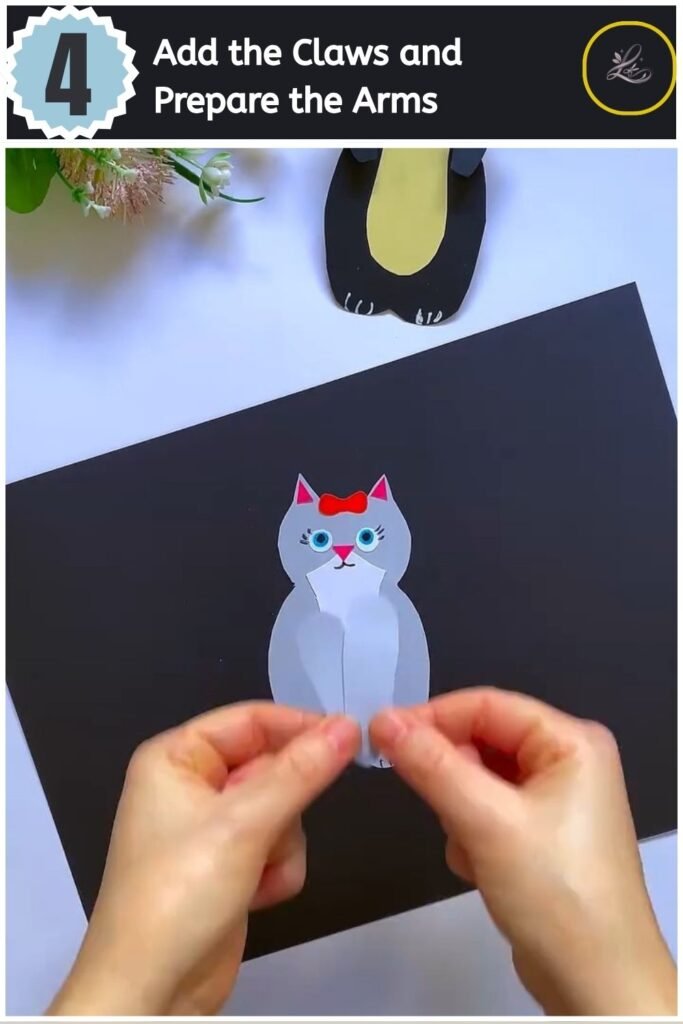
Pro Tip: Make sure your paper arms are identical in length so they meet perfectly in the middle of the face when closed.
Step 5: Pierce Holes for the Moving Joints
Use the sharp tip of your drafting compass to pierce a hole through the top of each shoulder on the cat’s body. Carefully pierce matching holes at the base of both paper arms. Ensure the holes are slightly larger than your paper fasteners so the arms can rotate freely without tearing the paper.
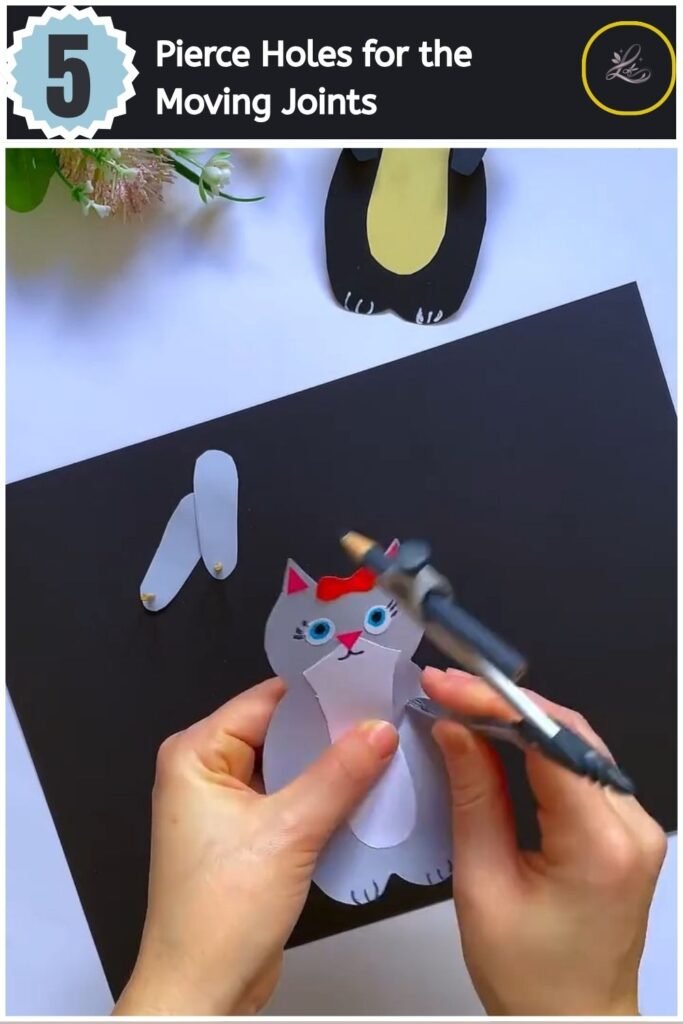
Pro Tip: Place a thick piece of cardboard or a soft eraser behind the paper while piercing to protect your tabletop and keep the holes clean.
Step 6: Install the Fasteners and Add Final details
Insert a metal paper fastener through each arm hole and shoulder hole, then fold open the metal tabs on the back. Draw tiny claw lines on the white paw pads of each arm using your black marker. Gently test the movement by swinging the arms up to cover the cat’s eyes and back down to reveal them!
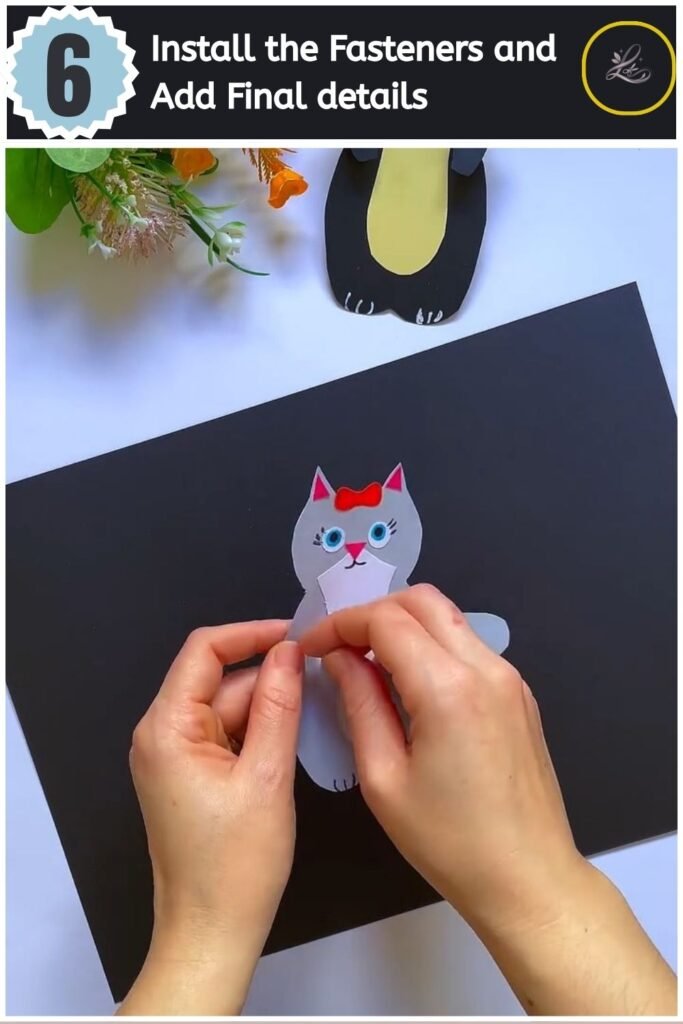
Pro Tip: Do not flatten the fastener tabs too tightly against the back of the cardstock; leaving a tiny bit of wiggle room helps the arms pivot smoothly.
TIPS & TRICKS
- Preventing Torn Holes: If your cardstock is on the thinner side, reinforce the back of the shoulder holes with a small piece of clear tape before piercing to keep the paper from ripping during play.
- Fixing Tight Joints: If the arms are too stiff to move, gently twist the paper fastener in a circular motion to slightly widen the paper hole.
- Bow Customization: You can easily swap the paper bow for a tiny fabric ribbon bow using a drop of craft glue for an extra touch of texture.
- Double-Sided Design: Make your cat look finished from the back by gluing a second matching grey body cutout to the rear side to hide the metal legs of your paper fasteners.
WAYS TO USE THIS CRAFT
- Interactive Greeting Card: Write a sweet message on the cat’s white tummy that is revealed only when the recipient swings the cat’s paws away from its eyes.
- Whimsical Nursery Decor: Mount a row of these colourful peek-a-boo cats on a string to create an adorable, interactive garland.
- Fun Playdate Activity: Pre-cut the shapes ahead of time and let kids enjoy decorating the faces and assembling their very own pet toys.
FREQUENTLY ASKED QUESTIONS
-
How long does this project take to complete?
This cute craft takes about 10 to 15 minutes from start to finish. If you are crafting with small children, it might take a few extra minutes to cut out the shapes and punch the holes.
-
How can I make this craft safe for very young kids?
To make this toddler-safe, an adult should do all the scissor cutting and hole piercing ahead of time. You can also replace metal fasteners with a small felt circle glued over a yarn knot to eliminate any sharp edges.
CLOSING
You have successfully built your very own moving peek-a-boo kitty! Creating interactive paper art is such a rewarding way to express your creativity and make something that brings a smile to everyone’s face. We hope you had a wonderful time assembling this playful project.
Ready for your next project? Try making our DIY Paper Flower Basket next!
Happy crafting! LOUVADECORES
Follow us on: Pinterest
